BLOG

On June 1st, I begin a great project — a 10,000 square-foot (Venetian) lime plaster interior. This project calls for a smoother finish with minimal texture, a “Tuscan” influence.

To get that look, I’ll be using Stucco Italiano Intonachino.

For an accent in the basement level, I’ll be creating a woodgrain finish (also known as faux bois) for all the crown moulding.

This home has a view to die for and architecture I’m excited to be taking to another level with my finishing techniques. I’m scheduled to reach final completion in early August.

With a Tuscan/Mediterranean feel throughout this home, getting the perfect colour so a client can be comfortable with their final decision is a tough task, but it’s got to be perfect — just look at the stunning architecture! Anything less than perfect would be a crime.

You might wonder how a “young” guy like me in this industry is landing big projects like these large interior Venetian plaster jobs, but I think my work speaks for itself — and it should, anyone’s should. I love the work I do, I do it the best way I can, I use the best materials that are available to me, try to deliver the best customer service, and have finished work that blows expectations away.

Whether it’s in my work’s detail or in the way I work for my clients, I know it’s the little things that make the difference. My guys and I are tidy and clean, flexible, and we all know how to work well with other trades.


Isn’t that how it should be?

Enjoy the read and the photos.

Cheers

Darrell Morrison

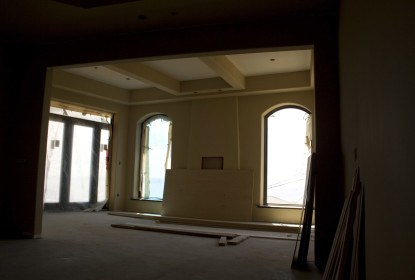
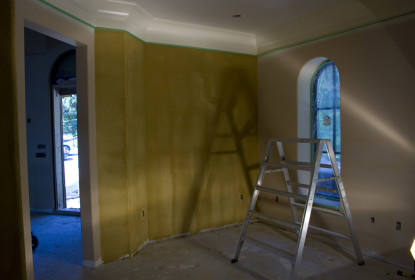
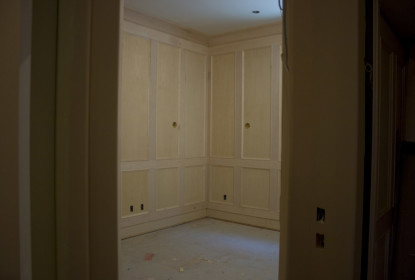
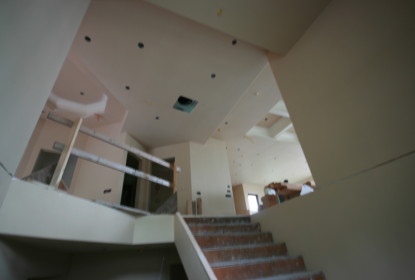
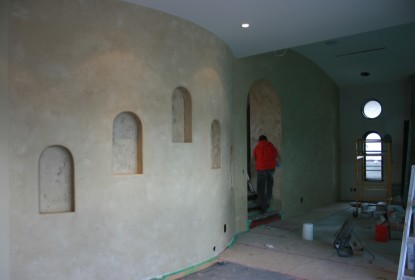
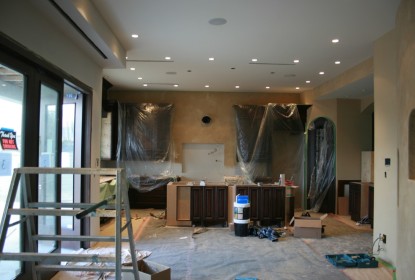
The last few months, I’ve been working on a Tuscan lime plaster interior in a beautiful custom home tucked away in Burnaby.


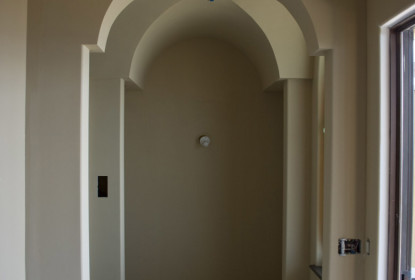
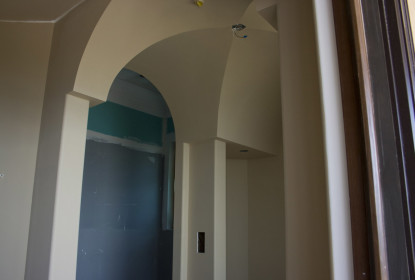
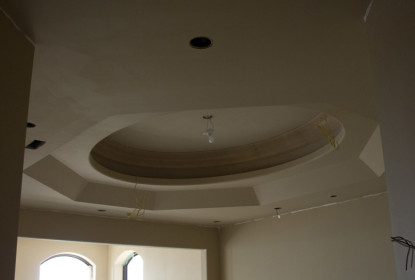
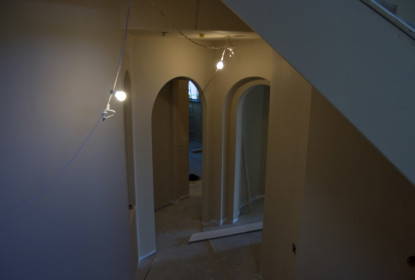
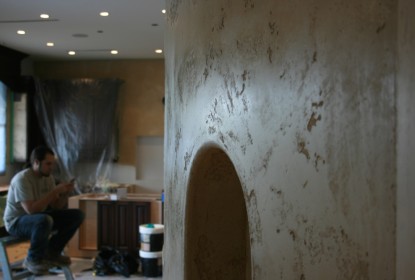
I’ve gotta say, the architecture blows me away. It’s my first plaster project in the area, and the home definitely ranks in the top 5 fave homes I’ve worked on. With curved walls, dominant archways, stunning distressed-wood doors, what didn’t I love?

I was brought in to install a 4,000 square-foot Venetian Plaster effect. I’m nearing the 70% completion mark. Things will move along really quickly in the next few weeks, though.


Here’s a breakdown of what’s going on.


The materials of choice this time are Stucco Italiano and Intonachino lime plaster.

I choose to seal my Venetian plaster projects with penetrating sealer. This helps to repel moisture and oil. If you’re getting a great finish, shouldn’t it be protected for you to enjoy for decades? Yeah, I think so too.


Once the sealer dries, I’ll go over it with golden heavy-bodied glaze tinted to a light raw umber.


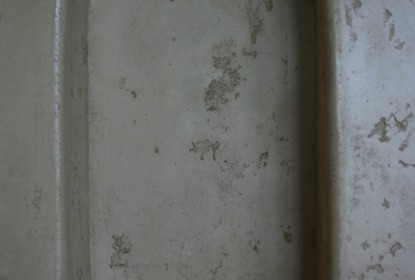
If I don’t do this overglazing step, the Tuscan plaster style looks too new and fresh — like the photo on the top left shows.

While I believe in sealing all my plaster, it’s really necessary if glazing Tuscan lime plaster. Why? It’s thirsty like you wouldn’t believe. If it’s not sealed before glazing, a catastrophe can happen. The raw umber glaze would stain the surface beyond repair — blotchy and horrible. The wall would need redoing from start to finish, and who wants that? I’ll get it right the first time.


This is also where being super-prepared before getting started means everything. If that glaze hits an unsealed wall next to the project, it could be a domino effect of colour catastrophes, so care always needs to be taken.


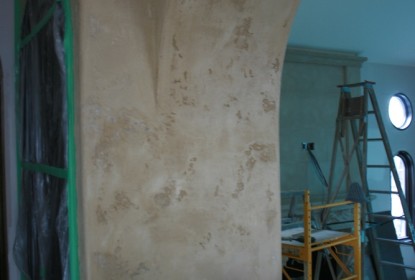
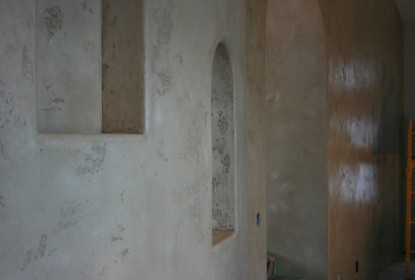
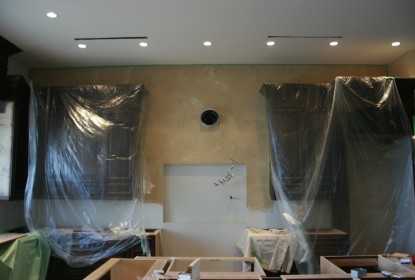
Check out these snapshots of some of last week’s great work. Catch you next time.

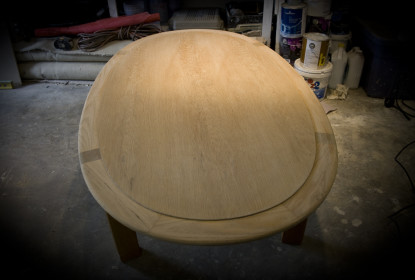
I’ve always enjoyed refinishing wood, including wood furniture. Last weekend, I decided to tackle a little side project of refinishing an oak table. I really enjoy the beauty of rejuvenated wood, so I was pretty keen to get started on this one.


Using a new 6-inch orbit sander with paper discs varying between 100- to 220-grit, I removed most of the old finish with great ease, compared to doing all the work by hand.


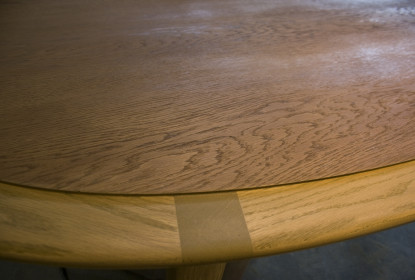
Something to keep in mind when refinishing any kind of wooden table is, it’s likely a veneer, and if you sand too much, you’ll wear through the woodgrain pretty quickly and hit the core-wood base — which isn’t going to have any of the grain’s appeal. This is where it’s dangerous to use an electric sander if you’re not sure you can control how far down it’s sanding.


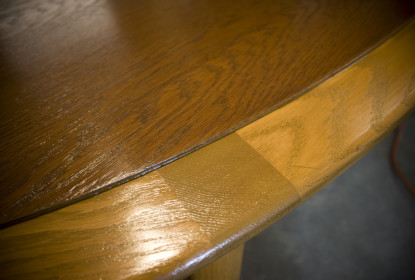
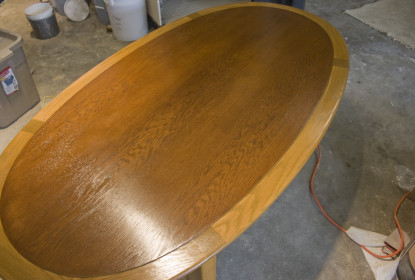
For this particular table, I figured using two different stains would work best. This choice was inspired by the table itself. Since the centre was slightly raised, I thought a contrast on each level would enhance the design.


I used 100% water-based stains and clearcoats for this refinishing job, and I’m thrilled with the results. The low-VOC content and lack of smell was great, and I absolutely plan to work with these projects again when I’m on larger projects.


Check out the photos and you’ll see why I’m feeling good. I hope more of these tasks come my way in the future.