BLOG

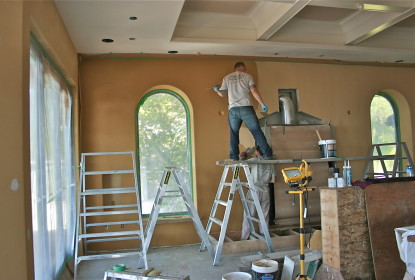
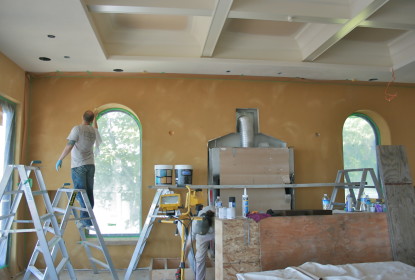
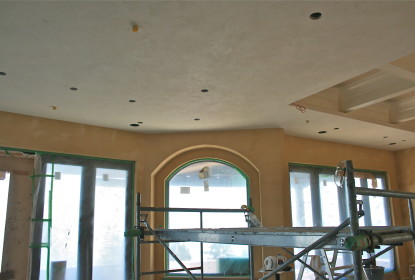
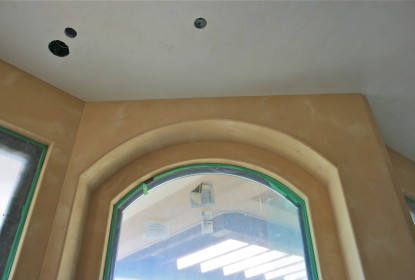
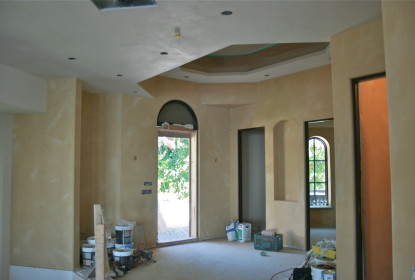
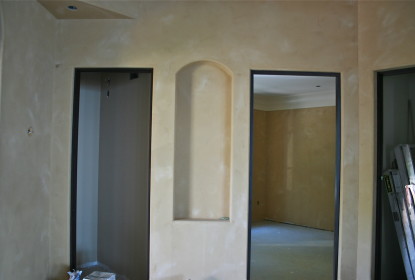
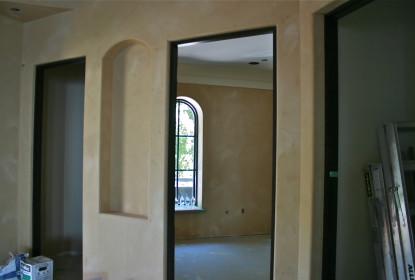
Since early June, I’ve been working on this large full-interior lime plaster project. By “large,” I mean a whopping 10,000 square feet.

For me, I find it really amazing to see all the progress as I watch the Venetian plaster come together, and I thought I’d share some photos of the process so far, since I think you’ll like it.

This really is a massive project and something like this needs a lot of careful work even before it begins. With 10,000 square feet to dress up, it took a lot of colour-picking with the clients. We had eight colour changes and it was quite the struggle to nail the exact texture, but we stuck to the discussion until everyone was happy — something I don’t take lightly. I’m always up for making sure my clients have what they want on the palette before we get going. Isn’t that the whole point of the work? The client?

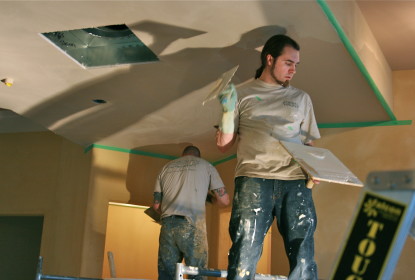
To start the project, I finished the ceilings off with Stucco Italiano’s Intonachino X-Fine because, with it, I could create the perfect amount of distressing in the texture.

We got the ceilings done before a final colour had been chosen for the walls. Was that a dilemma? Yup, you bet it was. We started on the walls anyhow, and the whole project slowed to a crawl because we could only basecoat the walls while I continued working towards the orangey-gold tones the client was after.

I find one of the tough things for clients is how to visualize the way things will look in the end. I’m an artist, I can visualize, but I understand why they can’t. Thankfully, technology’s starting to really make life simpler that way. I recently picked up an Apple iPad and loved how easy it made the client’s colour decision after I used it to highlight a few scenarios.

With my iPad, I pulled up some photos of both projects and concepts I thought would work well in this client’s space. I used it to show how using two colours can add a great deal of interest and movement on the walls. Doing all of this on a jobsite on a Sunday was a great deal of fun for me. I showed the client on the iPad, then jumped right into mixing a sample and showing the client how it all comes together in reality, right then and there.

With the iPad showing a wider vision and my skills showing the up-close in-person look, the colour and finish got approved, and here I am, already done with the main floor!

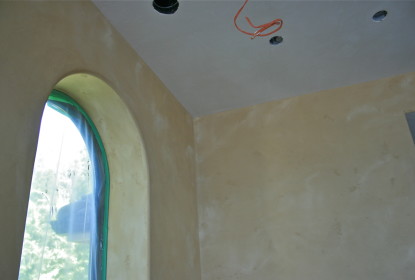
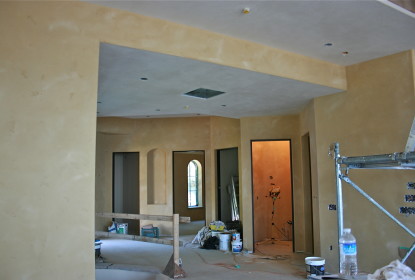
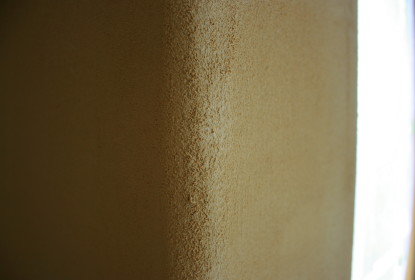
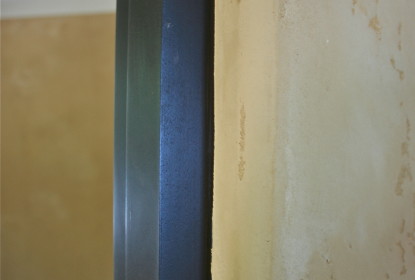
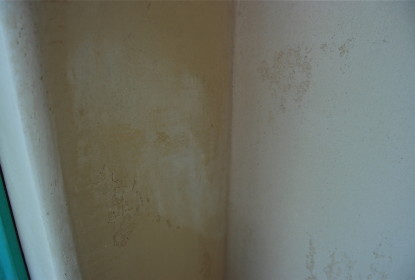
Here are some of the pictures of what’s happened so far, and I hope you enjoy them as much as the client does.

It’s a good thing you hire me to do finish and not videos, because this one took me a year to make! What can I tell you? I’ve had spaces to make beautiful, but I finally found some time to share this one with you.

I’m pretty proud of this Tadelakt fireplace I completed last summer, so I’m glad I’ve finally got the video to post for you, including closeups, so you really get a good look at my work.

So, you ask why Tadelakt lime plaster was my first choice for this project?

This is a good lesson in why the material’s such an important consideration. You need to know the end look you want and what combination of products to use to get there. It’s tricky, and it’s why you need artisans who know their stuff but also know the kind of use it’s going to get, so both look-appropriate and wear-appropriate products are used.

All I can tell you is, out of all the styles of Venetian plaster I keep in my arsenal, it’s Tadelakt lime that brings the smooth, silky, and finely-honed “stone” appearance that makes it MY number-one choice for restoring a fireplace.

Personally, I also think it takes the mother-of-pearl finish the best, since it’s all about the smoothness of the finish.

It’s also really tough, so, Tadelakt really rocks in high-traffic, high-use areas like the fireplace.

I hope the film gives you that feeling, too, and gives you a good look at the detail I’m so proud of.

Cheers

Darrell  Morrison

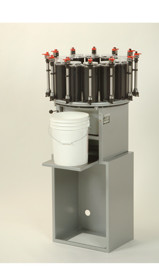
Recently, I finally got the tool I’ve been wanting to add to my company’s arsenal — a 12-colour carousel tinting machine.

You’re likely saying “A what?”

When I Say “Any Colour”, I mean It More Than Ever

For years, I’ve been creating custom colours. Many times, I’ve been unsuccessful because of technicalities, like not having proper colours available to me or a way to distribute them evenly or quickly among all the products I needed to mix to get the job done and done well.

Stuck working with these technicalities, a lot of my colours were found in one part of the colour spectrum — browns or tans, and even beiges now and then.

With the size of new lime-plaster interior projects and the new direction I’d like to take my Venetian plaster work in, I knew the time was right to get this tool that would make the difference in meeting my standards on a large scale.

As an example, I’m currently working on a 10,000 square-foot Intonachino lime-plaster interior. With so much surface to cover, the client is having a hard time choosing the perfect colour. We’re close, so they now only want slight shifts in shade and/or hue. (How are “shade” and “hue” different? Learn more by following this link.)

Picky? Not at all. Like me, they know job satisfaction is all about the details.

I’ve now taken great care to create 20 different colours for this project. That’s a bit of an extreme for any project, maybe, but you have to live with the colour long after I’m gone, and we need to get it right. I won’t get upset or rush you for a colour at the beginning of a project, because preparation and work can begin while we take the time to do the right things to help you come to a decision you literally can live with.

This tint machine makes my life easier and helps me live up to my dedication to getting you a a truly livable colour for your environment. Now, at any point in time, I can change a colour’s direction. You want a 25% lighter shade? Okay, not a problem. We don’t need a paint-shop pro or a chemist to guess it out. Let’s get that done ourselves — between you and me, and save ourselves a lot of headache and reduce wasted materials in the process.

Breaking It Down:

◦                                  Whatever your favourite material — Tadelakt, Intonachino, Carrara or Classic — I have full control over the colour and tint of the end-product.

◦                                  Your money gets saved because I’m not wasting materials or gambling on a factory’s ability to get those pallets of lime plaster tinted just the right way.

You want it lighter? Darker? I can change that on a dime now, so you get what you want when you want it. Hue by hue, shade by shade, we’ll nail the colour of your dreams.