BLOG

In this renovation, the homeowner knew exactly what he wanted: A great living space with a lot of detail.

I’m not kidding, he left no corner out. Now that’s my kind of attention to detail!

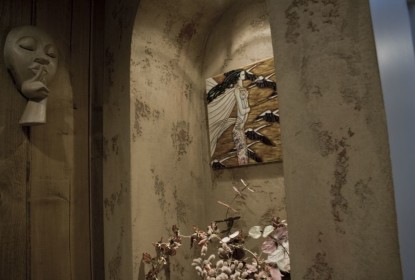
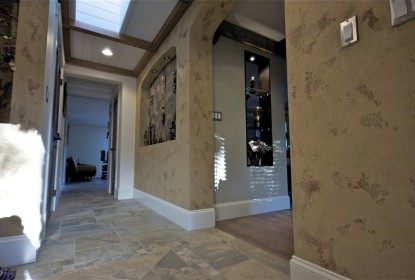
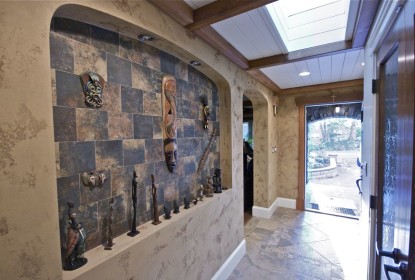
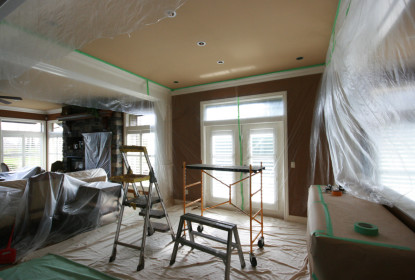
I was commissioned to turn this doorway from “BLAH!” to “WOW!”

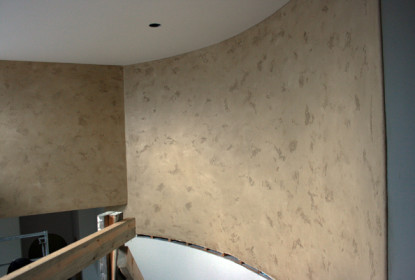
To do that, I chose to use Intonachino. I kicked it off with tinting the materials to a light orange/tan, using three colours to mix it from scratch: Raw Sienna, Red Oxide and Raw Umber (but the links are not the actual brands of the materials I use to tint my plaster; just great information pages for you to check out).

After, the finish was left to sit and cure for a few days before I returned to apply the all-important penetrating sealant before doing a beautiful raw umber glaze.

What do you think about this kind of finish?


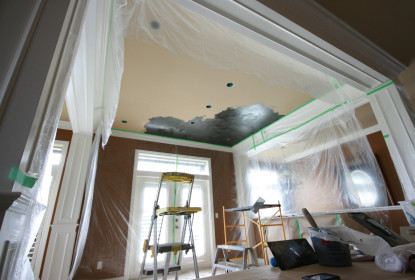
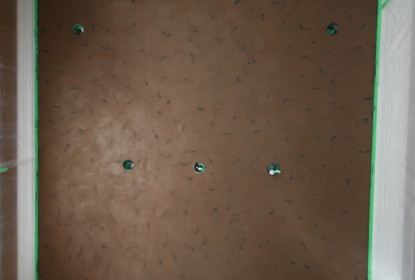
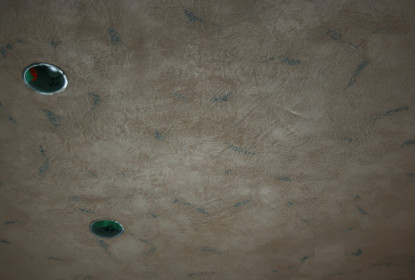
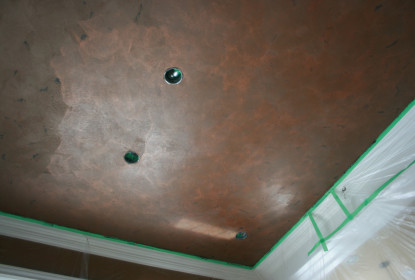
This past week I was working on a Metallic Bronze & Copper Distressed Ceiling in a lovely home in Morgan Creek.  I was very excited, as it has been a while since I’ve done a plaster ceiling finish in this style I’d say almost 3 years to be exact and I truly enjoy this type of decorative finish.  A break down of the work involved begins with applying a black base  metallic plaster made by Golden after that is left to dry over night. I then return to apply the bronze plaster also made from materials made by Golden.  Once the texture is created and the designer likes what she see’s the final step is “waxing”.  Now for this step I like to us an old school material called Bri-Wax. I don’t mind sharing the information as its a easily available in most cities. One thing I will tell you is this stuff has a nasty and strong odor.  One more step to go adding copper mica flakes to the wax, this involves melting the the materials in order to make that possible, I advise using caution if you choose to attempt this your self as this portion requires a high degree of safety.

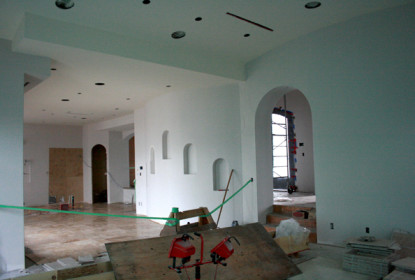
In recent weeks, I’ve been lucky enough to be working in a lovely Greco-Roman home in Burnaby, BC.


It’s an awesome home, clearly designed for entertaining guests.


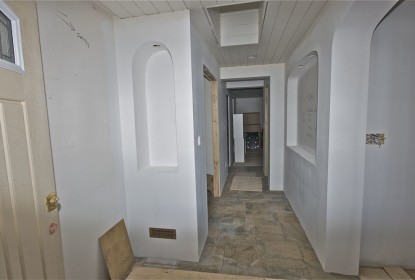
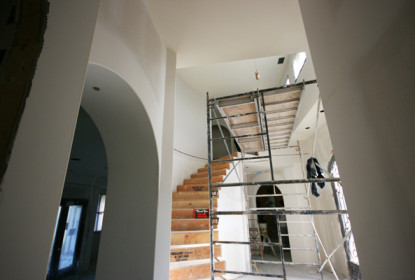
Well, when I first got out to the jobsite, the drywall wasn’t even installed. I’m a visual guy, but, for me, it’s difficult to get a sense of a home with all those studs and joists running up and down and everywhere. But, after awhile, I figured the home out, and I’m glad the project’s moving along.


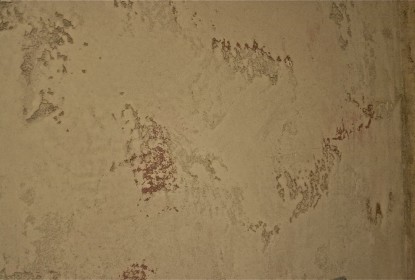
We’re into the process now. Here, I was commissioned to install a distressed lime plaster finish, using something called Intonachino (in-tone-a-kino).


It kind of looks like it has a slight tint of yellow, but when paired up with the floor, it presents as a sand-beige. When I finish the project off, I’ll glaze the plaster with raw umber, adding a little character and an old, aged sense to the walls.

CLICK IMAGES TO ZOOM