Tag: Powder Rooms

If you know me, you know I’m a busy guy. It’s work, work, work, these days, and when it’s not about work, it’s about time with my wife, my girl, and the pups.

Needless to say, like most of us, I seldom get to do the projects around the home that I dream of doing.

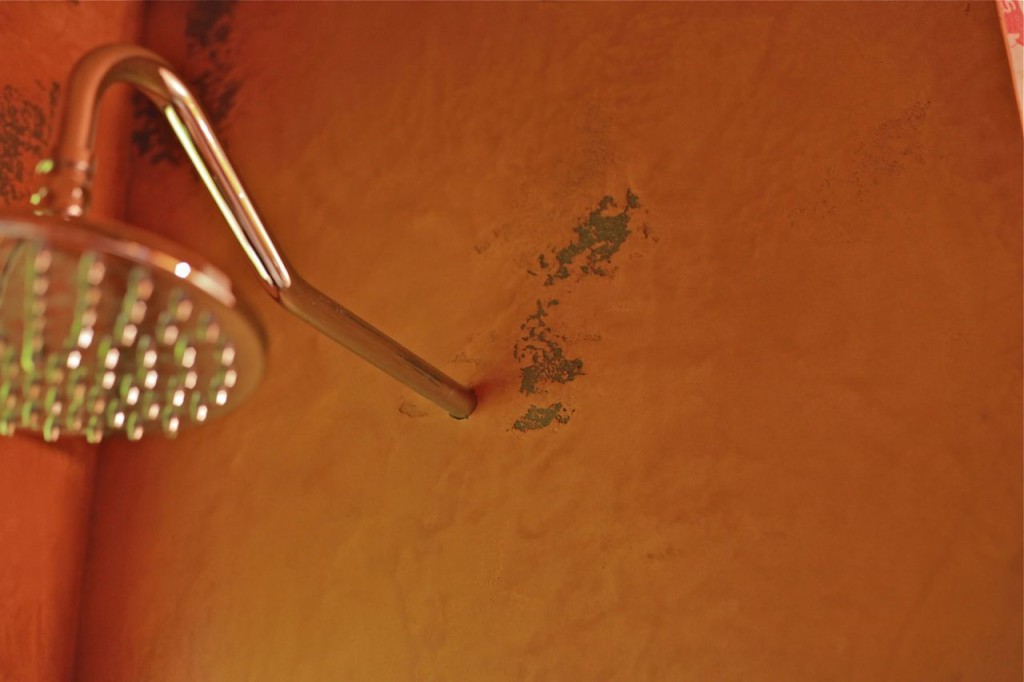
That all changed in the last month, because not only did I finally get to do a bit of home reno that my family gets to enjoy, but I also got to try something I’ve wanted to do for a really long time — a heavy-duty Italian venetian plaster treatment to a bathroom shower stall.

This work was done in our main-floor bathroom, which had been wanting TLC for a while.

Doing any project for the first time, especially when it’s a bathroom, can make it hard to estimate all the work involved, so getting a chance to explore the process on my own time was great.

It was a major project by the time I finished, as you can tell by the end results, but what did it take to get there?

Here’s how the Home Shower Venetian Plaster Project evolved, start to finish.

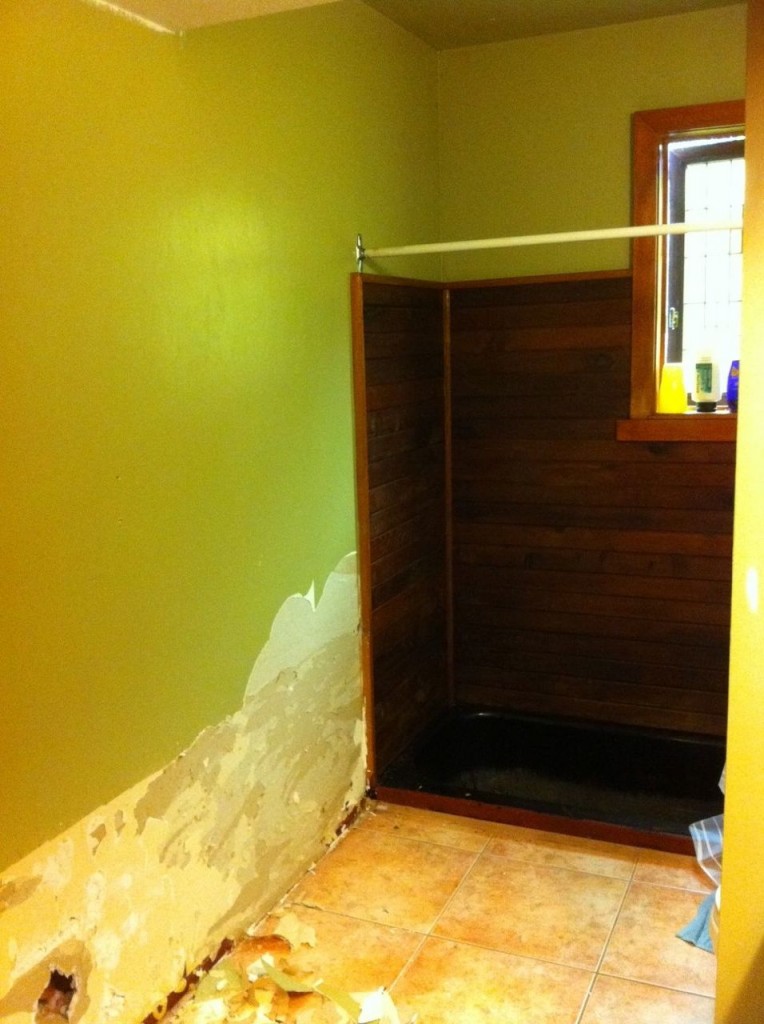
This ’70s bathroom came with tons of cedar, which all had to come down. Luckily, it was installed by someone who didn’t make much effort to do it right, so only a couple nails in each board ensured they popped right off. Removing the shoddy work made investing time in improving the room that much more satisfying.

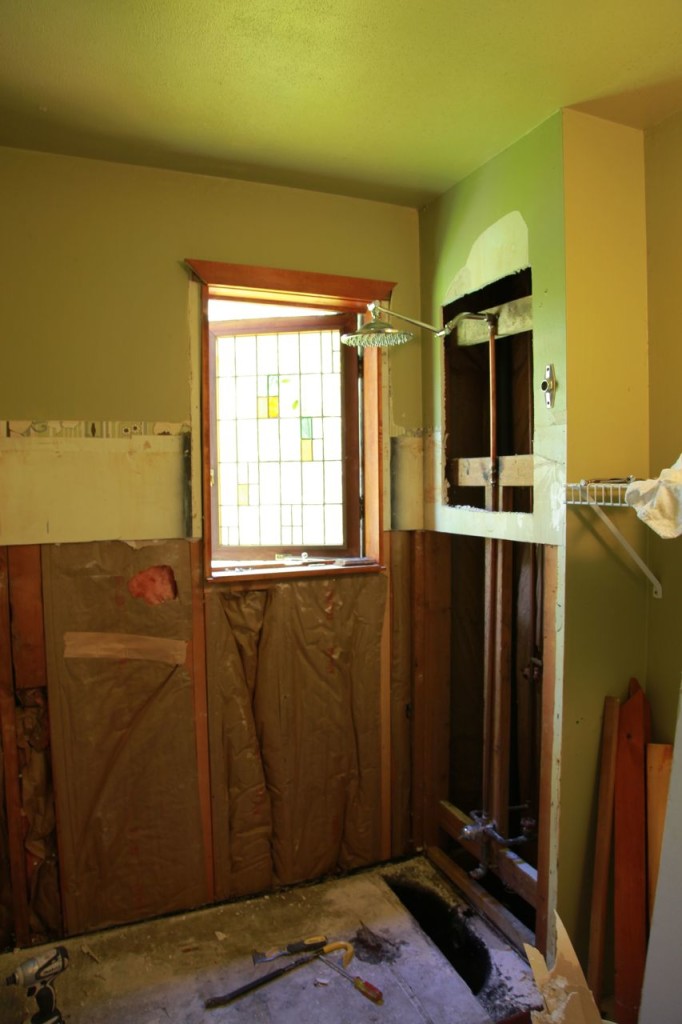
The first thing I wanted to do was move the shower-head up by about two feet. No one wants to crouch for a shower.

Before now, I never had the need, or an opportunity, to work with copper. I decided I’d take a kick at the copper can instead of calling a plumber, and working with the pipes was easier than I expected. I might do the odd fix-it job here and there now, but I’d certainly never do my whole place.

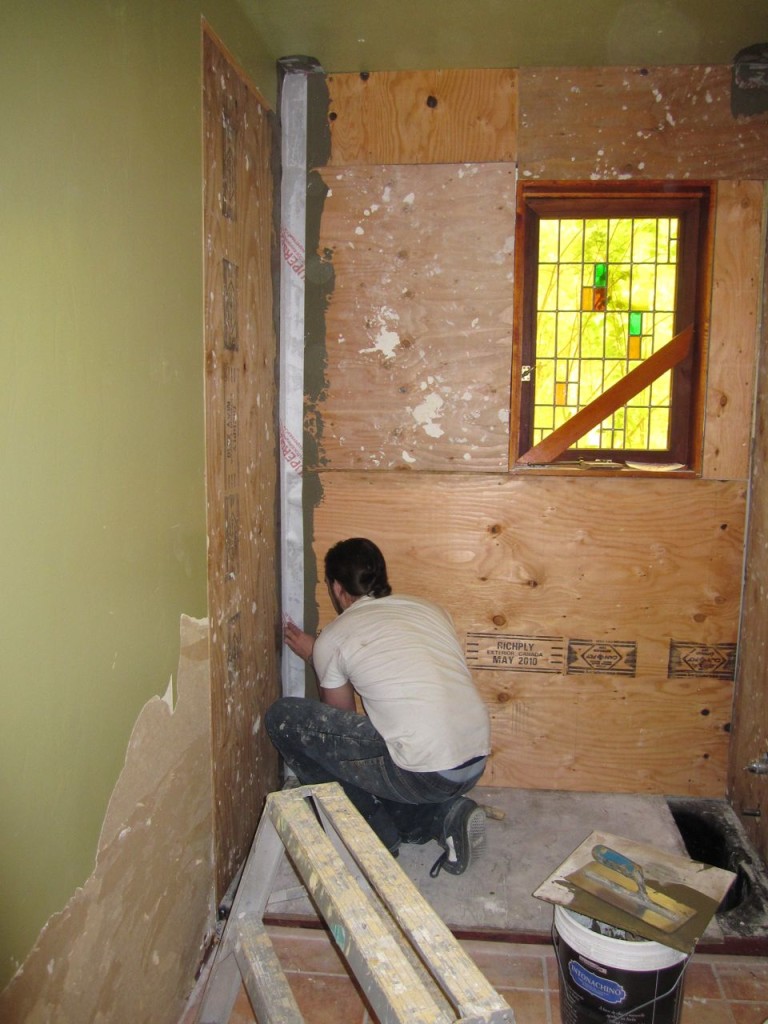
Next, I installed plywood. I’m sure some of you building guys out there are wondering “why not concrete board instead of plywood?”

It’s a preference, really. I find plywood’s just easier to work with, and it comes in big old 4×8-foot sheets, making for less cutting in some situations, but, most importantly, I find plywood’s a big help when it comes to installing lath. (Shown later.)

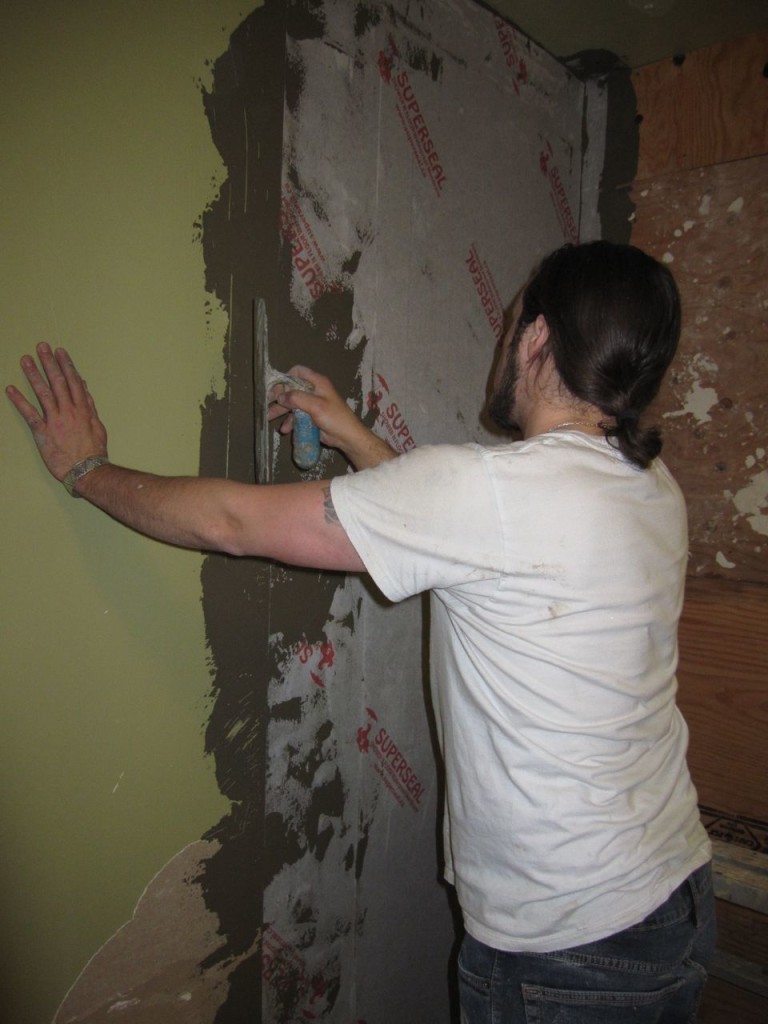
Next up was installing the water-proof membrane. Obviously a quality project is needed for a shower, and I used a local company’s product, called, “SuperSeal” you can learn more about it here.

Continue Reading..

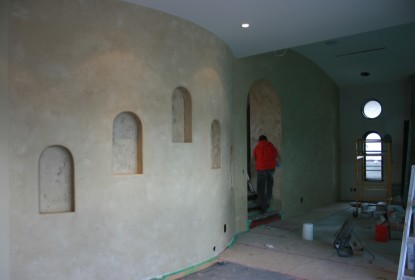
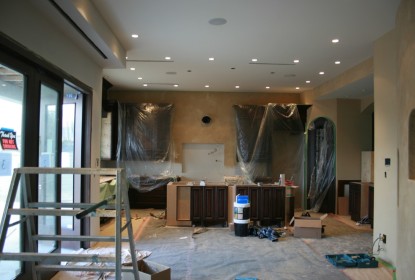
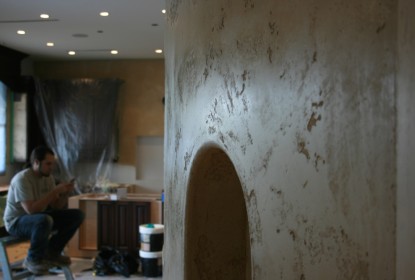
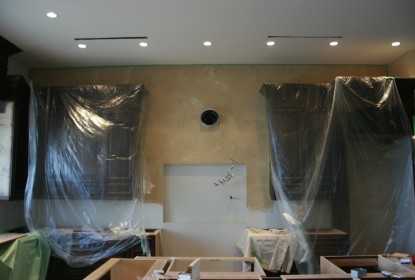
The last few months, I’ve been working on a Tuscan lime plaster interior in a beautiful custom home tucked away in Burnaby.


I’ve gotta say, the architecture blows me away. It’s my first plaster project in the area, and the home definitely ranks in the top 5 fave homes I’ve worked on. With curved walls, dominant archways, stunning distressed-wood doors, what didn’t I love?

I was brought in to install a 4,000 square-foot Venetian Plaster effect. I’m nearing the 70% completion mark. Things will move along really quickly in the next few weeks, though.


Here’s a breakdown of what’s going on.


The materials of choice this time are Stucco Italiano and Intonachino lime plaster.

I choose to seal my Venetian plaster projects with penetrating sealer. This helps to repel moisture and oil. If you’re getting a great finish, shouldn’t it be protected for you to enjoy for decades? Yeah, I think so too.


Once the sealer dries, I’ll go over it with golden heavy-bodied glaze tinted to a light raw umber.


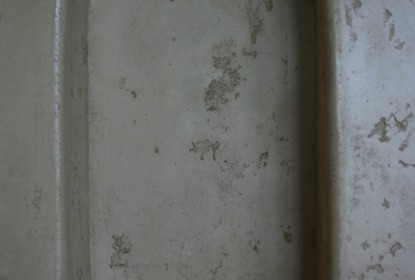
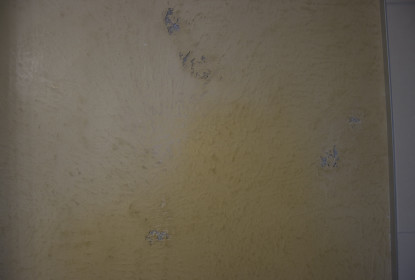
If I don’t do this overglazing step, the Tuscan plaster style looks too new and fresh — like the photo on the top left shows.

While I believe in sealing all my plaster, it’s really necessary if glazing Tuscan lime plaster. Why? It’s thirsty like you wouldn’t believe. If it’s not sealed before glazing, a catastrophe can happen. The raw umber glaze would stain the surface beyond repair — blotchy and horrible. The wall would need redoing from start to finish, and who wants that? I’ll get it right the first time.


This is also where being super-prepared before getting started means everything. If that glaze hits an unsealed wall next to the project, it could be a domino effect of colour catastrophes, so care always needs to be taken.


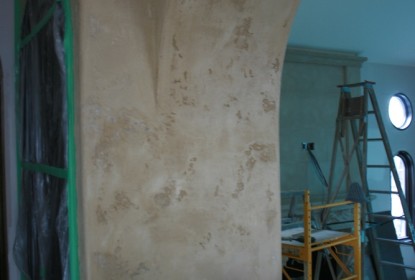
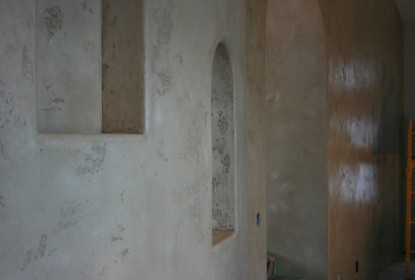
Check out these snapshots of some of last week’s great work. Catch you next time.

Over the past week, I had the opportunity to work on the new Bosa building in White Rock, BC, with one of my favourite designers — a big fan of my style of Venetian Plaster. She’s always pushing me to try new things and stretch my creativity, so it’s a great working experience to be around her.


When meeting a new client and designer, the most important part of the meeting is being able to absorb their ideas and use that as inspiration for creating a unique design that’ll reflect the best of everything they want.


I think I pulled that off, and it’s even reflected in the materials we used.


For this project, I used Carrara Marmorino. It’s different because of its small granules, which allows it to polish to a beautiful satin finish. For added durability and a beautiful finish, I sealed the surface with natural beeswax.

Welcome to my news letter. Inside you will find detailed information of my recent projects and favorite finishes. You can view it here

The features in this issue include

1. “Uniquely Daring” a subtle carrara marmorino feature wall

2. “Inspirational Thoughts” for you or your clients design ideas

3. Featured project “Diplomatic Immunity Clothing Inc. On South Granville, A classic white venetian plaster with a twist.

4. “The Grand Entrance” a full interior paint project in Tsawwassen including lots of wood finishing and wood graining a lost art.

Leave a comment and let me know what you think??

The cabinetry was built by Stirling Woodworks Ltd.

Gilding has been used traditionally for picture frames

Interested in learning how to do it your self here is some use full info

here is a silver leaf chair made by http://www.btcinternational.it/index.aspx

This is one of our current projects on the go located in the new district of south surrey, both bathrooms will be completed with Carrara Marmorino completion date is the 21st of September check back for the completed photos.

******* Update this is the finished shot of the master bathroom***** a dark grey finish with a hint of brown.

Contact

Office:: 604.628.7855 | Direct:: 604.779.4233 | 9am to 5pm Monday – Saturday

Name
Email
Message

Thank you! Message sent.
Error! Please re-check that all fields are complete.
©Copyright 2019 Decorative Paint & Plaster Concepts Inc.