Category: blog

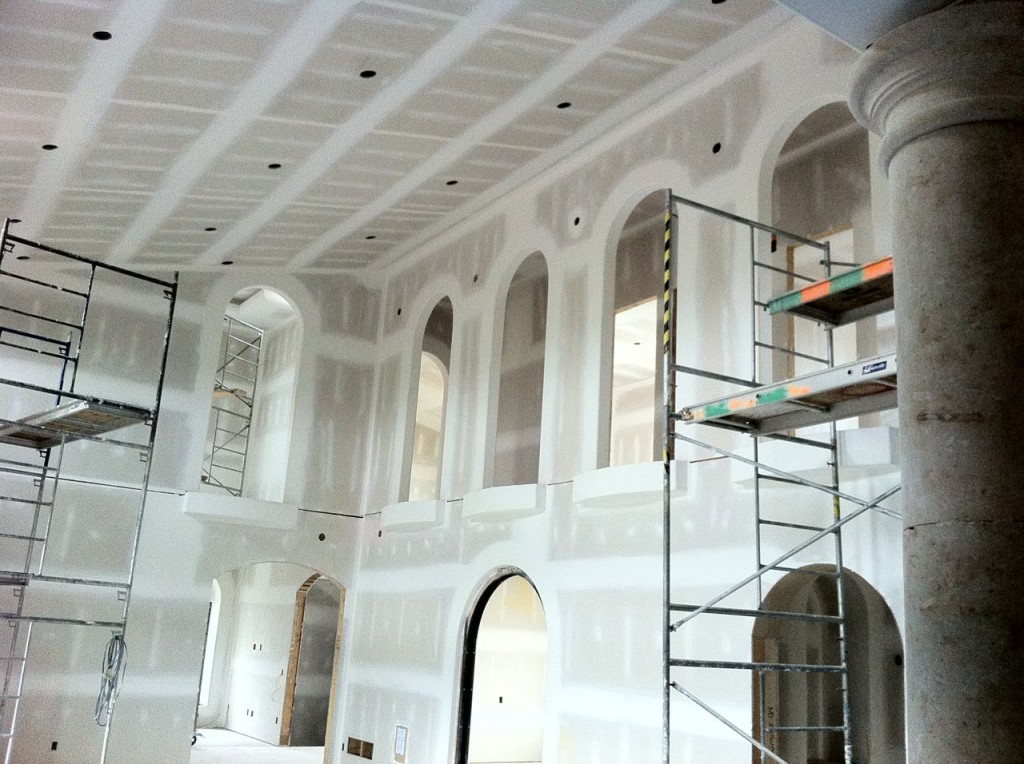
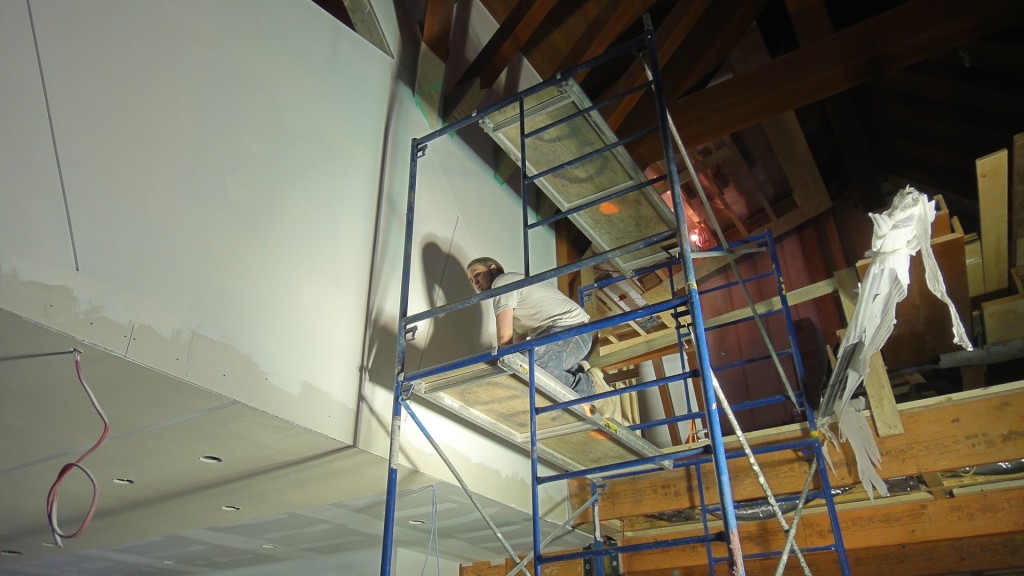
Well, we’re already three weeks into our massive Italian lime plaster commercial project in South Surrey, BC.

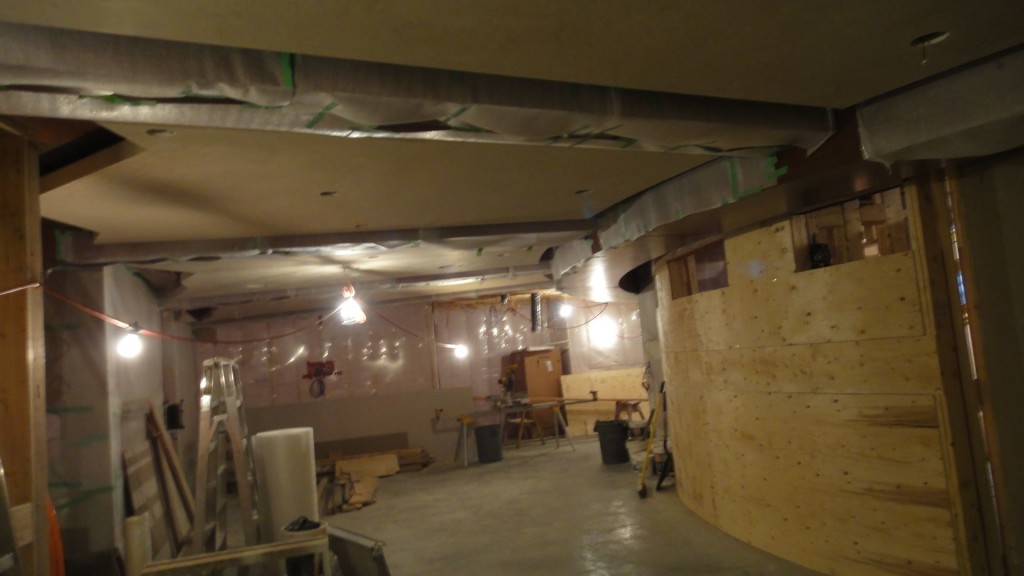
As you can imagine, a lot of work is going on around us on the project every day, so while we’re trying to keep productivity at a maximum, we also have to keep trade damage to our work at a minimum.

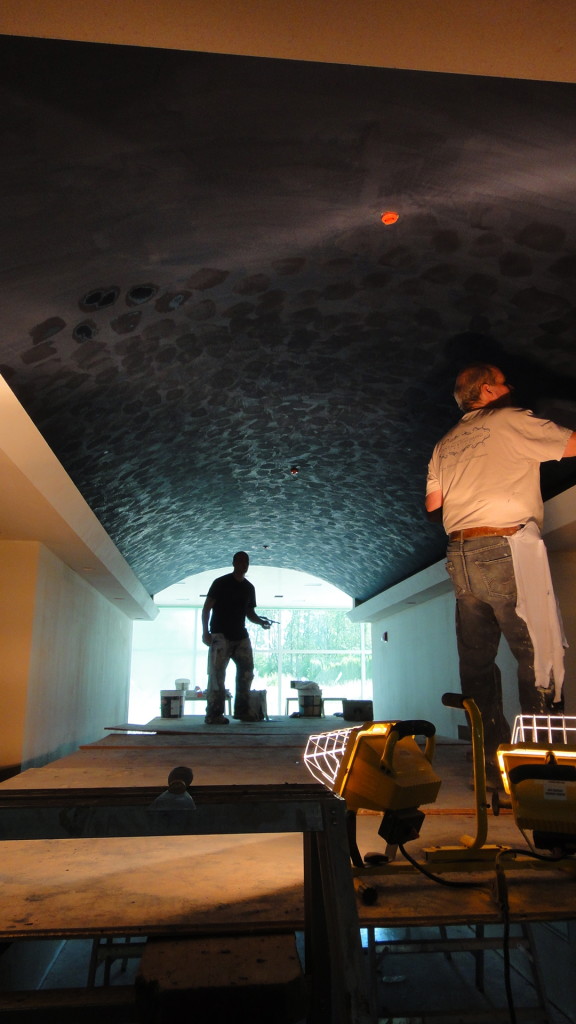
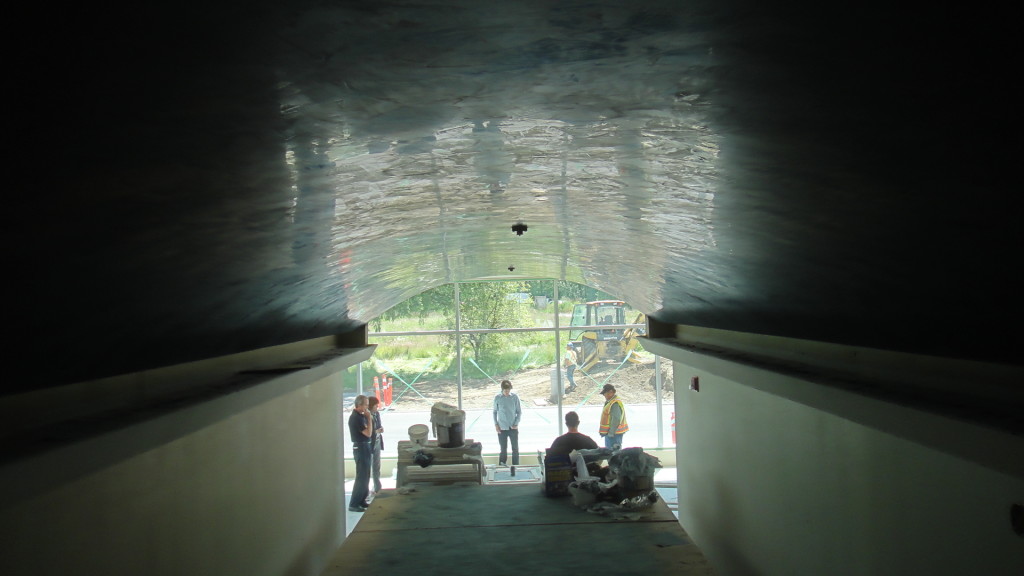
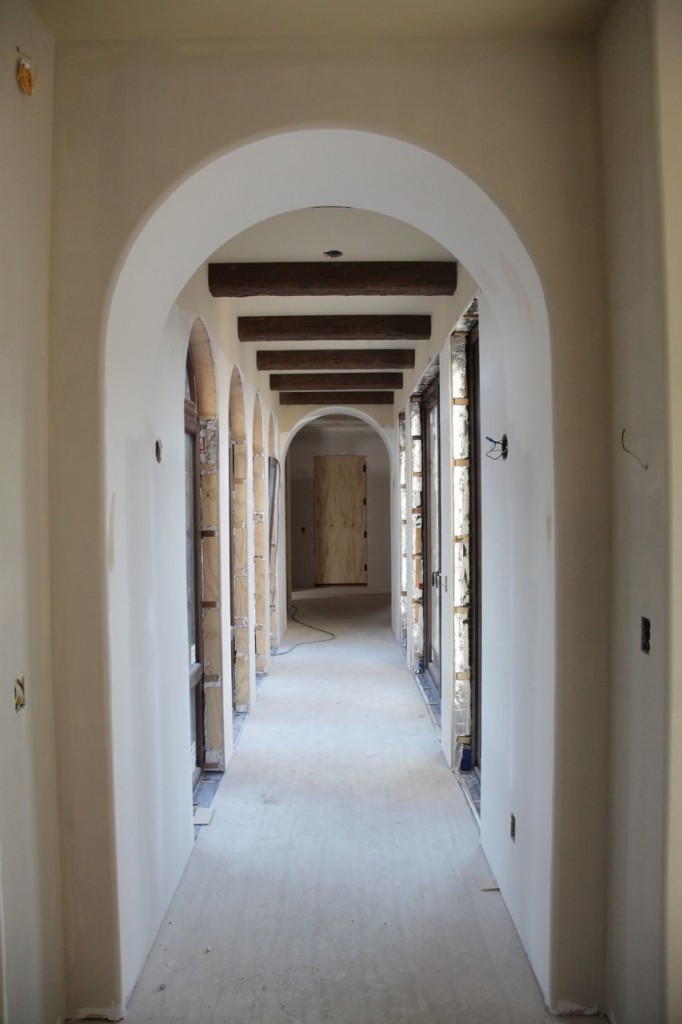
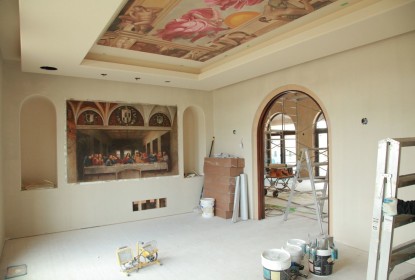
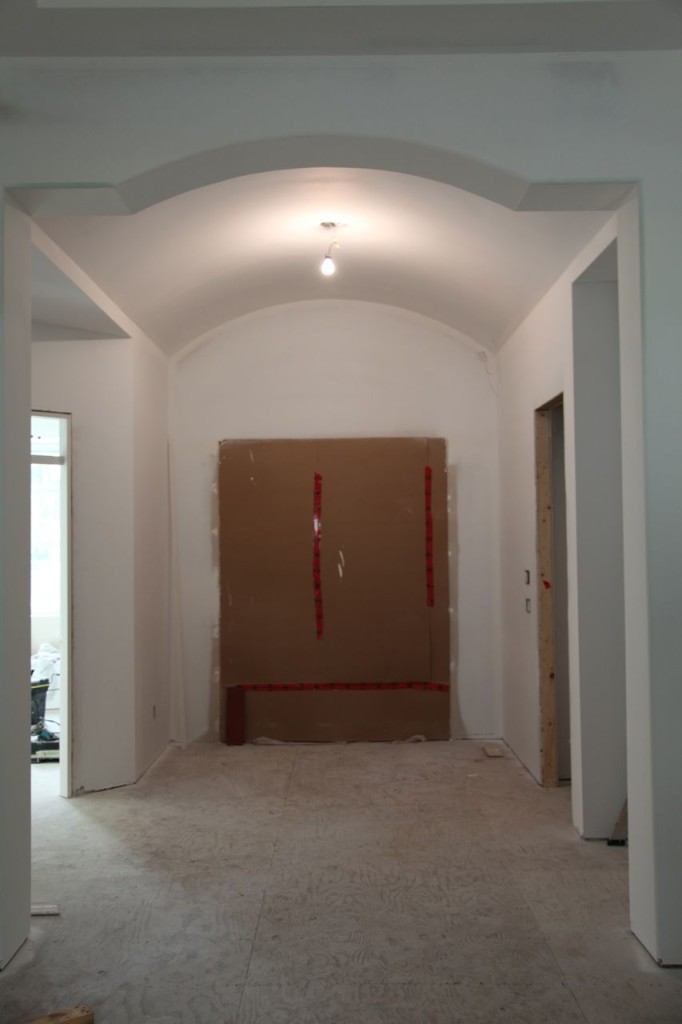
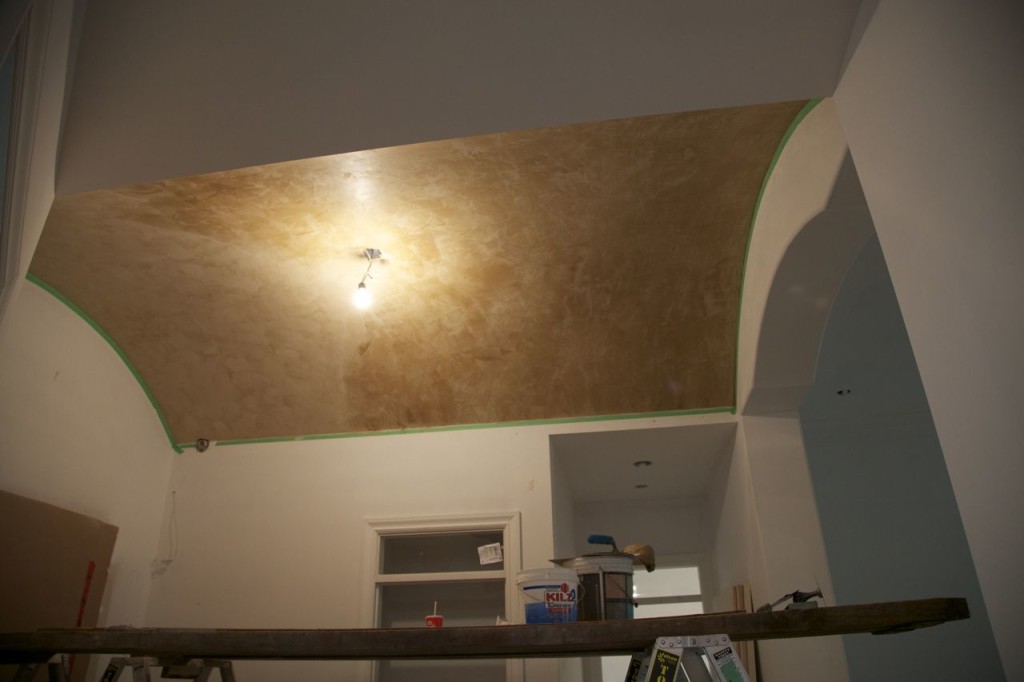
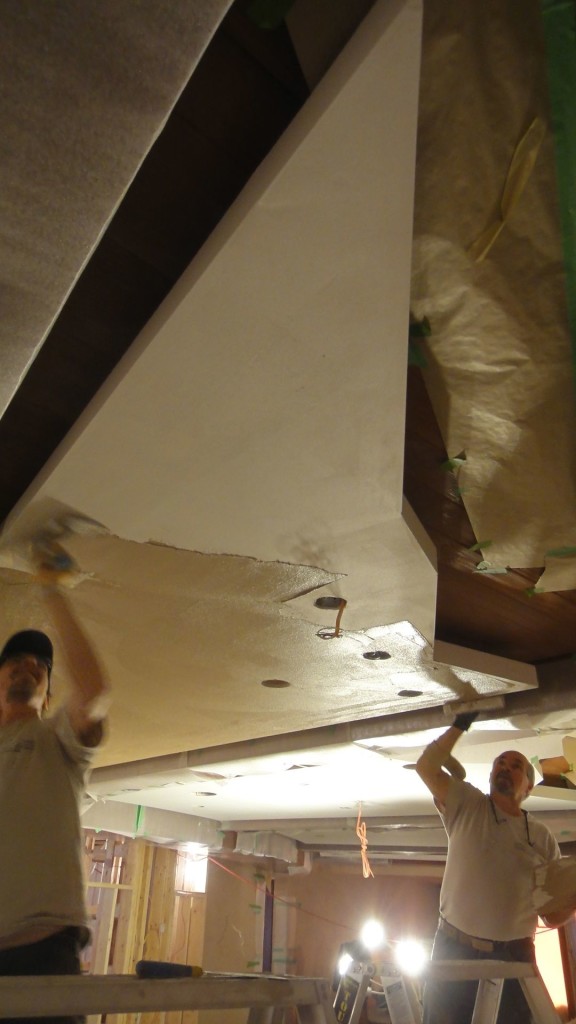
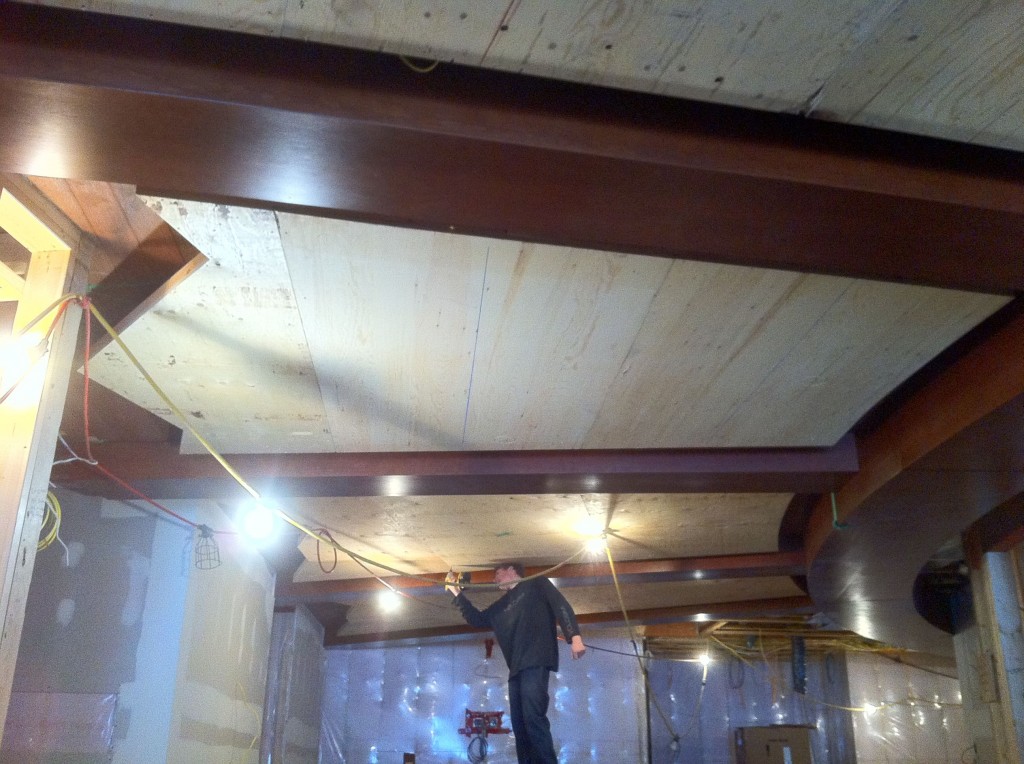
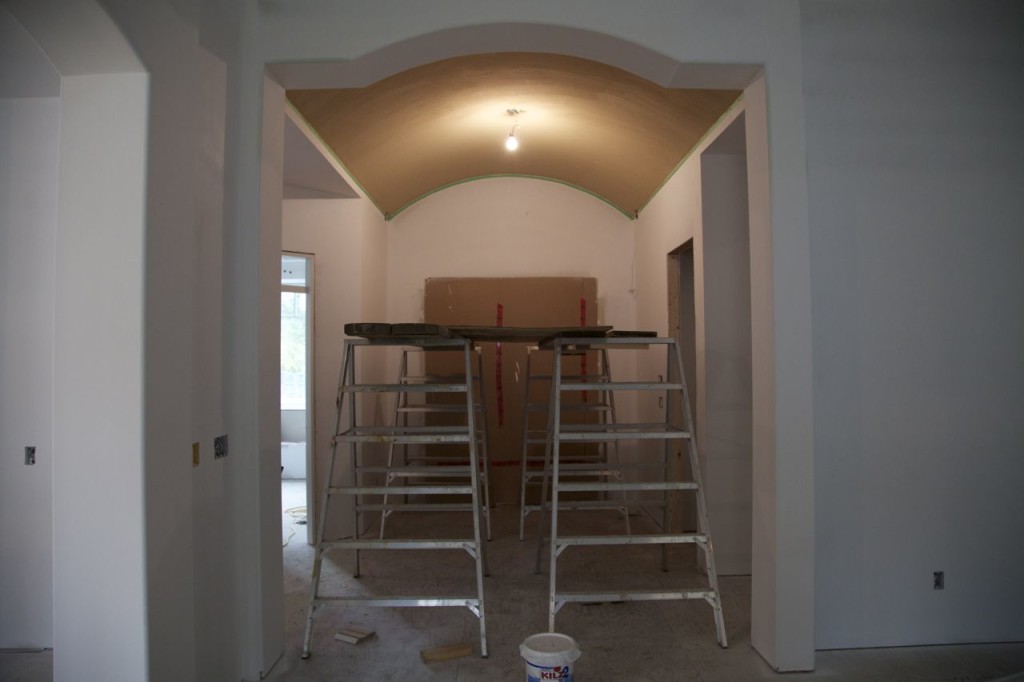
This week, focus has been on the main floor’s lobby, the corridors, ceilings, and that awesome barrel ceiling covered in Venetian plaster.

It’s a big challenge, a ceiling like that, but to know me is to know I love my job.

Everyone around me knows how much I dig the challenges and the change that come from project to project. My passion for what I do and for getting my clients what they want is what makes my work so successful.

This one’s got even more challenges, and people to satisfy, than anything I’ve done because it’s the largest project I’ve ever worked on, and I hope it proves I belong on both the artisan and big commercial side of plastering.

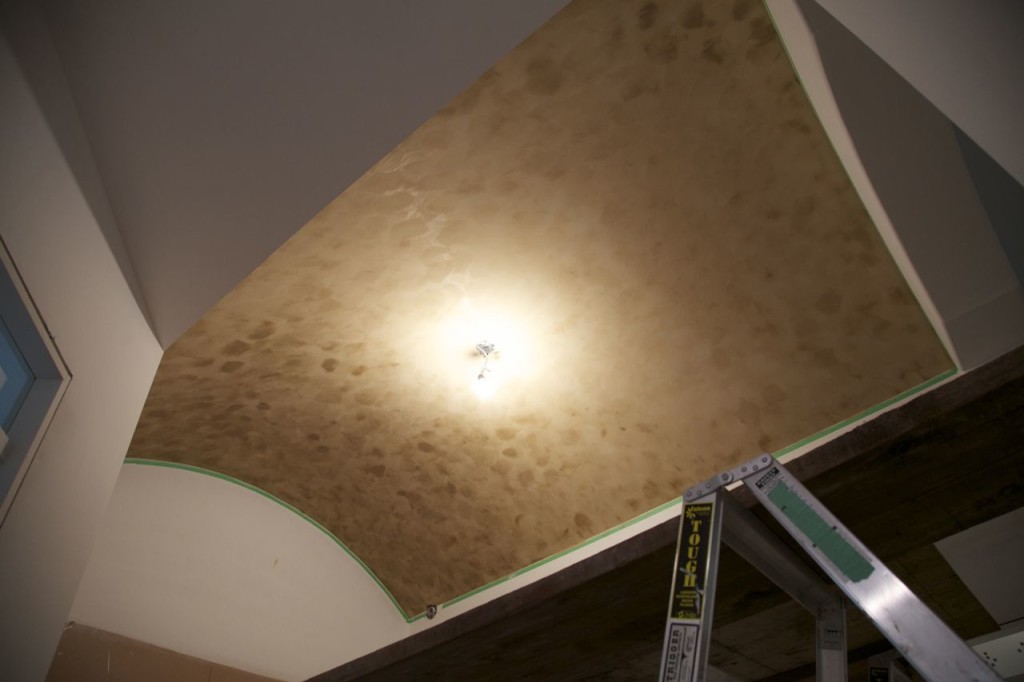
This barrel ceiling’s a huge focal point, so I took extra care and due diligence, as it’s a heavy use area and we want it looking as fantastic years from now as it does opening day.

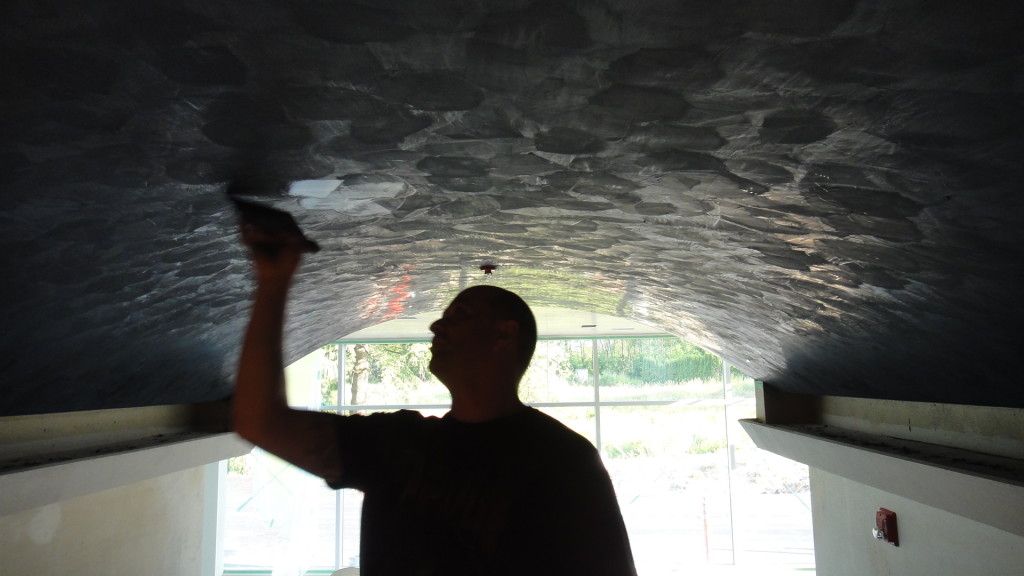
To get there, I started off by applying a two-coat Intonachino Lime plaster finish, and closed it up with a buffed super-smooth finish.

When you’re talking a “true” Venetian plaster, it’s actually a very thin finish. It can be somewhat delicate, and that’s something to consider on a project like this versus, say, a large home for a family of four. Given the massive building size, and the likelihood of foundation settling over coming months or years, I wanted a thicker plaster, just in case the building shifts any or nails decide to move any, and that extra coverage (and more work) should ensure longevity.

Craziness, I know, but it’s better safe than sorry, and it’s easier to do the job thoroughly the first time than to fix any problems a year or five years down the line.

Make sure your craftsmen don’t just think about how your job looks the day you have to sign the last check. You want them thinking about how that space will work for you over the coming years. Have that conversation with them, if you’re not sure they’re thinking in those terms — because they should be.
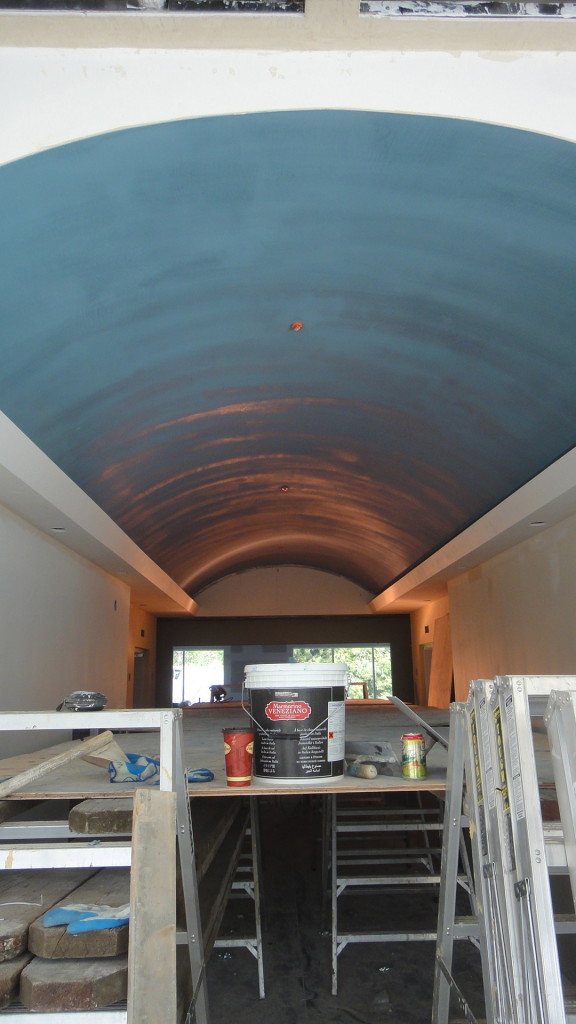
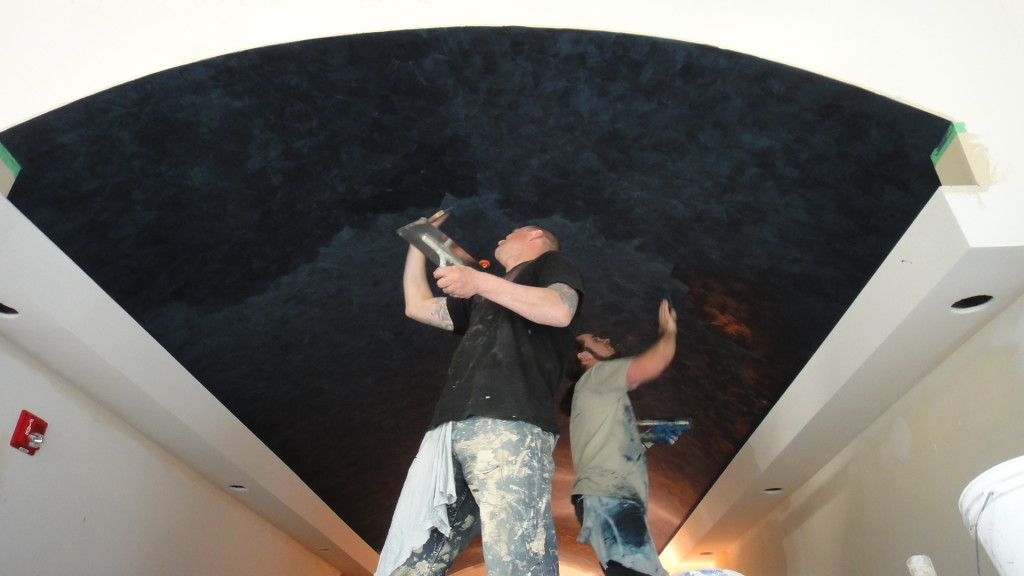
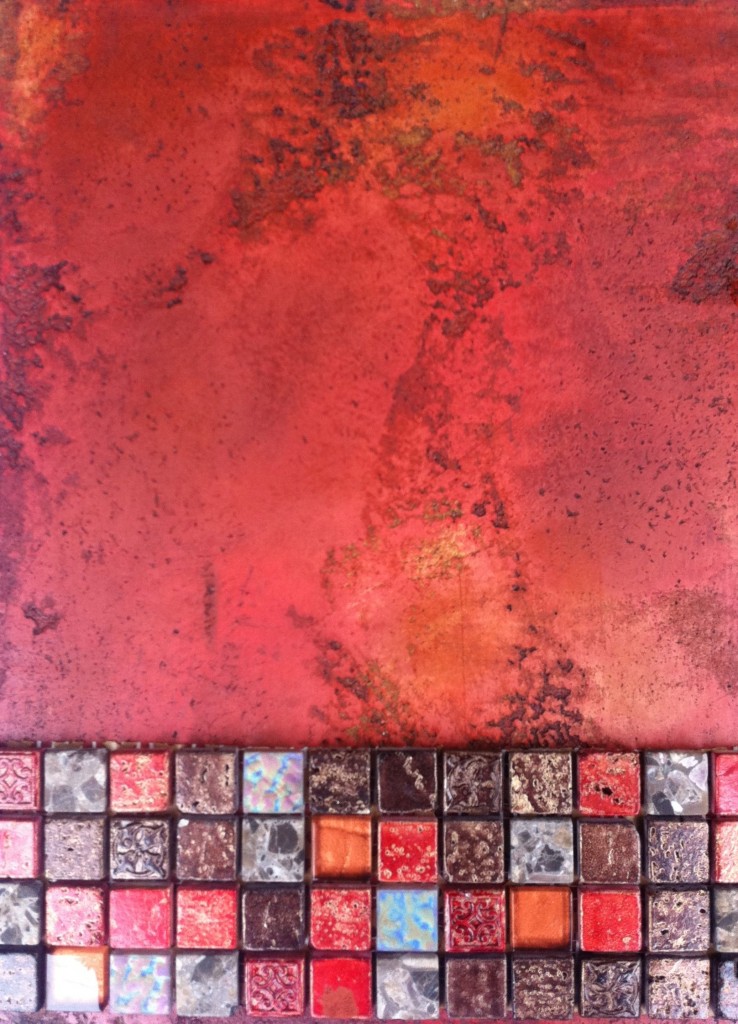
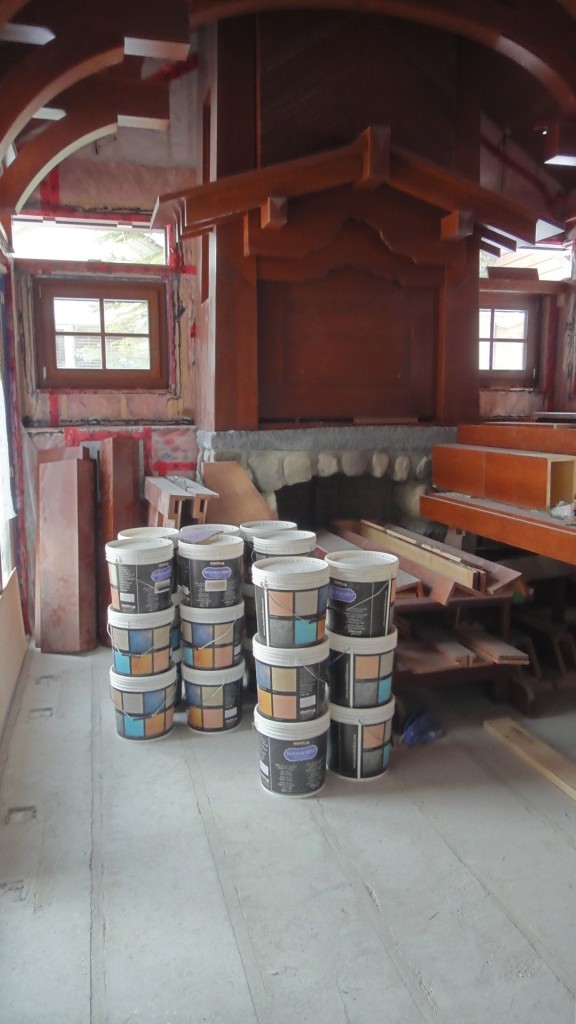
Look at this colour depth! This is what happens when I really push the envelope on the “maximum tint allowance” per bucket. Pay-off!
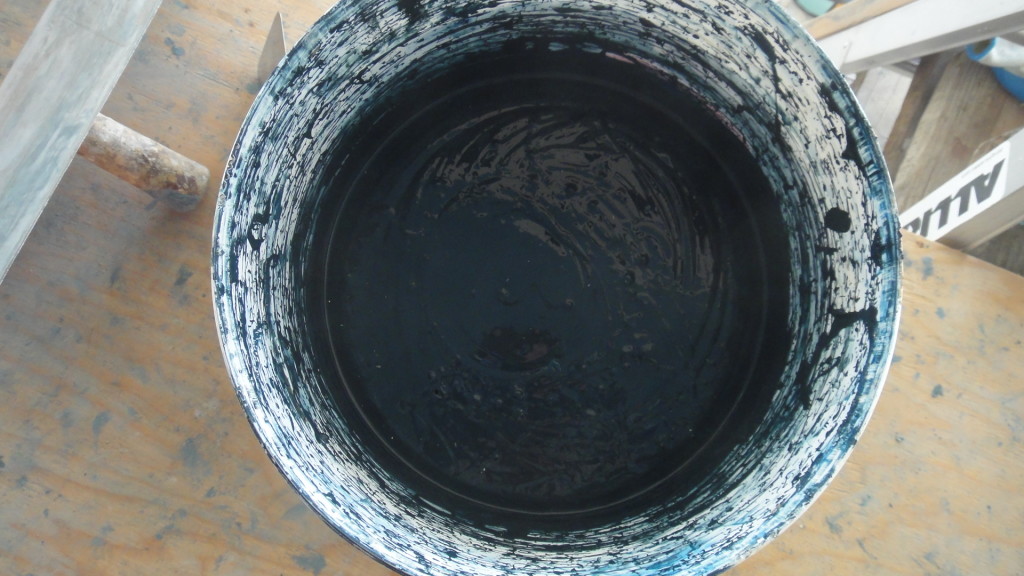
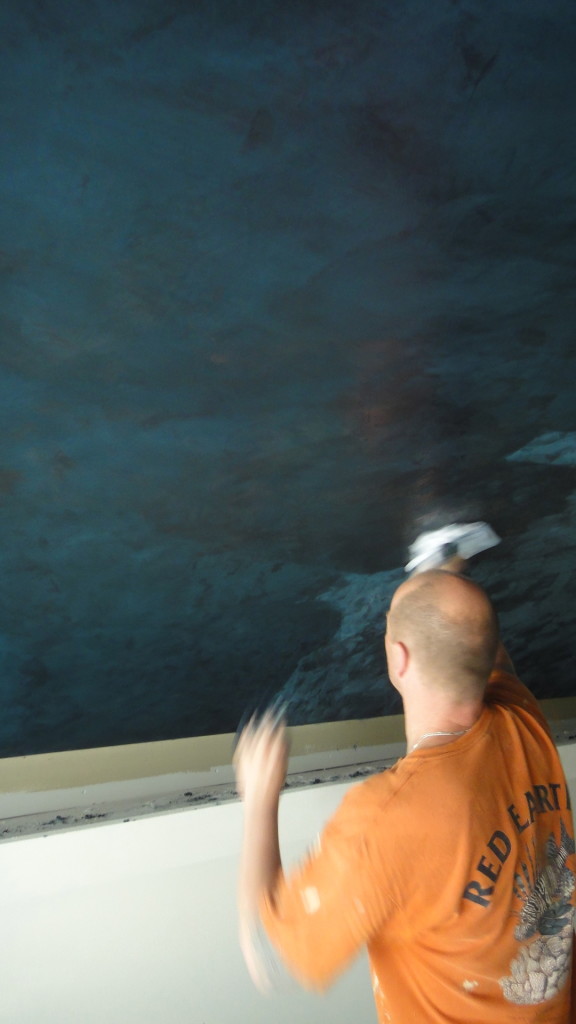
“Wax-on, wax-off.” Laying down the layers, pic by pic:


The end result? A stunning shiny show-stopper.

In this instance, it’s really a labour of love. It’s nine steps from start to finish — a lot of prepping, buffing, and grunt-work. There’s no easy way out on this one, it’s all about pushing through the burn thats the true nature of real venetian plaster.

At the end, all you see is how great it looks, and that’s okay with me.

Cheers,
Darrell Morrison.

Lime plaster has been my choice of material for almost a decade now. Recently someone told me it takes 10,000 hours to become proficient at any trade whether it be carpentry, framing or even a stone mason, the time spent honing that skill will one day make you a tradesman (or tradeswoman).

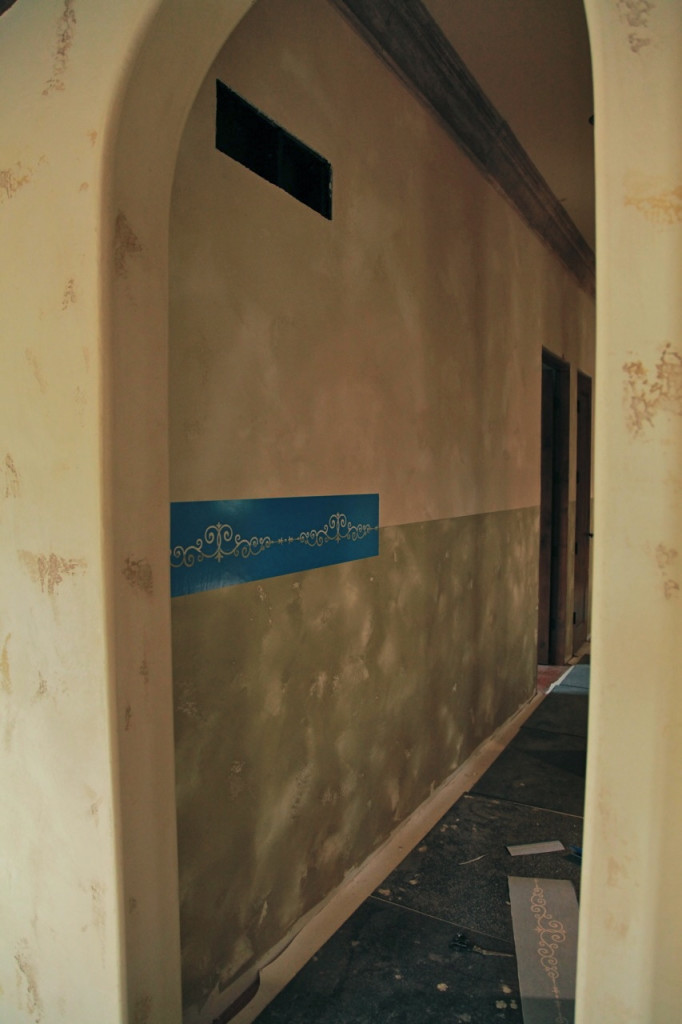
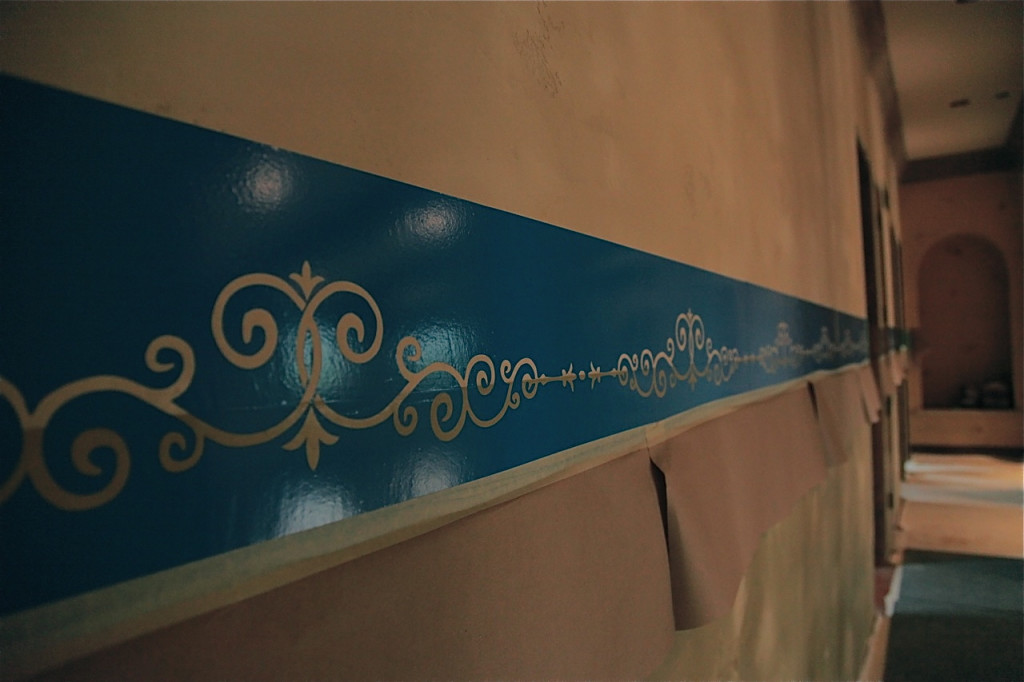
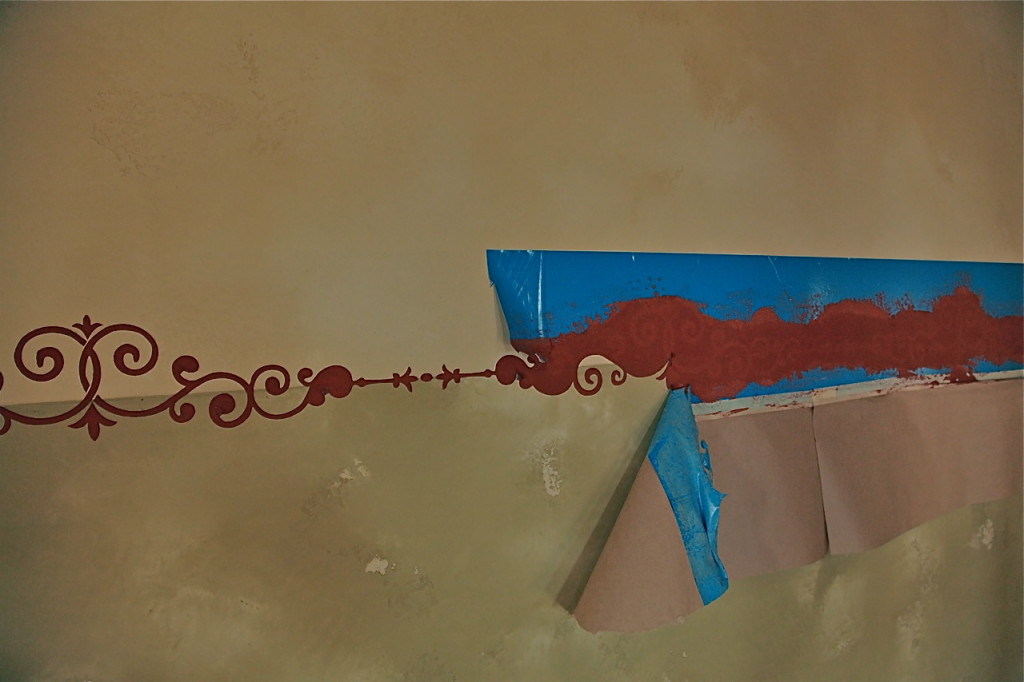
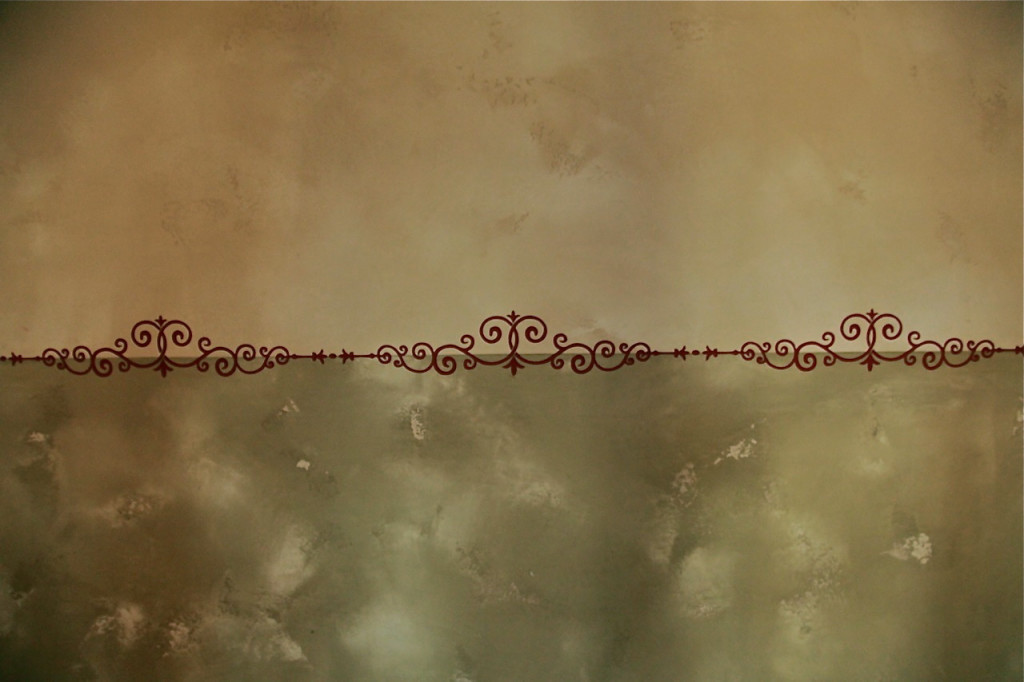
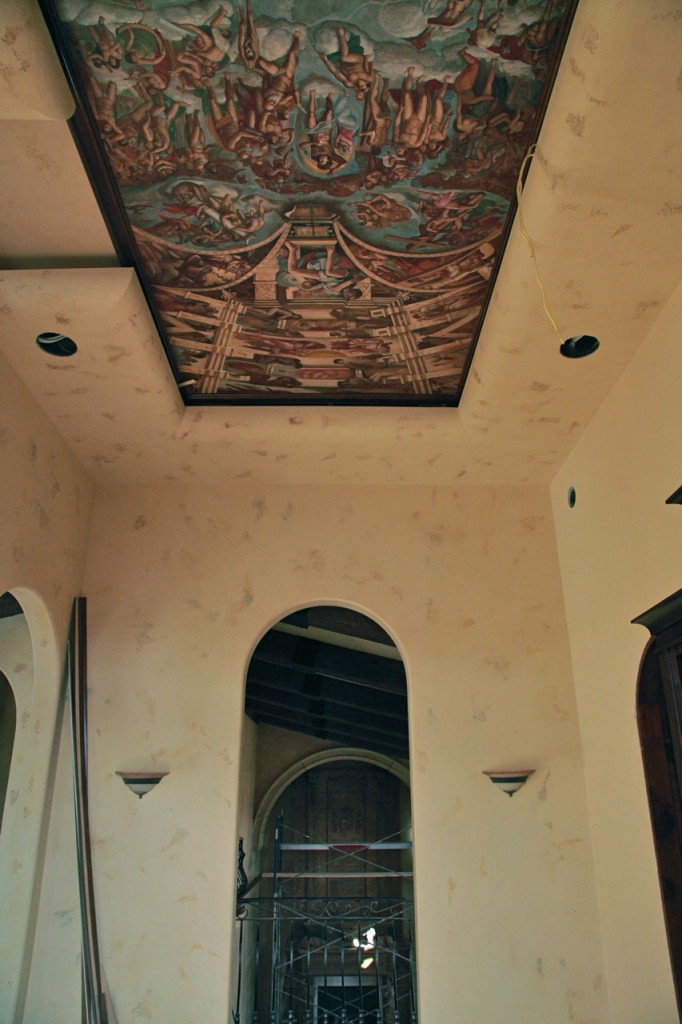
Over the summer I have been fortunate to work on a project in an Old World Italian Design Tuscan Villa. Breaking into my crate of techniques from WoodGrainingGoldLeafingVenetian Plastering, Lime Painting and Stencilling.   I have been challenged in ways that excite my mind and creativity, opening a new chapter in my life and the world I love to call Italian Plastering.

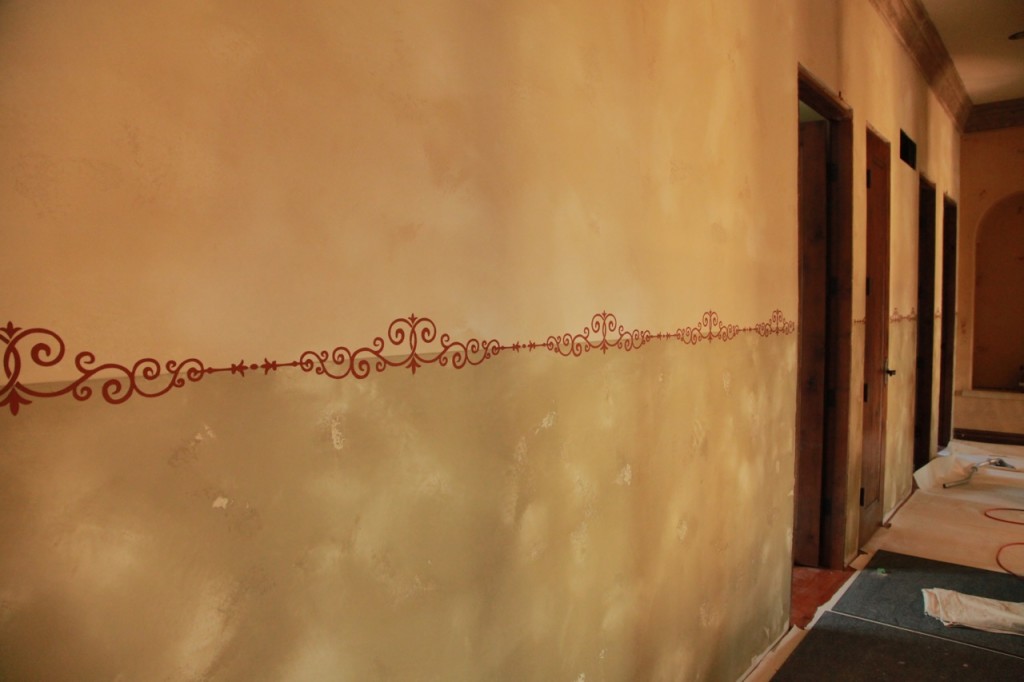
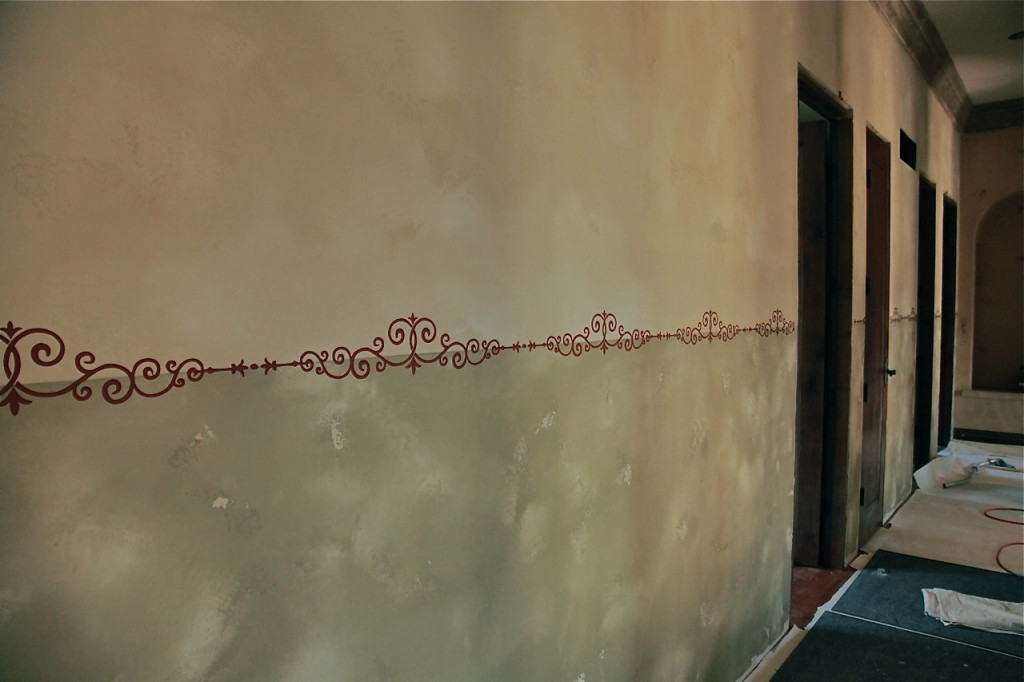
Here are some photos from this recent journey, the project is still in progress.

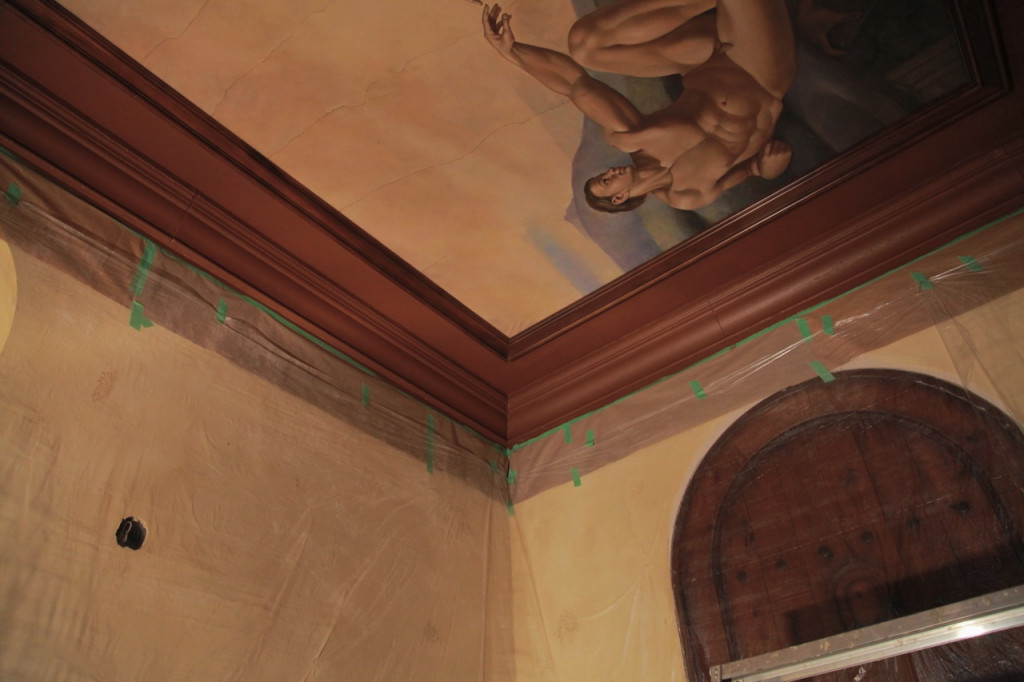
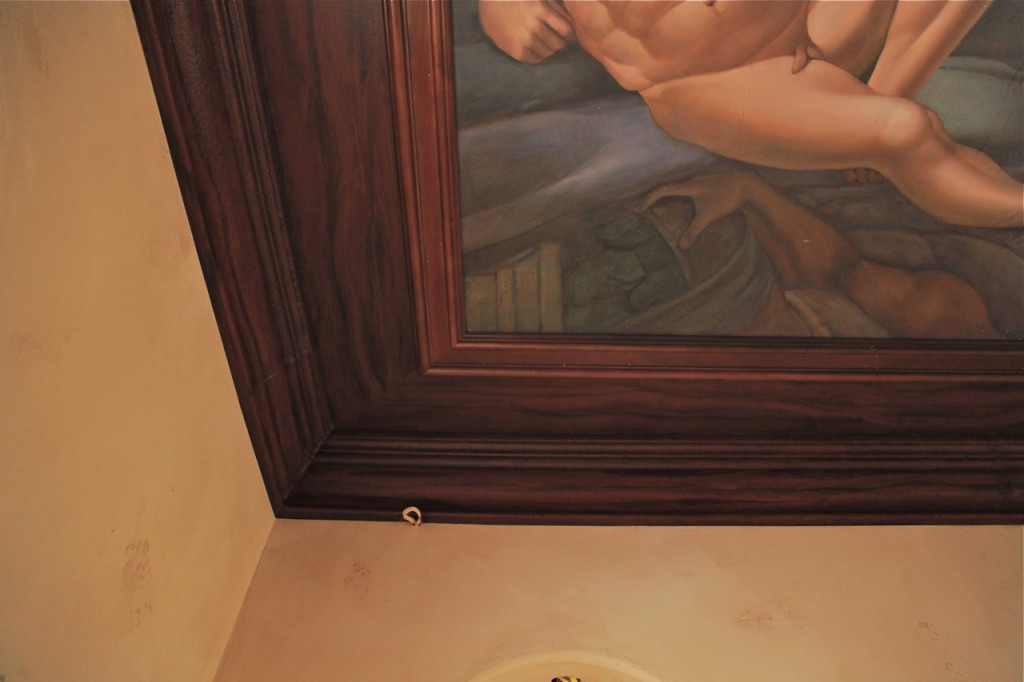
WoodGraining base coat

WoodGraining complete

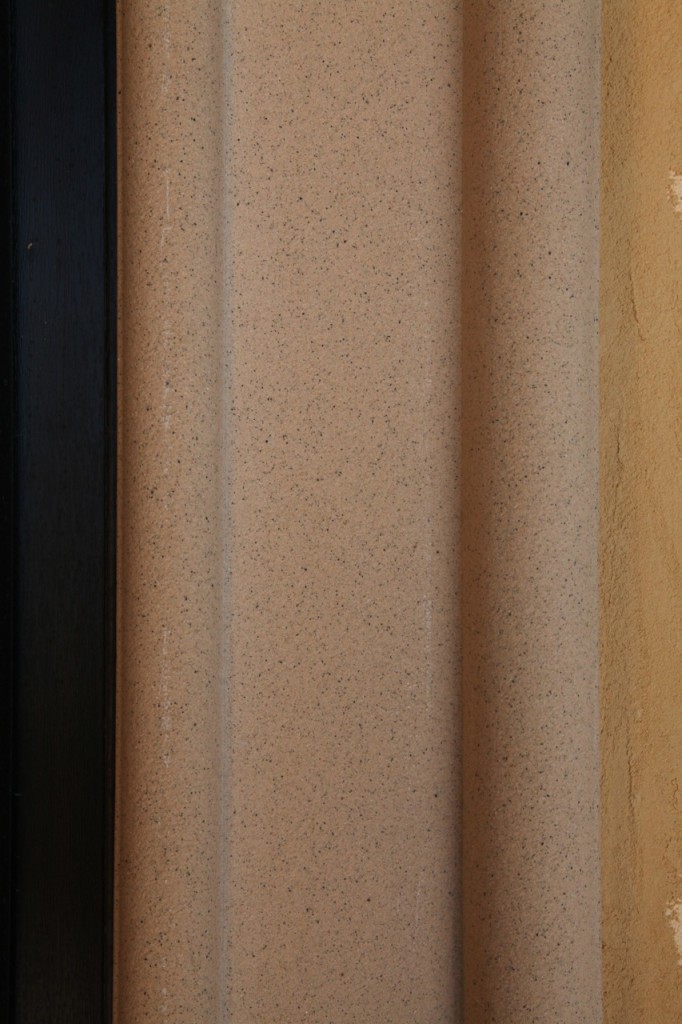
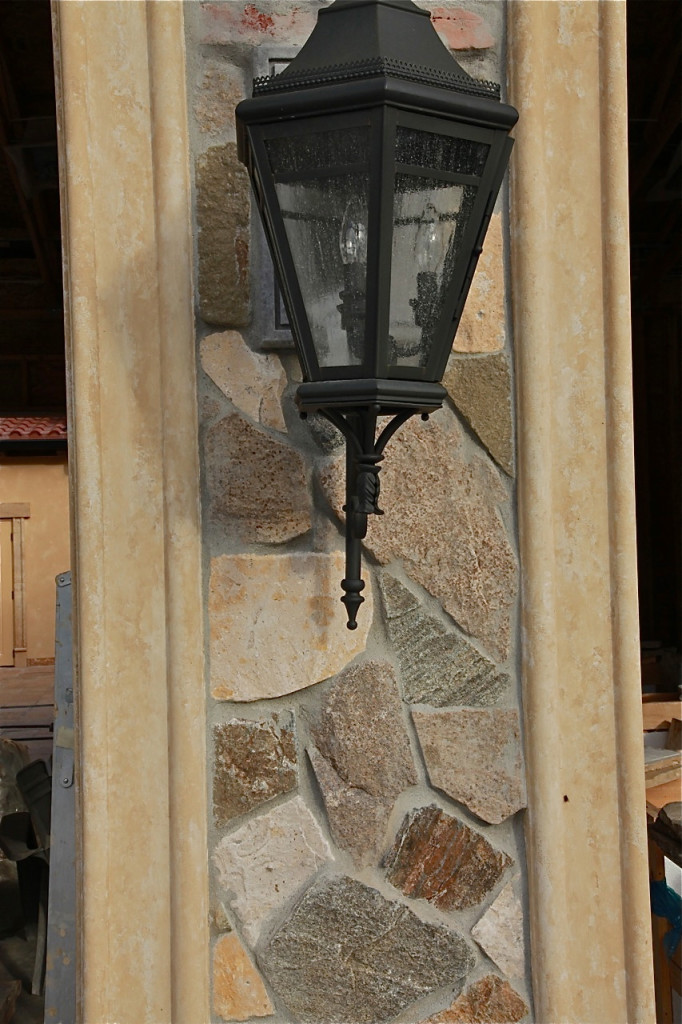
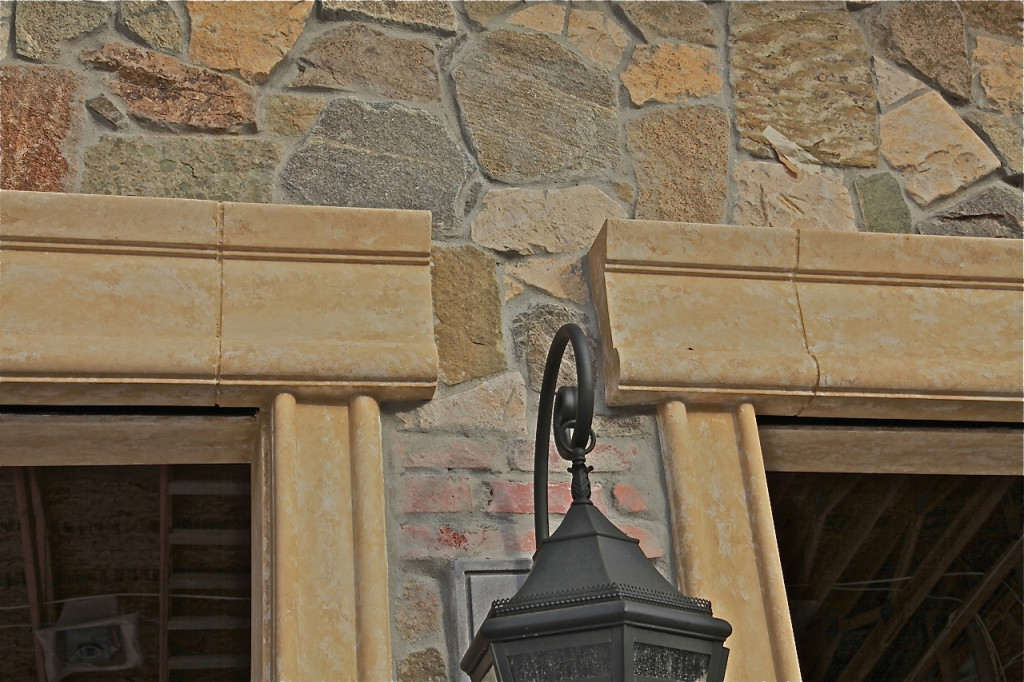
Fibre Crown is a foam moulding used to simulate stone and in most situations is painted with acrylic paints.

Here is a close up of the foam moulding

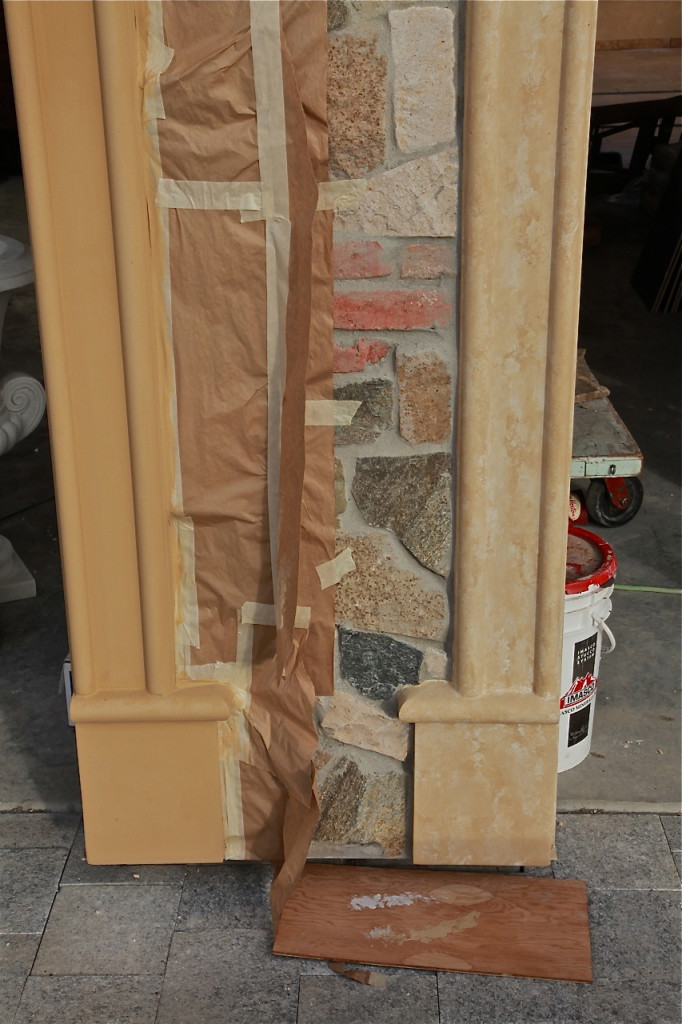
Lime Painted Fibre Crown Moulding To Simulate The Look Of LimeStone

Fibre crown molding Lime stone 2 before & After

Tadelakt being used as a distressed old-world finish is not the norm for this material. While my supplier were out of stock I was forced to use this amazing material on a Tuscan Villa in the depths of Langley, Britsih Columbia.

What a treat it has been to learn the advantages of this amazing material and also a client and builder giving me full expresion of my work and creativity.

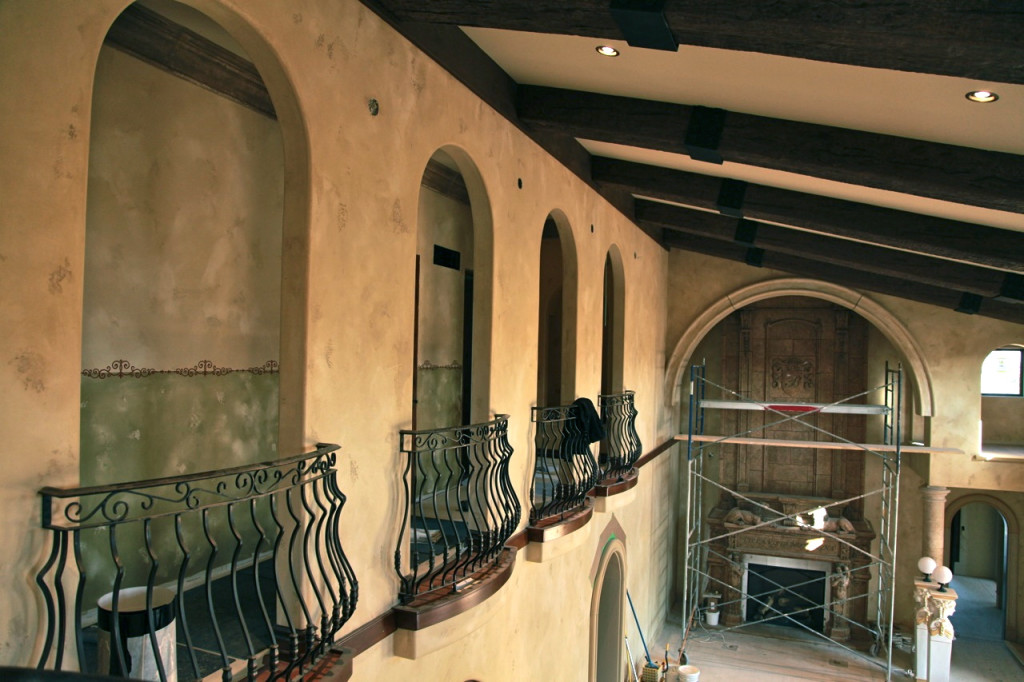
This is the 1st home I have Venetian Plastered that has 5 Juilet ballconies in the main hall, with one of the most amazing fireplaces I have ever seen. (That to come in the next post)

Here are some pictures from the start of the project

Powder Room Plaster finish

The house is still under major construction and I will share more as I find more time, bare with me the end of the summer is a real busy one.

Thanks for stopping by

Cheers
Darrell Morrison

If you know me, you know I’m a busy guy. It’s work, work, work, these days, and when it’s not about work, it’s about time with my wife, my girl, and the pups.

Needless to say, like most of us, I seldom get to do the projects around the home that I dream of doing.

That all changed in the last month, because not only did I finally get to do a bit of home reno that my family gets to enjoy, but I also got to try something I’ve wanted to do for a really long time — a heavy-duty Italian venetian plaster treatment to a bathroom shower stall.

This work was done in our main-floor bathroom, which had been wanting TLC for a while.

Doing any project for the first time, especially when it’s a bathroom, can make it hard to estimate all the work involved, so getting a chance to explore the process on my own time was great.

It was a major project by the time I finished, as you can tell by the end results, but what did it take to get there?

Here’s how the Home Shower Venetian Plaster Project evolved, start to finish.

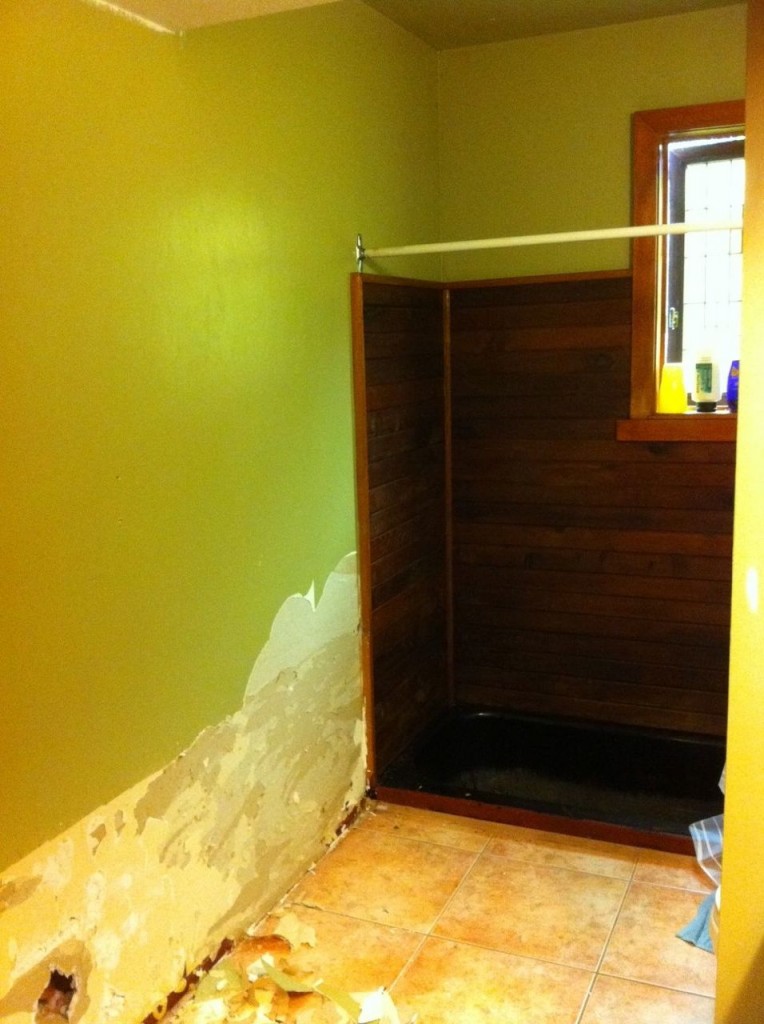
This ’70s bathroom came with tons of cedar, which all had to come down. Luckily, it was installed by someone who didn’t make much effort to do it right, so only a couple nails in each board ensured they popped right off. Removing the shoddy work made investing time in improving the room that much more satisfying.

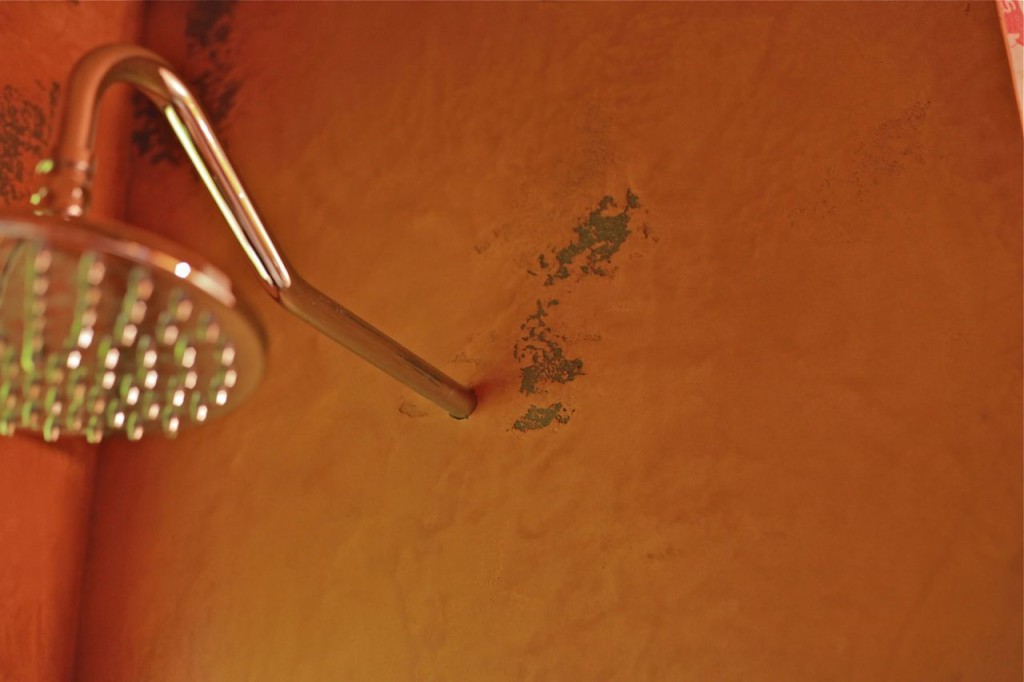
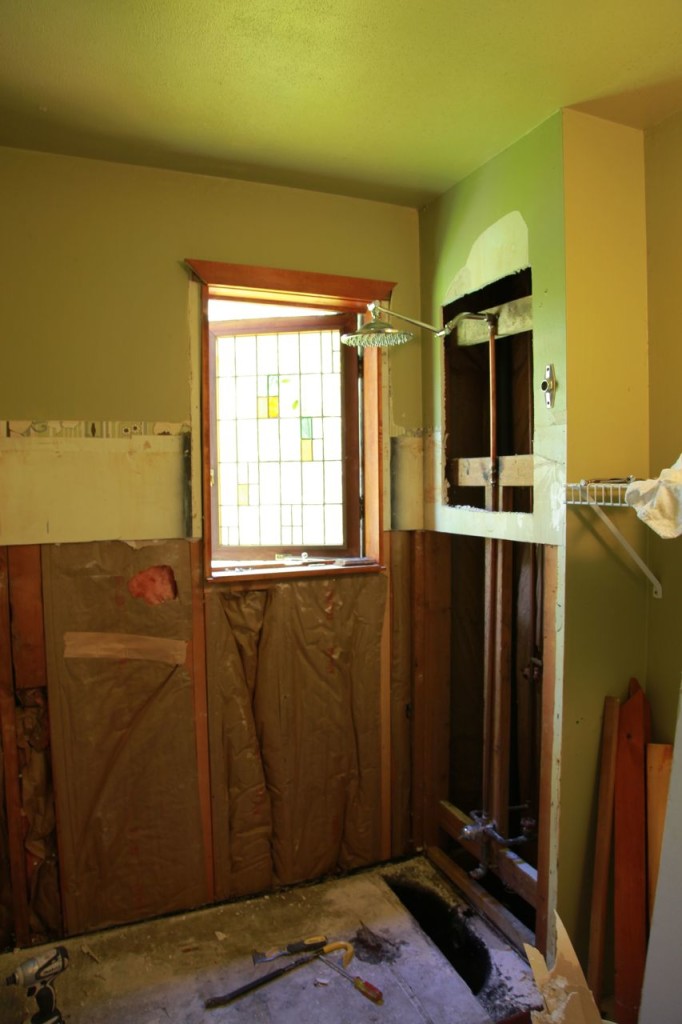
The first thing I wanted to do was move the shower-head up by about two feet. No one wants to crouch for a shower.

Before now, I never had the need, or an opportunity, to work with copper. I decided I’d take a kick at the copper can instead of calling a plumber, and working with the pipes was easier than I expected. I might do the odd fix-it job here and there now, but I’d certainly never do my whole place.

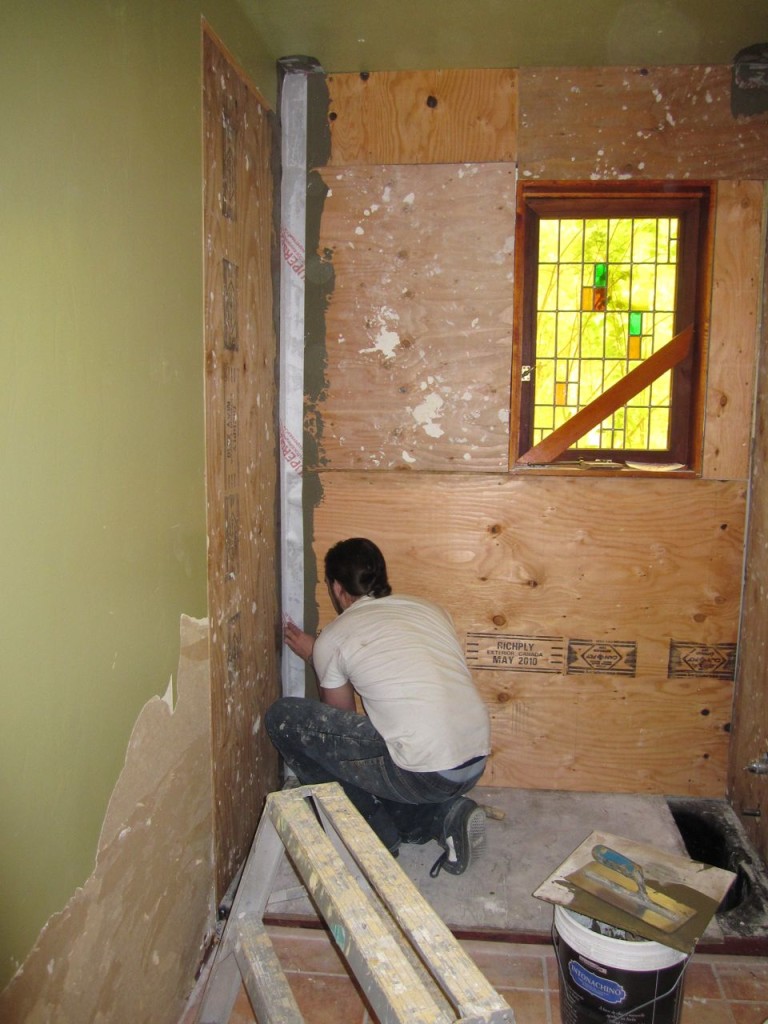
Next, I installed plywood. I’m sure some of you building guys out there are wondering “why not concrete board instead of plywood?”

It’s a preference, really. I find plywood’s just easier to work with, and it comes in big old 4×8-foot sheets, making for less cutting in some situations, but, most importantly, I find plywood’s a big help when it comes to installing lath. (Shown later.)

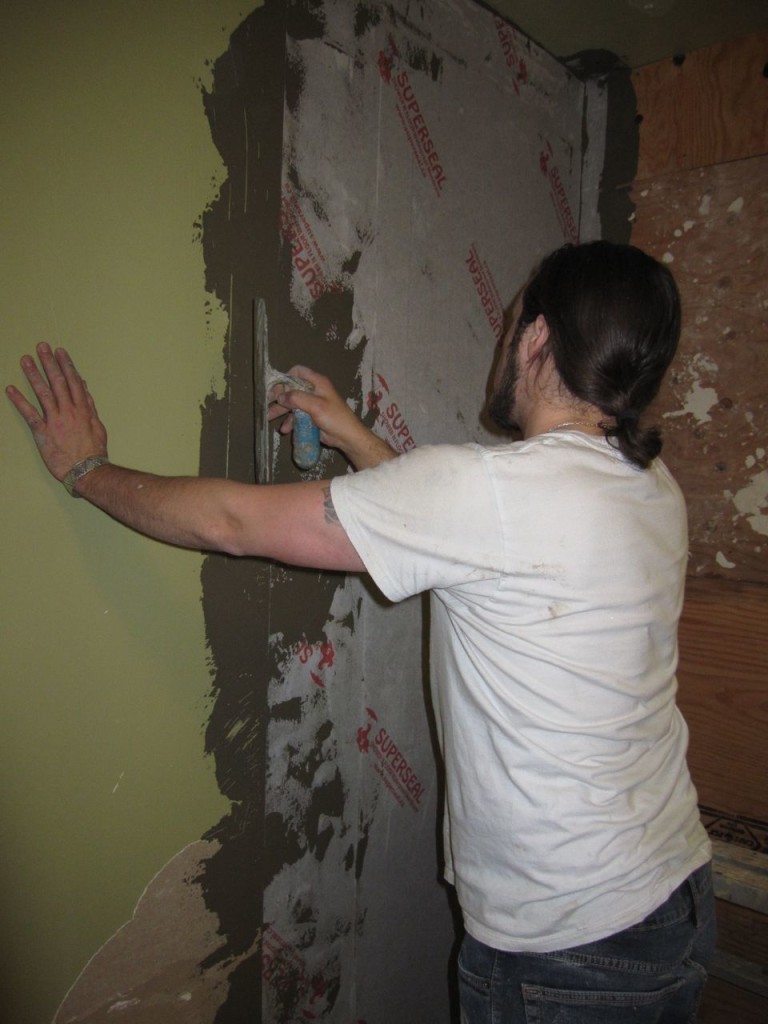
Next up was installing the water-proof membrane. Obviously a quality project is needed for a shower, and I used a local company’s product, called, “SuperSeal” you can learn more about it here.

Continue Reading..

I’ve written before about my love for wood staining. In a world of laminate from Ikea and pre-finished wood from Home Depot, we forget that wood staining isn’t just a dramatic statement, it’s a real artform, but it’s dying out.

We’re doing our part to keep it alive.

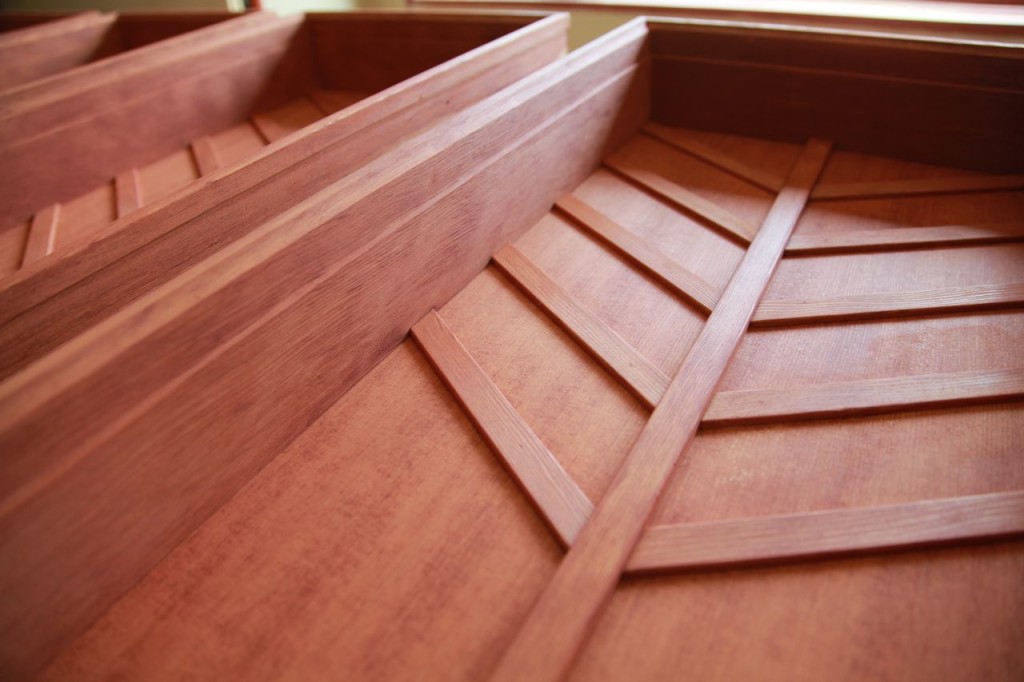
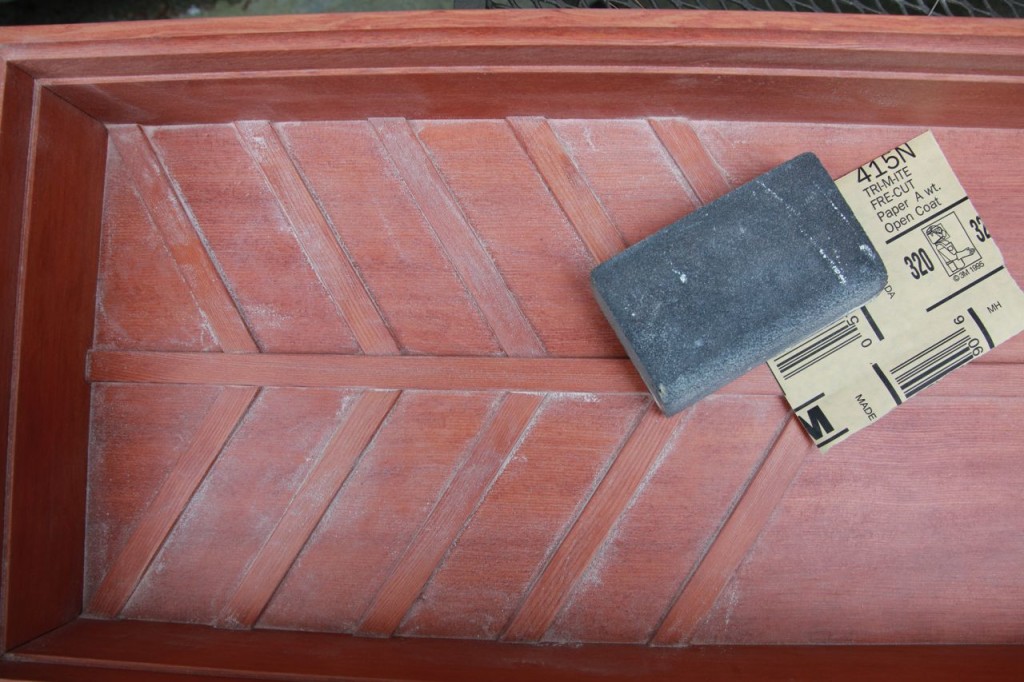
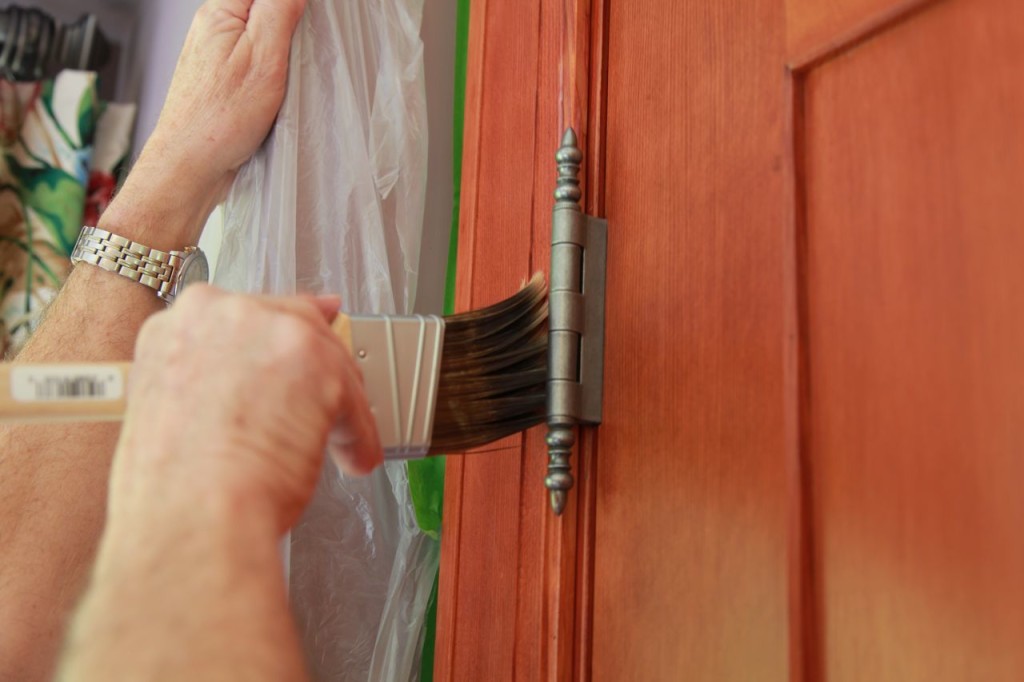
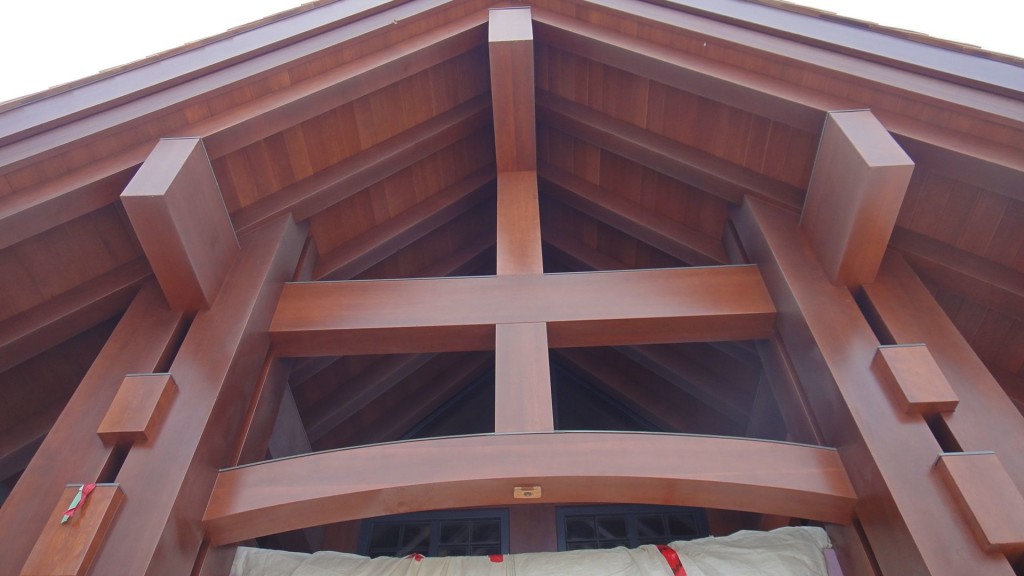
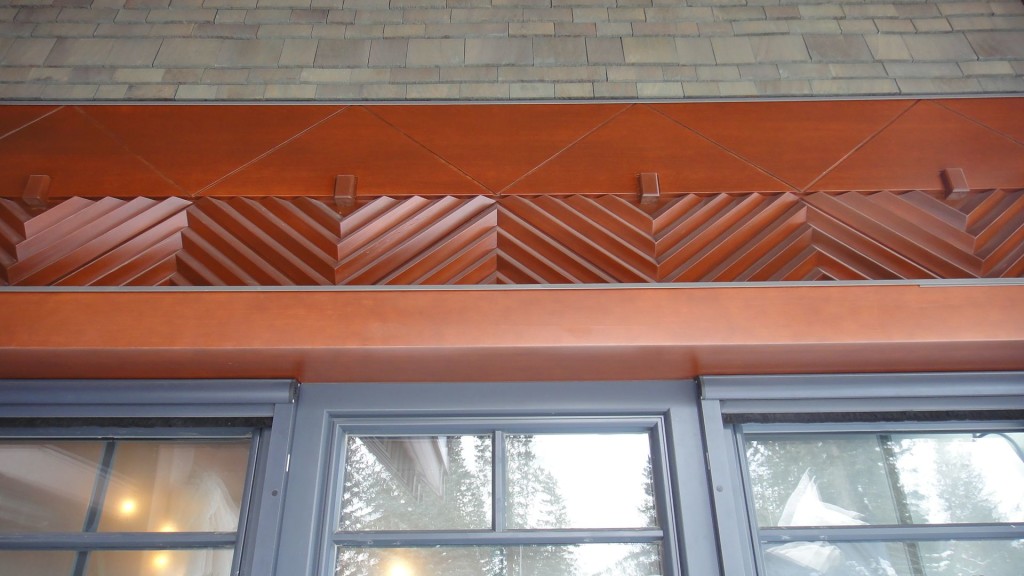
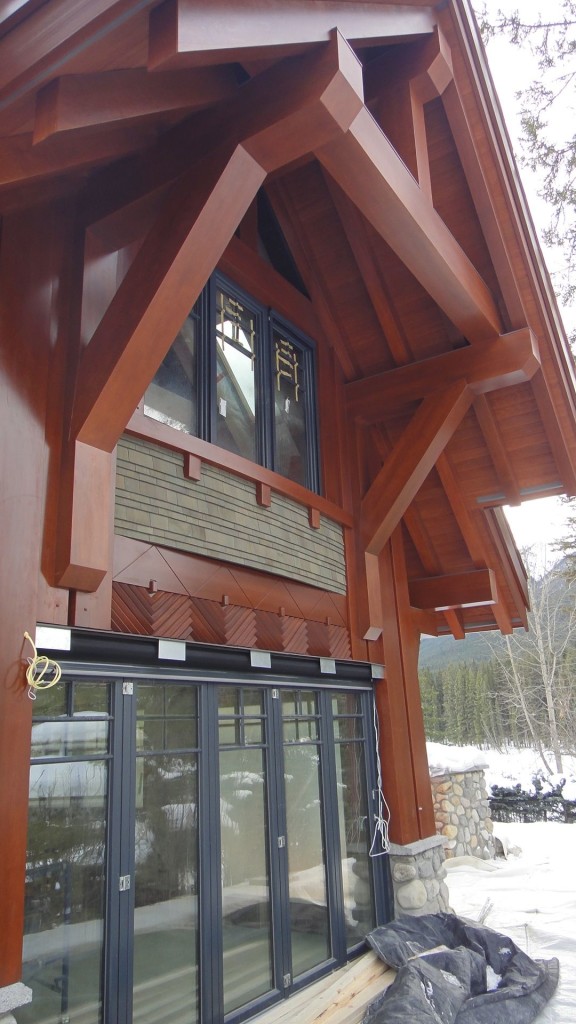
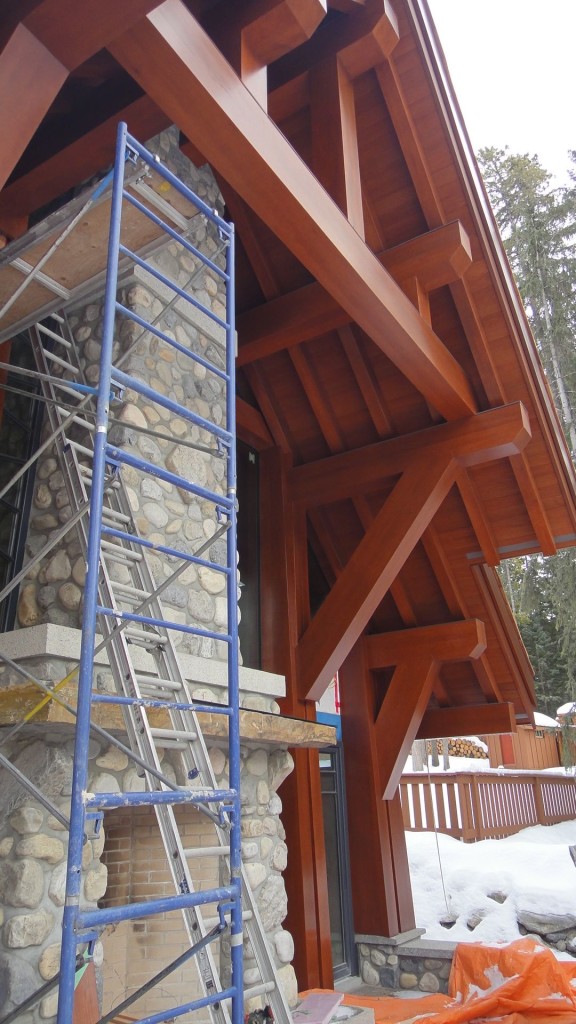
I’ve been lucky to work on this home’s extensive staining project over the last few years. The architectural detail and craftsmanship in the woodwork is fantastic, and my job as the wood staining expert is to not only ensure I’ve got colour matching throughout all the areas, but also to make sure the wood grain doesn’t get lost in coverage.Other things I’ve had to watch for has been dripping and even making sure finish on all the surfaces offers a similar shine. When you’re talking this much surface area, that takes a lot of attention to detail.

Staining is always a labour of love but there’s nothing better to do for good quality woods. With mass-produced MDF and laminate everywhere, what little great woodwork we have should be stained, and not painted.

Today’s enviro-friendly stains are durable and good for Mother Earth. I only use Earth-friendly products, and I stand behind them. If I can’t work with a stain at home around my family, I wouldn’t put it in your home.

Quality staining and clear-coating can last for decades if done right. So, we do it right, but with Earth-friendly products.

We’re not just plaster-and-paint guys, we’re the guys you call for great wood treatments that will last for ages, whether it’s staining or clear-coating existing finishes. We’ll do woodwork all over the Lower Mainland, so keep us in mind if you have a project (big or small) you’re thinking of, or if a friend’s 1930 fireplace mantel needs rescuing.

The trip home from Banff, Alberta, was an amazing seasonal drive. As I dropped from the Rocky Mountain highs to the Okanagan, then sea level, I saw things go from end-of-winter to lush and green, full of spring life.

I greatly enjoyed experiencing all four “seasons” this year, thanks to my cold-season work in the mountains and Alberta. It was mostly rain and a really mild winter in Vancouver, not one of our best years, but also not that unusual. It was a good time for a wintery change of scenery, but it’s nice (if a little soggy) to be home.

I’m getting back to making the rounds and taking on local projects. This past week, my team worked on two Valley projects — one in Maple Ridge and the other in Langley. The lengthy drives between home and the two projects took some adjusting, but it’s a great place to drive.

We just finished work on this smaller “feature” barrel ceiling’s plaster treatment. It’s one of those little jobs that starts and finishes quickly.

Italian Venetian plaster like this is where I began working in this trade, and those days kicked off what I hope will be a long and great career. It’s a real treat to work where I got my roots.

Smaller projects like this are always fun, too. Seeing the end result more quickly is a great pay-off compared to the visual impact but long work stint that doing a huge project comes with. I enjoy having a mix of both kinds of jobs.

Decorative Paint & Plaster is back in town and we’re booking clients for the next two years. How can we help you?

When you’re a guy working in the building trades, it’s not very often you get to travel for work, let alone work in a place like Banff, Alberta. This fantastic retreat in the mountains has been a dream-like project for me, and I’m happy to share with you this video of a walk-through of how the project’s coming.

As the build got further along, more plaster work got added to my slate. I love an owner getting excited about my technique and wanting more as the work progresses, especially in a place like this. By the end, Stucco Italiano’s Italian plaster was used throughout, stretching from the bottom up to the third floor.


Please set your viewing to high-def for all the detail!

Take a look at the waxed deep magenta plaster walls in the powder rooms, which includes that awesome entry feature and incorporates those subtle smooth textures across the walls and ceilings, on all floors.

Why would you want to use Italian plaster over both walls and ceilings? You have to consider the characteristics. No paint will match the beauty or durability over the long-term like Italian lime or Venetian plaster, and when you’re creating a mood in a room, why would you neglect the ceiling?

When the colour is fortified right off the bat, as I hand-mix plasters for application, including base coats, it gives a rich layered finish that doesn’t look man-made — it looks like it just belongs that way. It’s natural, rustic, and amazing for creating a mood in big and small spaces.

Lime plaster builds an atmosphere you just can’t get with only paint, and I’m a painter saying that.

When you’re talking about any kind of art or space, lighting means everything, and it’s definitely true with Intonachino plaster approaches I use in my Venetian/Italian lime finishes. As light moves across the room, during dusk through to dawn, and the light shifts from season to season, it changes the way the plastered surface appears, and you’ll always notice something different. It’s almost like your walls are a living part of your space.

This video will provide a perspective on the feel created with these finishes, but if the same video was shot at different times of day, you’d get more a sense of why I say that lightning — natural or electrical — is plaster’s best friend.

It’s been a while since this amazing journey began. Have a look at how far we’ve come, and how this plaster came to life. Click here to see the beginning blog posts.

Here, have a look at South Surrey’s Grandview Business Centre, which you’ll find nestled behind Winners in the Grandview Corners Mall.

Starting any day now, we’ll be installing natural lime plaster throughout this high-end office building’s common areas, including the bathrooms.

Landing this project was a super-proud moment for me, because it’s my largest commercial project yet, and it’s yet another client who cares about craft quality, so it’s exciting to be a part of this.

Besides that, though, it’s really close to home, and I know I’ll be able to take my daughter there and show her that this is what Daddy does, because it’s a public space.

I’ll be blogging about the experience here, so please follow along as we transform this space from floor-to-floor, trowels in hand, as we take ordinary drywall and finish it into a seamless polished lime stone plaster.

Here’s proof Vancouver-and-area isn’t just a rainforest, we get snow too. This is the project under a fresh short-lived blanket of it a few weeks ago.


I love watching projects come together, and living so close to this build site let me catch glimpses throughout the early stages.

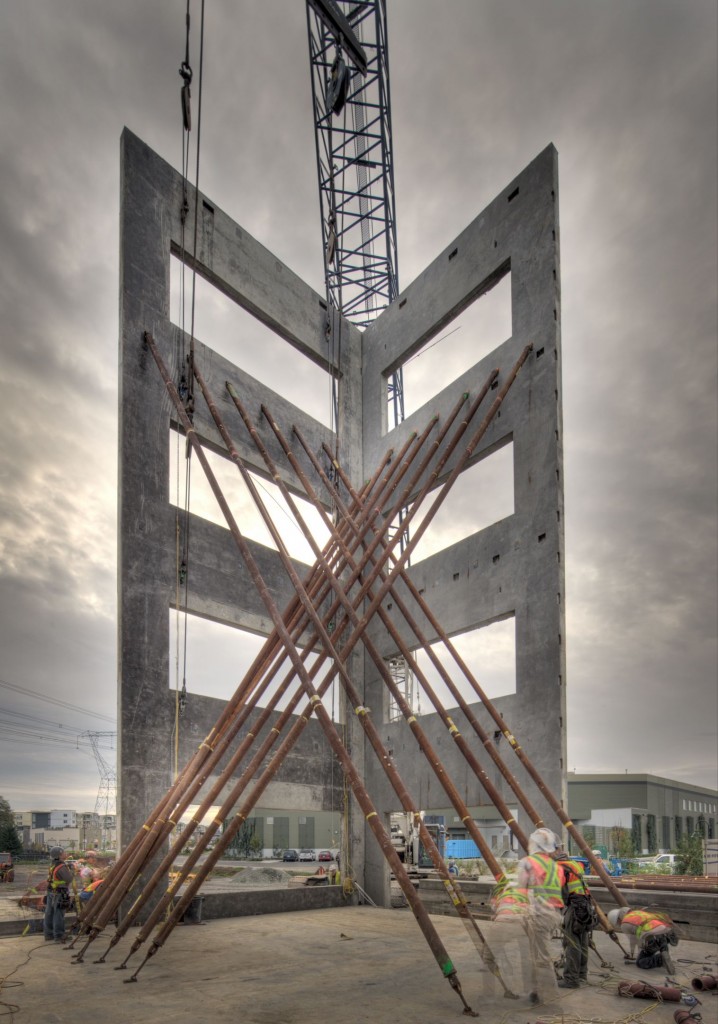
Here’s a shot of the braces holding up recently-erected concrete panels. Obviously this isn’t your average construction site.

The job required lifting massive tilt-up pre-made panels into place, including one panel 31-feet wide, 58.7-feet high, and a whopping one-foot thick, weighing a jaw-dropping 186,000 lbs.

When I get something wrong on a job, I might have a shade off in colour tinting, or a pit where there shouldn’t be (and, naturally, it gets fixed pretty easily). Could you imagine when guys like the panel-tilters get their jobs wrong? Man, I’m glad I’m a painter.

In an article published October 19th, 2010, by the Peace Arch News, Hannah Sutherland reported there were 26 panels to “tilt up” in this unusual construction project, averaging at 140,000 pounds per panel.

In speaking about the construction method, its “Tilt-Up” assembly, Project Manager and owner of Double-V Construction Shane Van Vliet told Sutherland, “This type of construction is typical, but the fact this is four storeys is very unusual. Four storeys gets to be a little trickier… and more engineering is required.”

A video of the assemby process can be viewed here on the BC Daily Buzz.

Now here’s what the building looked like just recently.

If you’re interested in purchasing space in this soon-to-be-awesome building, learn more about the Grandiew Business Centre on their sales site: http://www.grandviewoffice.com.

Another week has come and gone, and I’m a week behind on my blogging — with pretty good reason, too!

My crew has been working really long days and straight through their weekends in order to keep up with production on the house, since the trades are all making huge advances these days, and there are a lot of pictures to prove it.

If this is the first time you’re dropping in to looking at this project, I’d suggest going back to the beginning of this amazing Rocky Mountains Italian lime Venetian plaster project in Banff, right here.

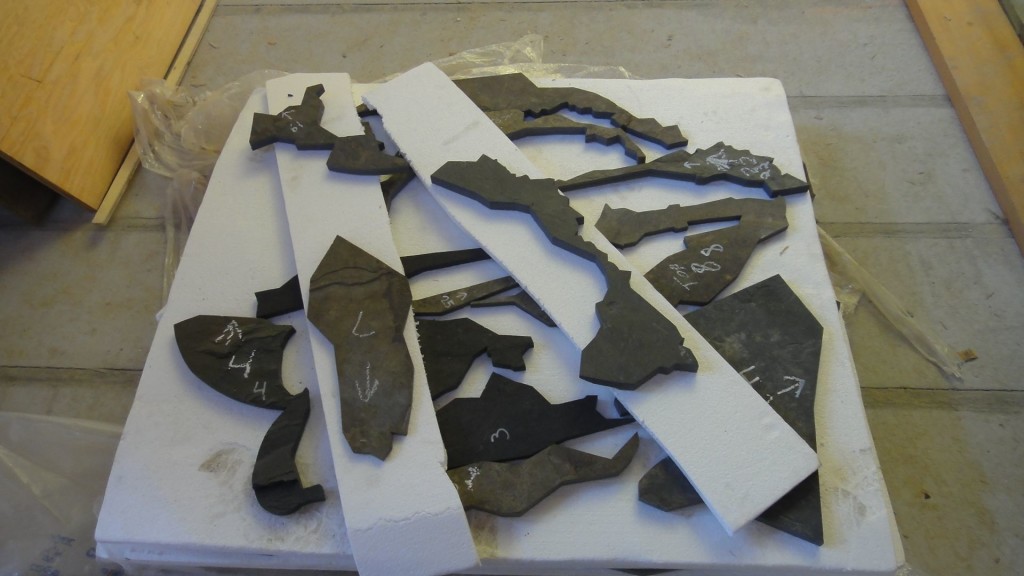
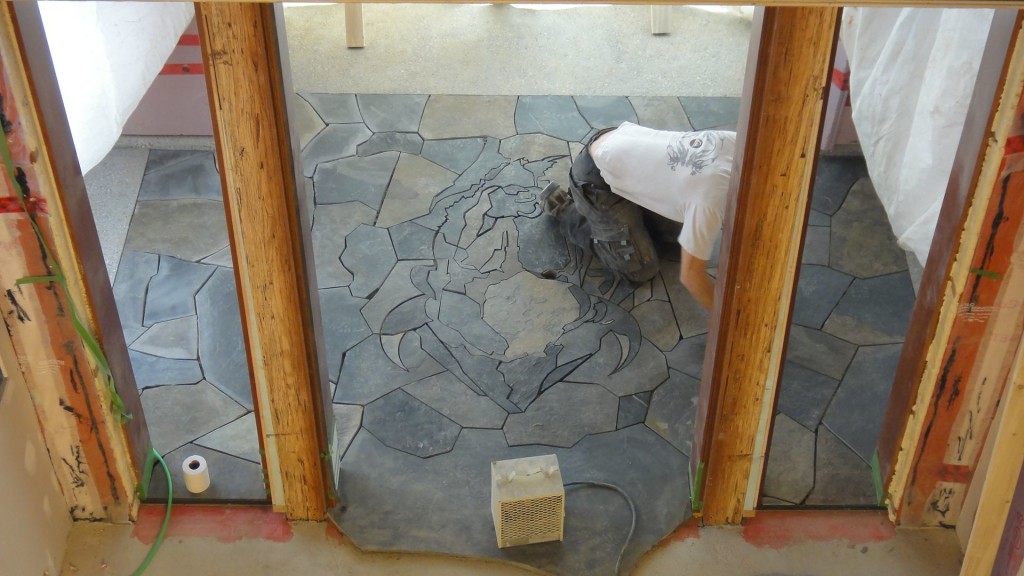
I’ve been loving the level of work from everyone involved in this project. Get a load of this amazing buffalo design in the stone flooring, at the main entrance.

It’s almost like a giant puzzle, isn’t it? I bet there’s a lot of people who’d love to put a puzzle this size together, but I sure wouldn’t. The precision needed to lay this tile is a pretty rare skill, even at this level of the game.

Talk about a mistake getting set in stone… Not for me, thanks. I’ll leave that to the pros.

Here’s another look at the stone buffalo, from the second floor.

A little trivia for you: Did you know that Alberta’s home to one of the two last continually wild North American buffalo herds?

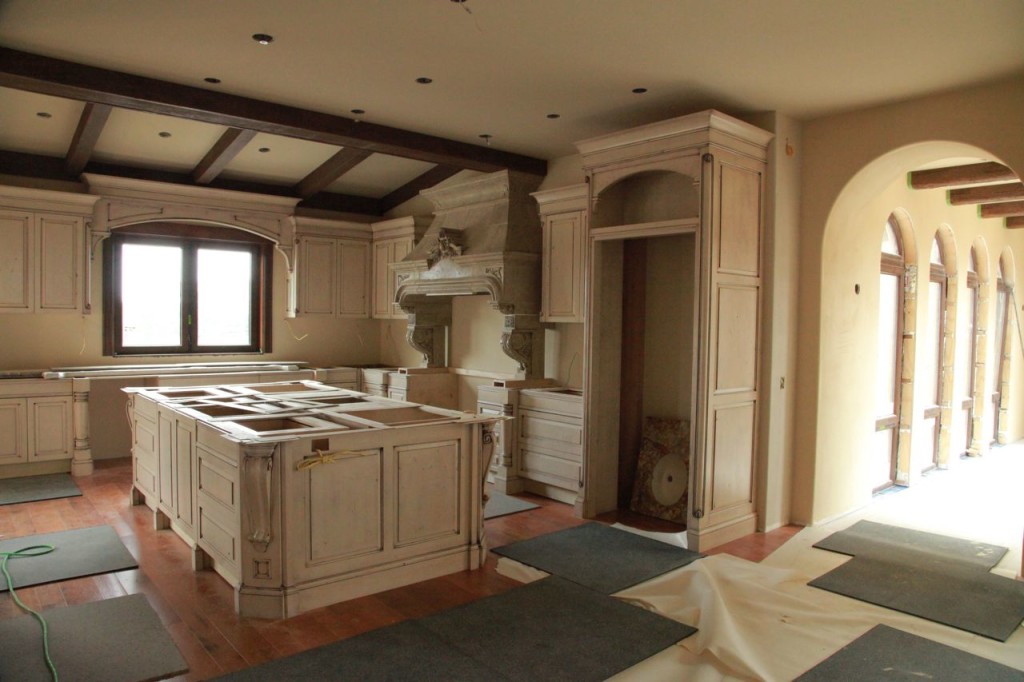
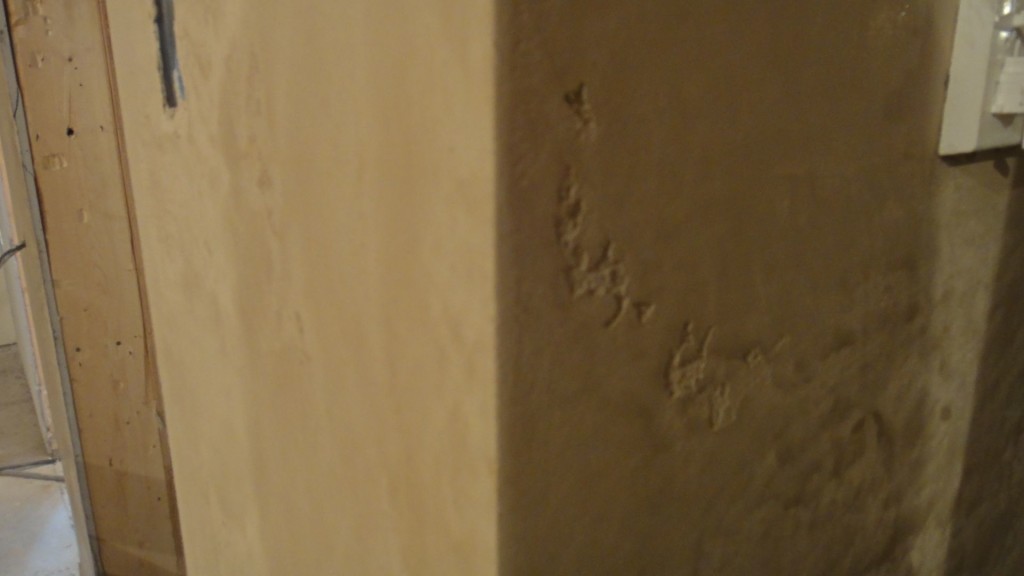
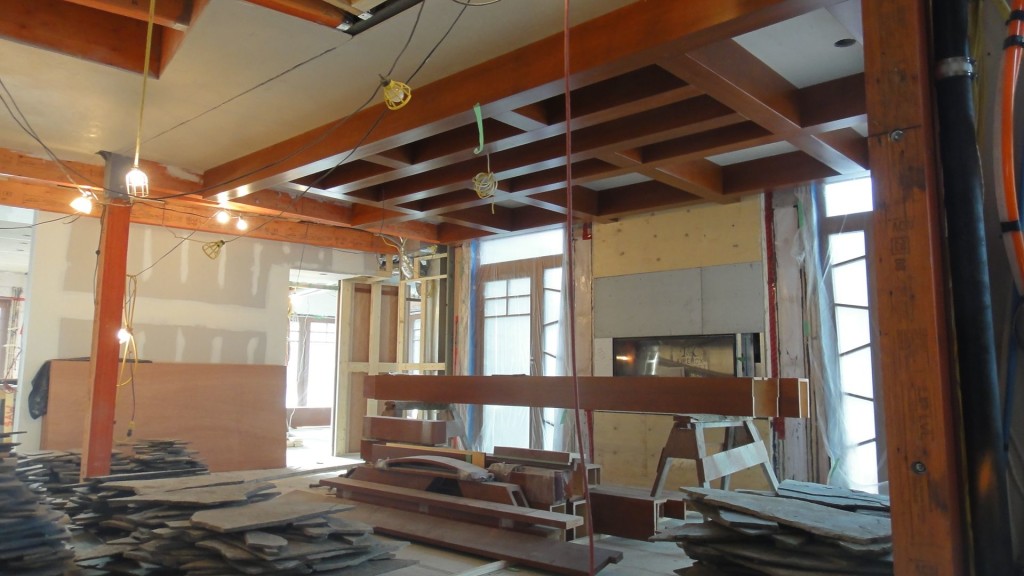
After the Venetian plaster finish on the kitchen ceiling got polished off, other teams got to put the beams up. I’m loving the look and the contrast of the smooth wood against the rustic lightly-pitted plaster, but can’t wait to see it stained.

Another shipment of material showed up this week, which meant more walking up hills and stairs covered in snow, hauling plaster supplies.

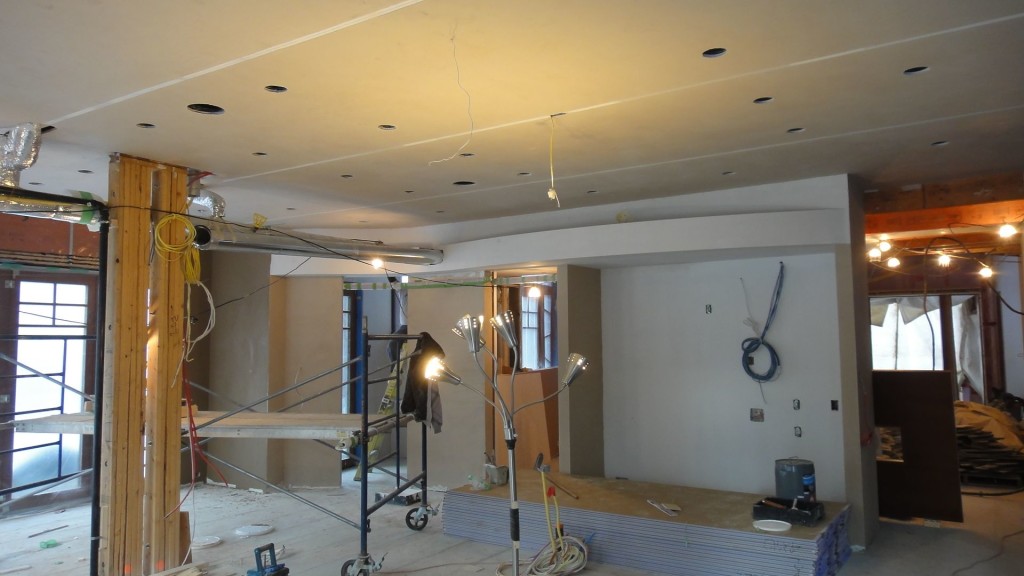
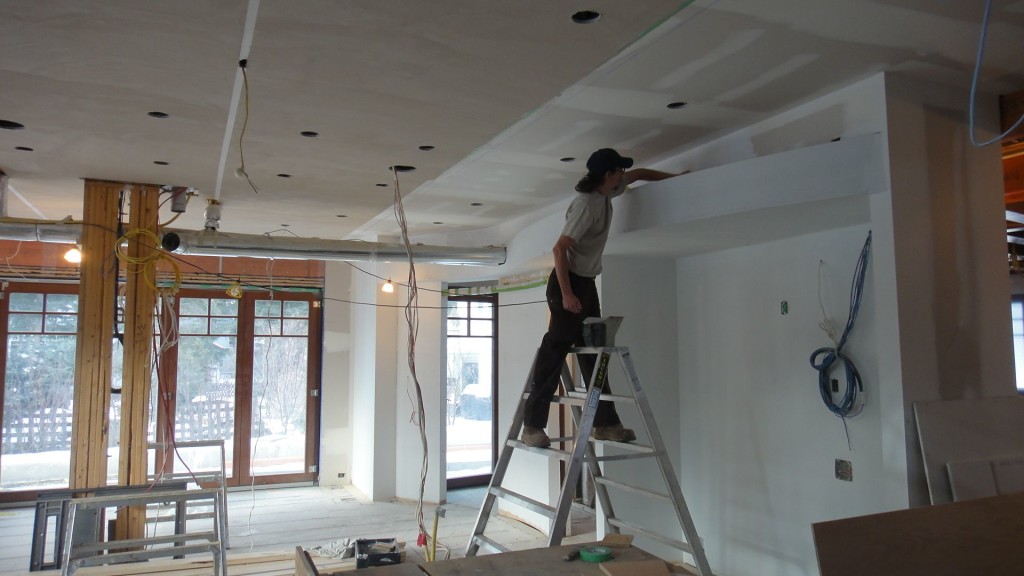
Ahh, the boring world of drywall… but progress here means moving on to what we love, the plastering.

Details are critical with a masterful build like this one, where everyone’s brought their A++ game. Here’s Kelvin getting all those reveals smooth and level. It’s looking great, and we know he’ll keep it up.

The beams in the master bathroom are installed now, getting closer to a  finished look.

The outside of this place is getting just as much detail work as in the inside. Here are some shots of the exterior. Now this is some serious craftsmanship going on here.

Here’s one of my favourite areas of the whole build: the back patio, with its massive fireplace.

Can you imagine summer nights, friends, wine, a fire crackling, and those towering evergreens all around?

All work and no play makes Darrell and the boys unhappy. I’m no dummy, we can’t have that! No trip, not even a work one, to Banff, Alberta, is complete without hitting the local slopes. Here’s us, off to Sunshine Village for a little powder action.
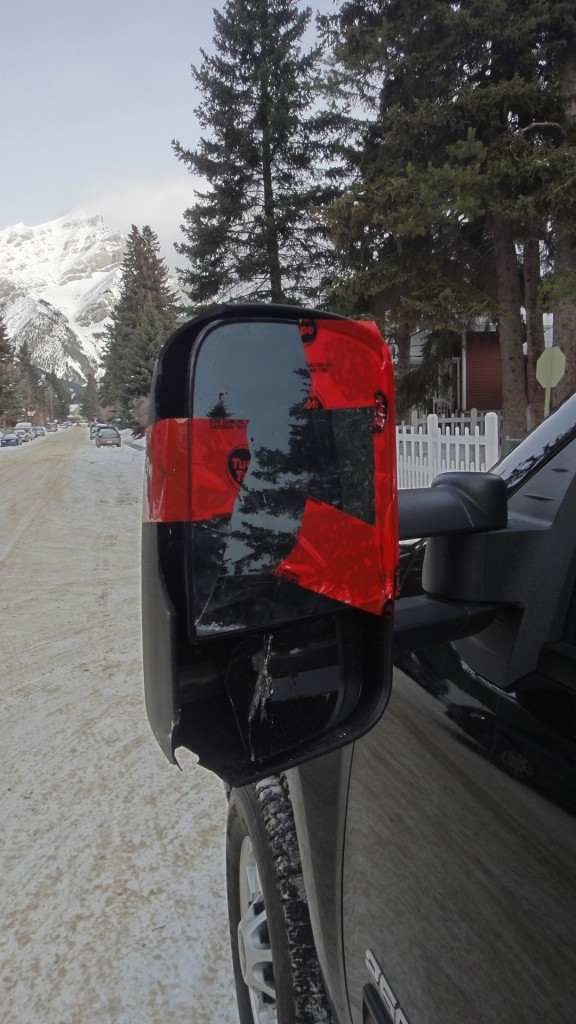
Sometimes accidents happen… Would you believe a darn tree just jumped right out at me? 🙂

Thanks for sticking around as my epic work adventure continues.
Stay tuned for more soon!

Cheers,
Darrell Morrison

It’s great to be back in Banff!

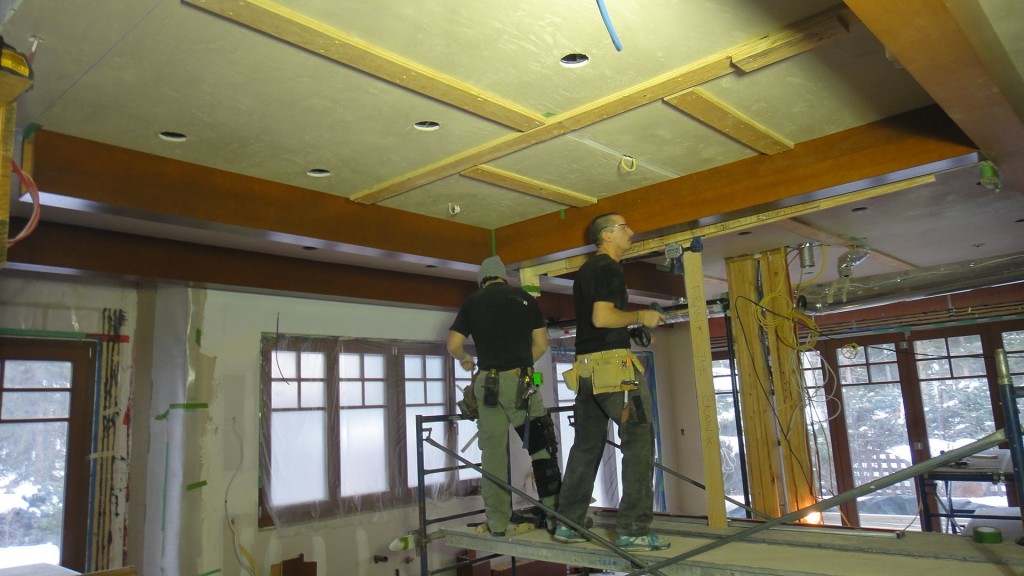
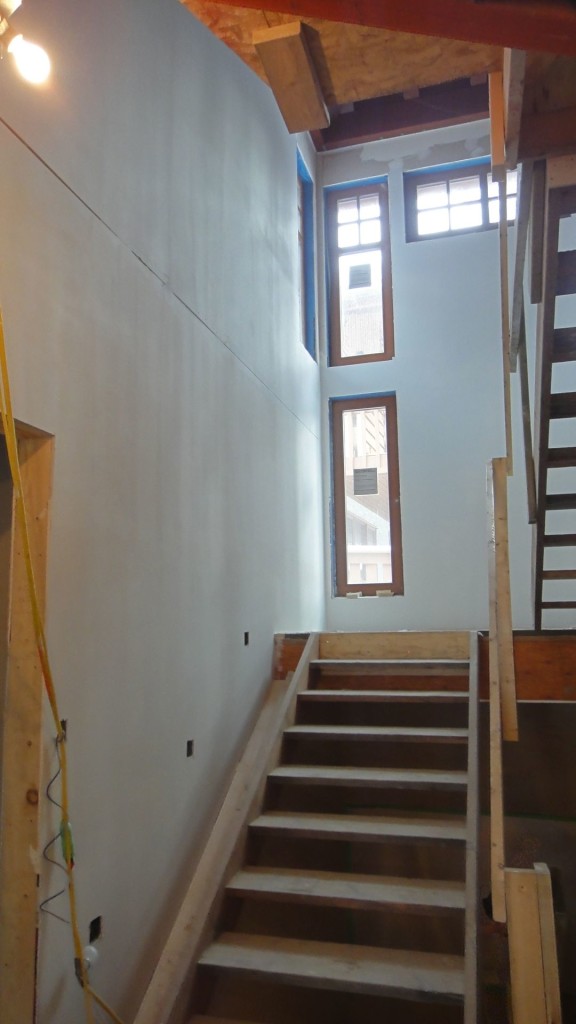
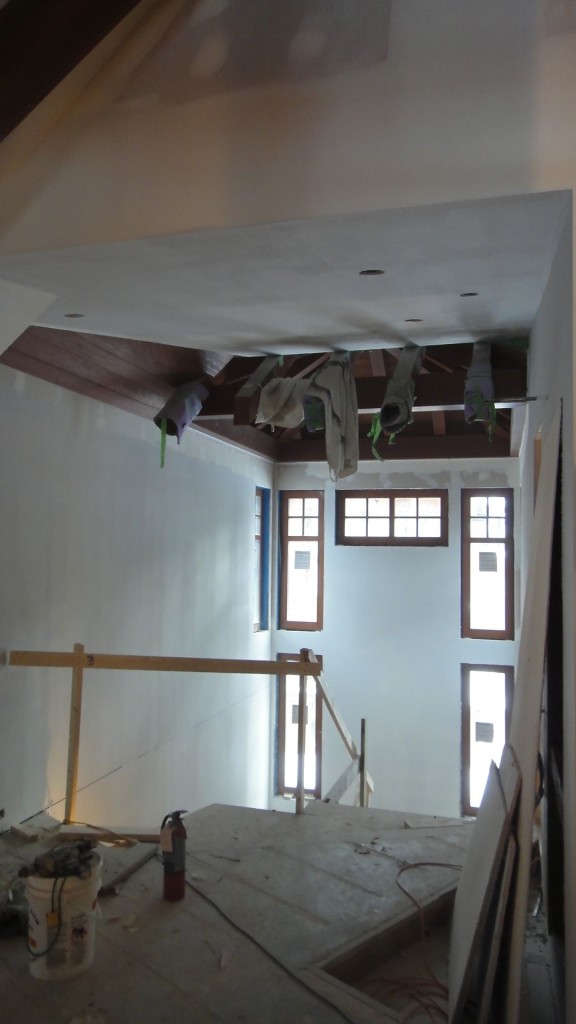
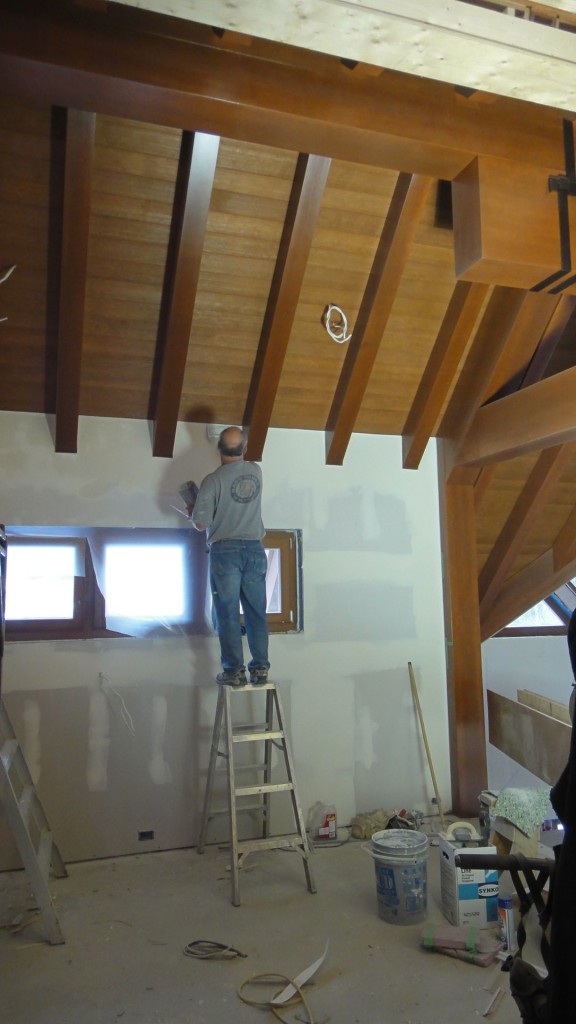
The progress from other trades has been awesome! I’ve come back to see the millwork going up on our lime plaster ceilings in the dining room, and the drywall’s being installed throughout the home.

With such a positive start for the new year, we’ll have a super-productive month.

Having lost some time to travel early this week, we’ll be working straight through the weekend. We’ll be focusing on the kitchen, which means Venetian plastering the ceilings so we can finally take on the walls.

After arriving in town, we spent the week preparing all these areas for the next seven days of work. That meant we had to prime all the walls and ceilings, and float some walls to get them perfect and level so they’ll the right canvas for our work.

Old-school methods like floating walls don’t get a lot of talk on the home reno shows on TV, but they can really make the difference in the level of craftsmanship seen in work like ours.

Remember, we’re working with natural products like wood, and one warped 2×4 can mean a world of trouble for more than one trade on a job like this. Using today’s tools and yesterday’s know-how, our finishing techniques transform trouble spots that could make an elaborate plastering job like this seem less than perfect.

Sometimes, it’s what you don’t see at the end of the job that makes the difference between good work and great work.

Here’s the dining room. I can’t wait to see this room get further along!

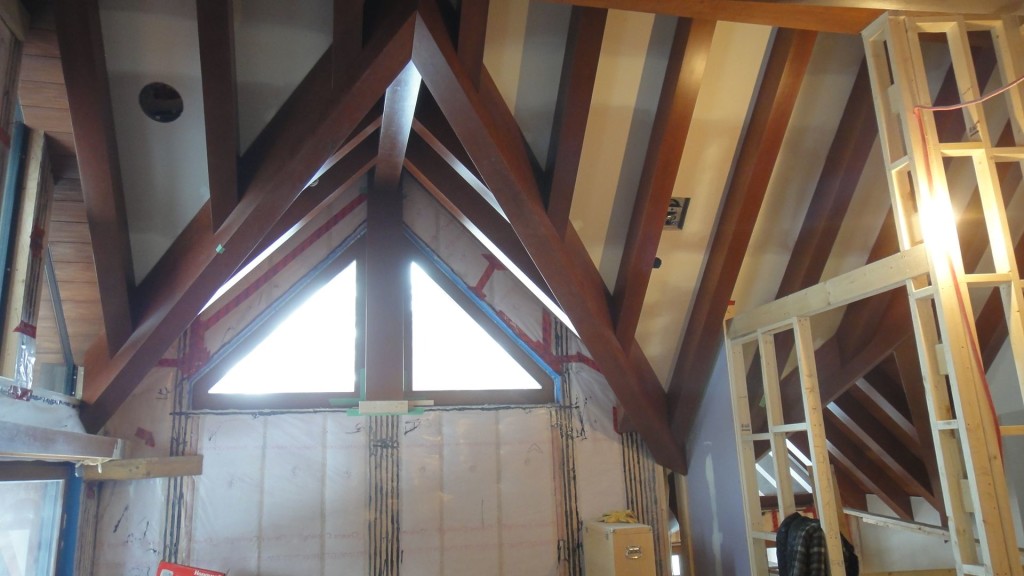
The design is just amazing, and look at all the windows. I’m in love with the look of this space and keep trying to imagine the final result. With all the lines, the angles, the textures, the light, I know it will be stunning.

Below is a detailed shot of the first floor’s drop ceiling.

The architecture here blows me away, I can’t get enough of it! It demands that we spend way more time on the finishing work, sure, and our necks and shoulders are cramping up with the strain and effort it takes, but that’s the way it goes.

It’s honestly a privilege to work on such a high level of craftsmanship, in such an amazing natural setting, and if it takes an ice bag or two, that’s okay.

These ceilings are something else, aren’t they?

I think the slight sheen and subtle rustic texture bounce the light nicely while adding lots of character. What about you? Can you see this in a space for your project?

Can you imagine enjoying an Irish coffee, reading a mystery book, and the glow of a roaring fire casting shadows on this pitted ceiling? If you’re a designer, would your clients enjoy this?

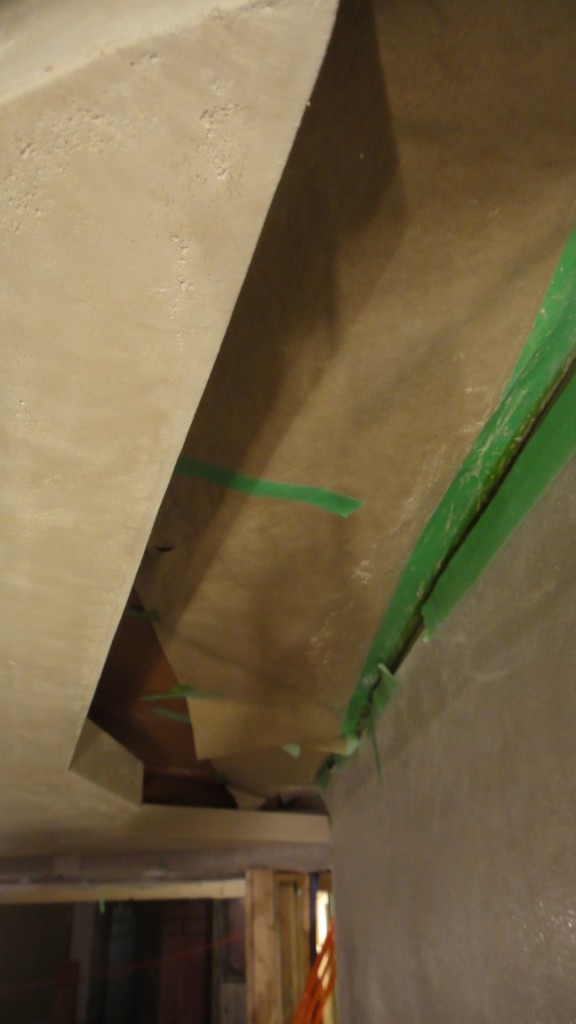
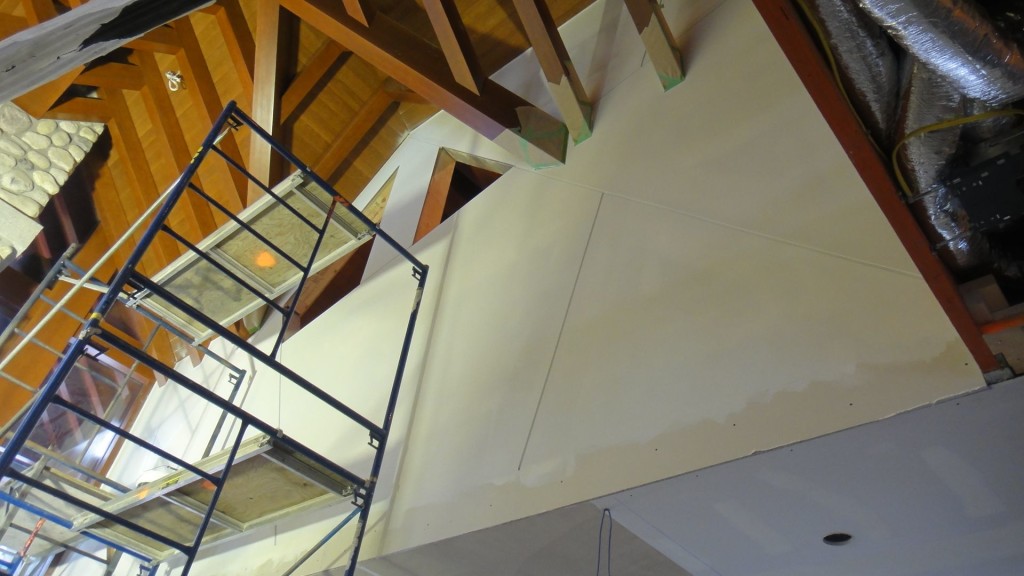
Here’s a ceiling shot taken before the drywall was installed. You can really see the jagged edges and the revealed planks underneath.

Our work is literally cut out for us!

This is the biggest wall in the house, area-wise — and the tallest. We have an amazing design happening for this, which is carved in, with half-inch reveals. You don’t get to see how cool it looks until next week’s blog posting, though.

If you’re enjoying Week One of the exciting second phase of this big project in Banff, Alberta, then stick around for more excitement — now that almost all the prepping is done, you can expect to see change happening quickly and dramatically.

Stay tuned!

Wishing you a happy and healthy 2011,
Darrell Morrison


Contact

Office:: 604.628.7855 | Direct:: 604.779.4233 | 9am to 5pm Monday – Saturday

Name
Email
Message

Thank you! Message sent.
Error! Please re-check that all fields are complete.
©Copyright 2019 Decorative Paint & Plaster Concepts Inc.