
When I get asked to create samples for fireplaces its always something new. This house was…
When I get asked to create samples for fireplaces its always something new. This house was…

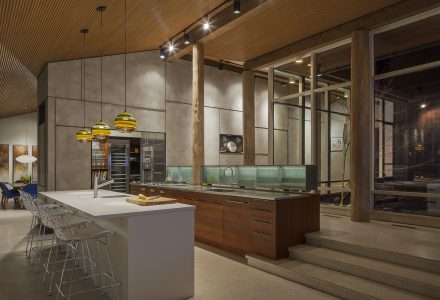
Getting the opportunity to work with LarkGroup on the Venetian plaster interior and exterior polished plaster walls…

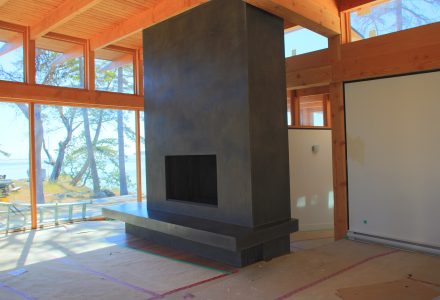
The monolithic design of this ultra-contemporary fireplace was designed using a two stage Italian lime plaster…
This oversized fireplace required a unique and durable product to achieve the “cast in place” look…
This Stunning West Coast Contemporary home featured many modern elements including exposed wood beams and stainless…
Before the Christmas break we tackled one last major project the Versace Vancouver store on Thurlow…

Board form concrete has become a popular tool in the plaster industry this past year. We…
Here are some of the before shoots When I was approached for this fireplace in the…
Integrated Italian Lime Plaster Fireplace from darrell morrison on Vimeo.