Tag: Venetian Plaster Vancouver

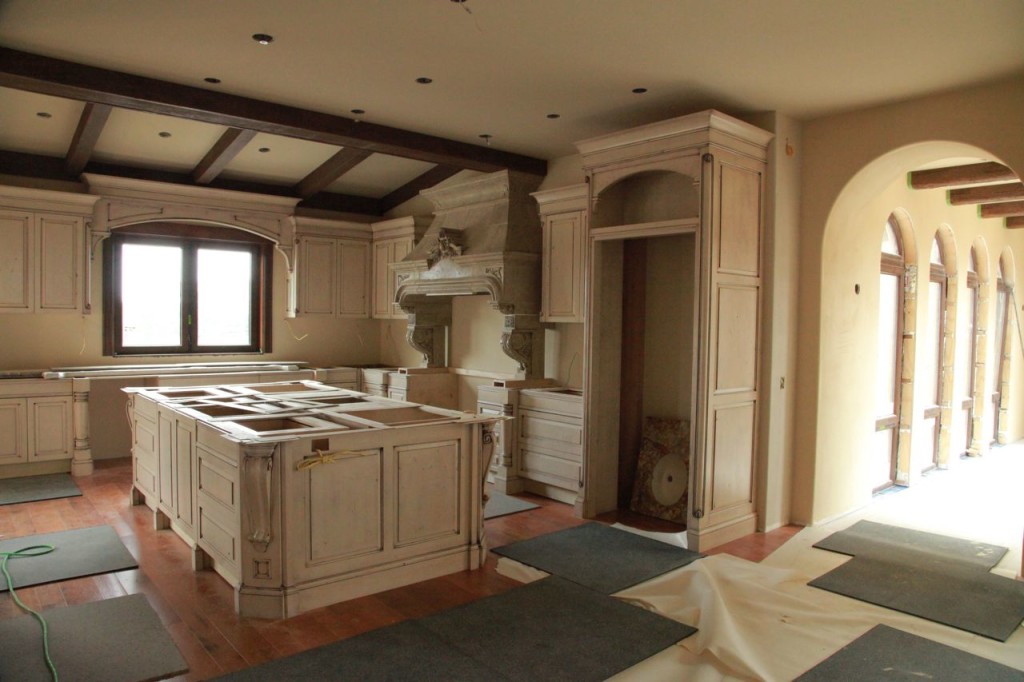
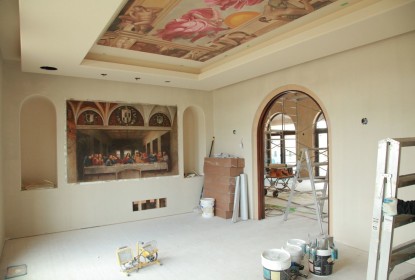
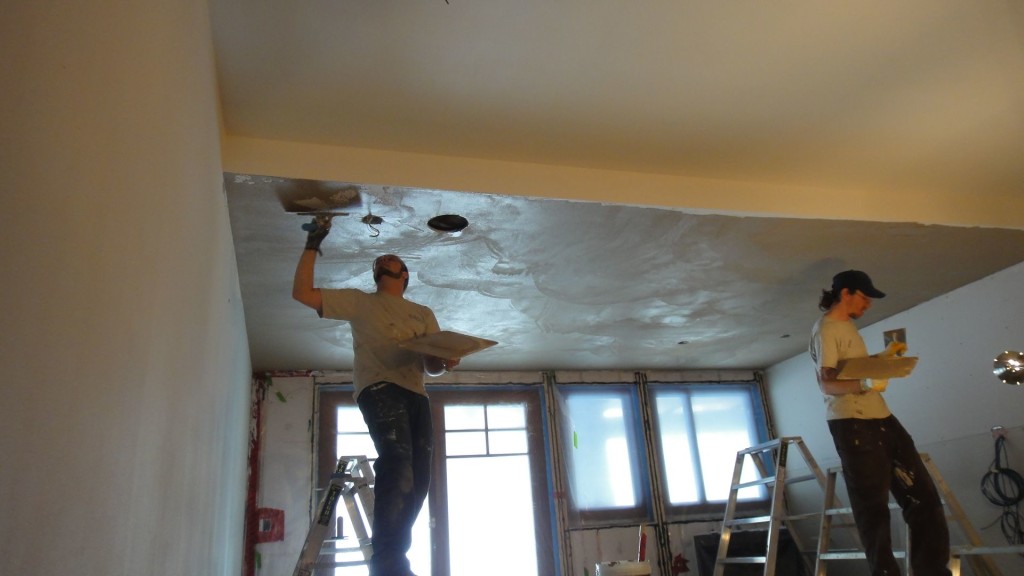
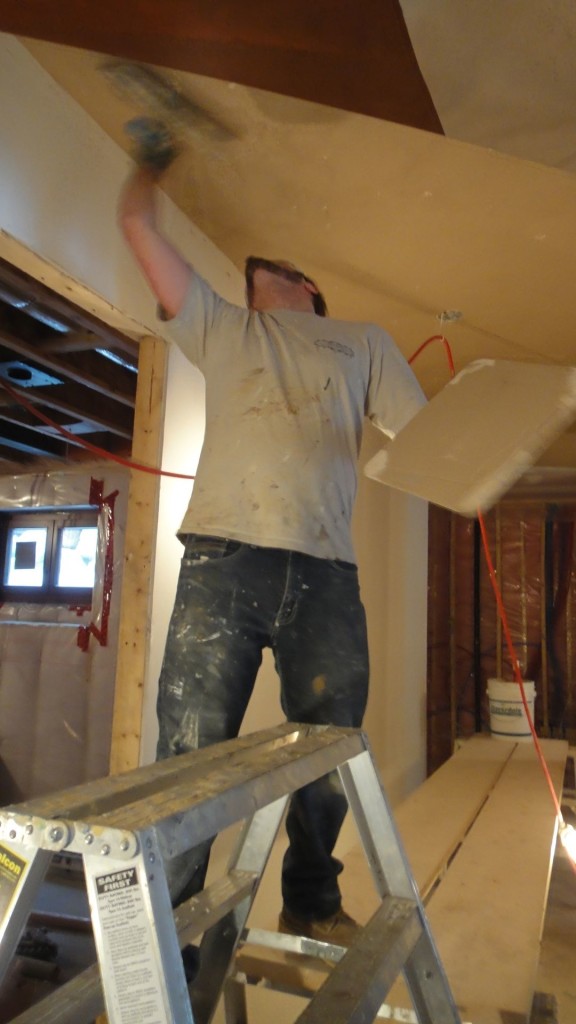
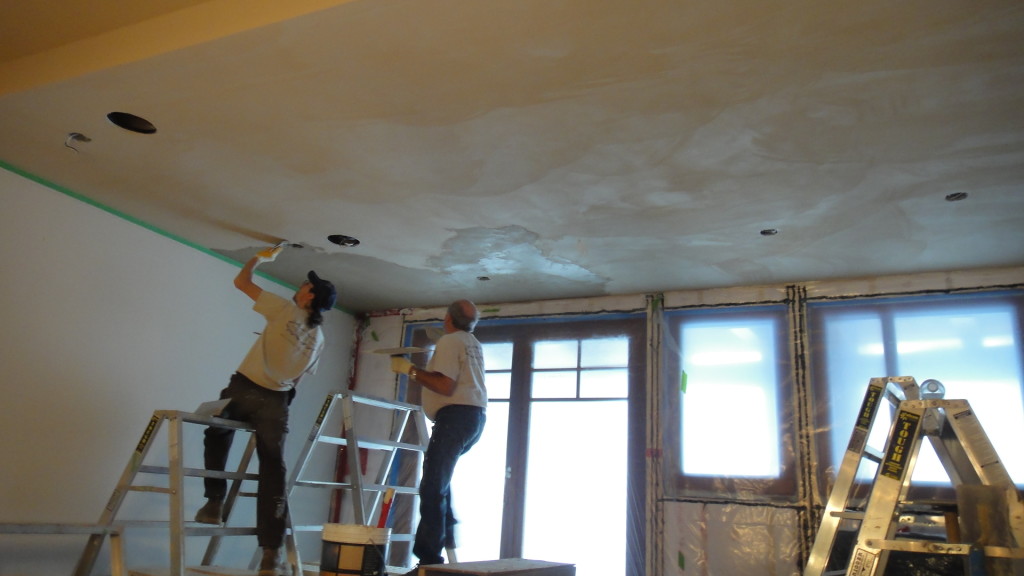
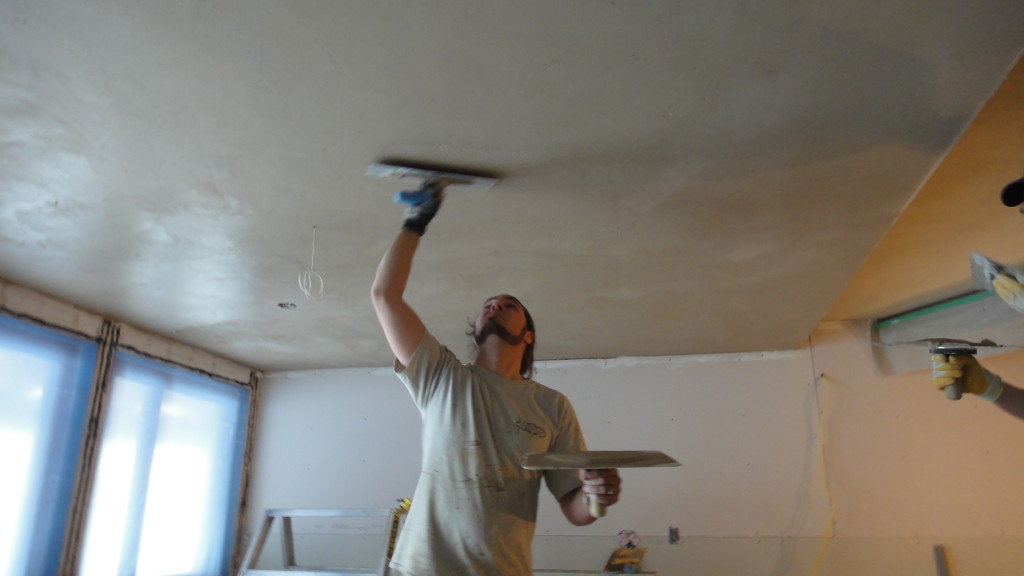
Tadelakt being used as a distressed old-world finish is not the norm for this material. While my supplier were out of stock I was forced to use this amazing material on a Tuscan Villa in the depths of Langley, Britsih Columbia.

What a treat it has been to learn the advantages of this amazing material and also a client and builder giving me full expresion of my work and creativity.

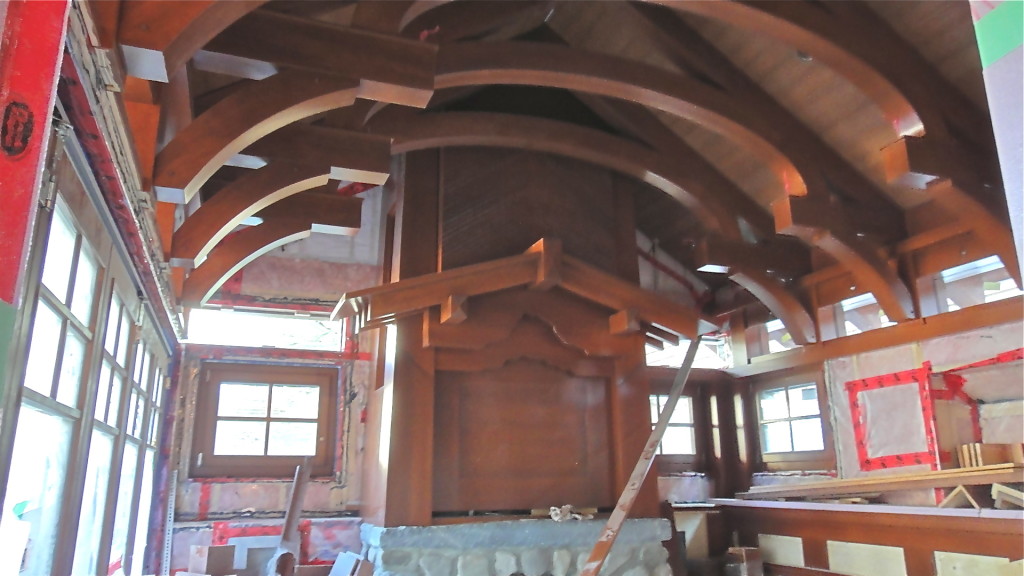
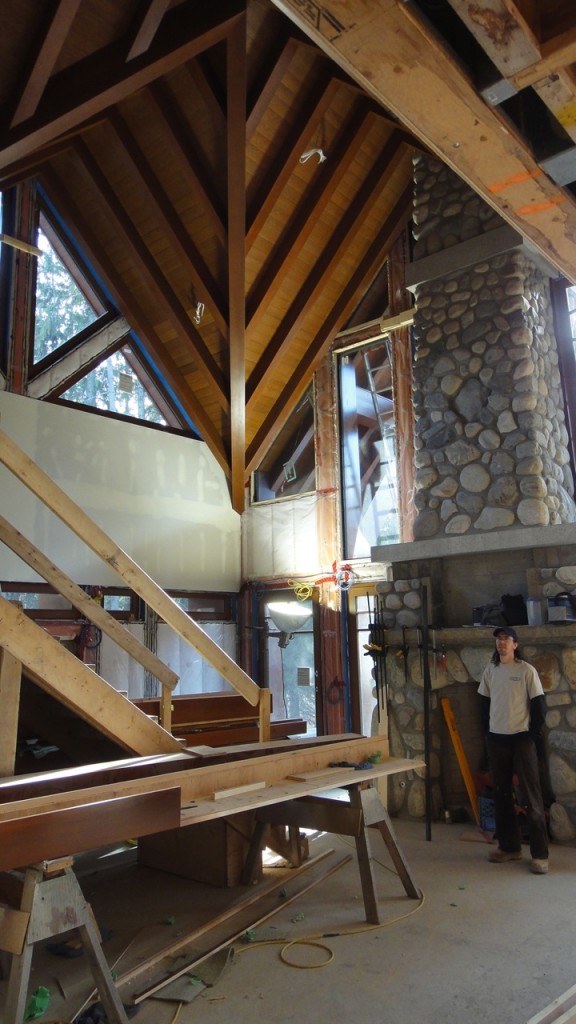
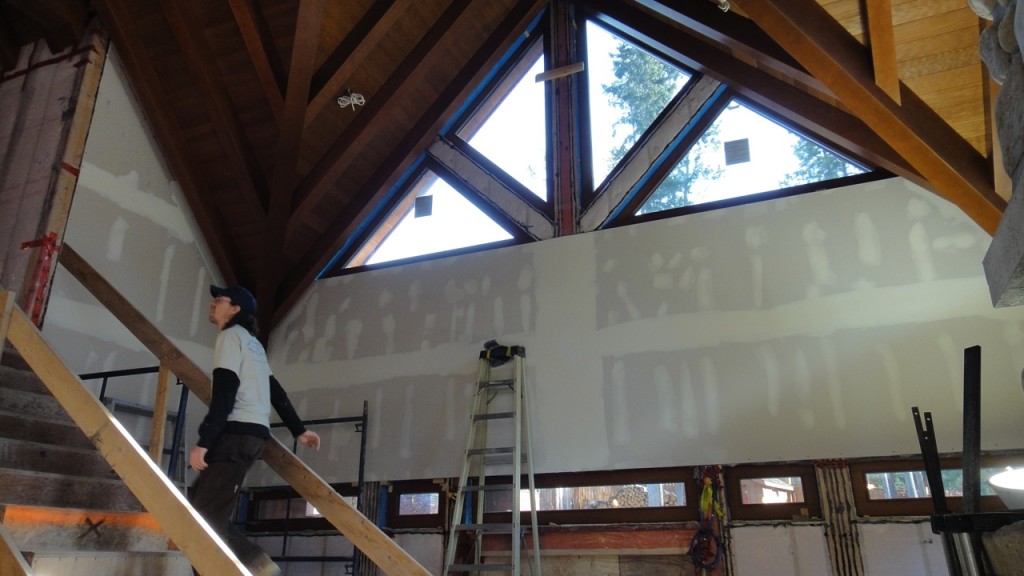
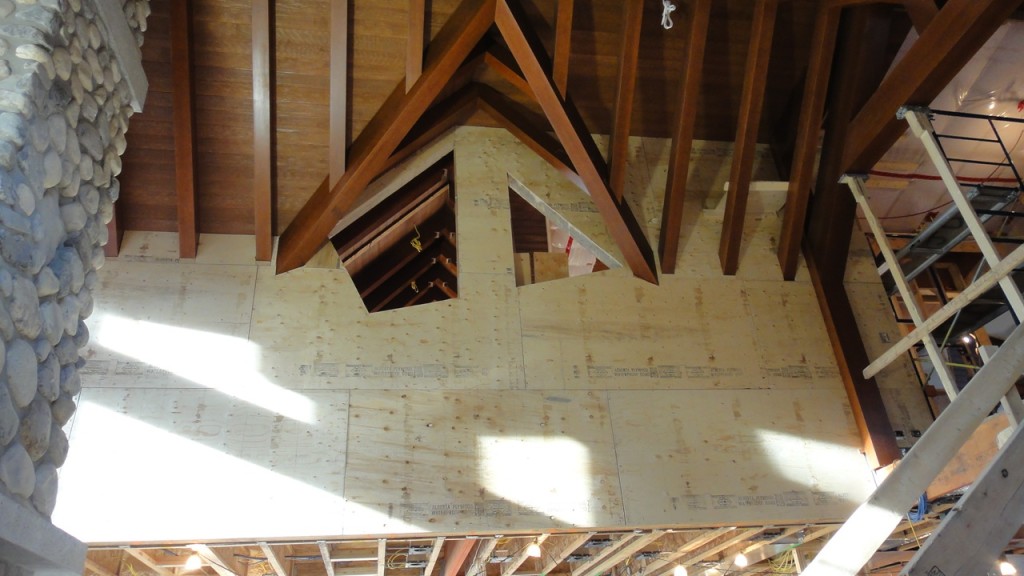
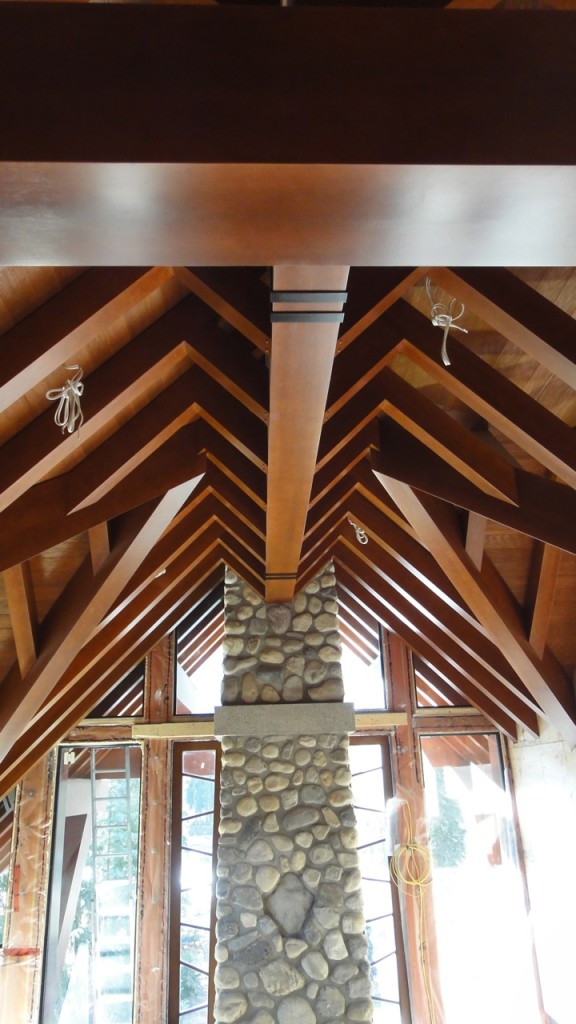
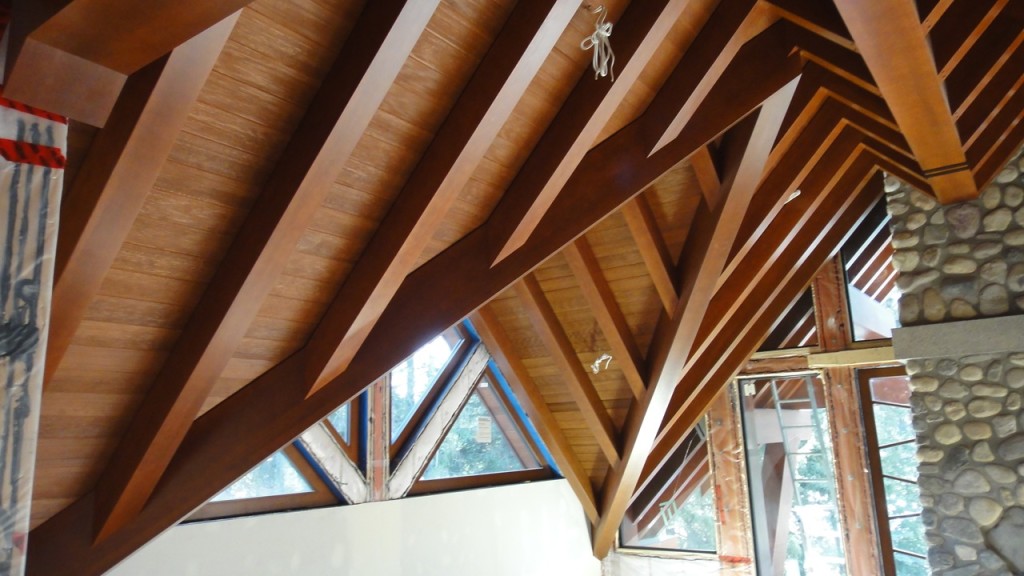
This is the 1st home I have Venetian Plastered that has 5 Juilet ballconies in the main hall, with one of the most amazing fireplaces I have ever seen. (That to come in the next post)

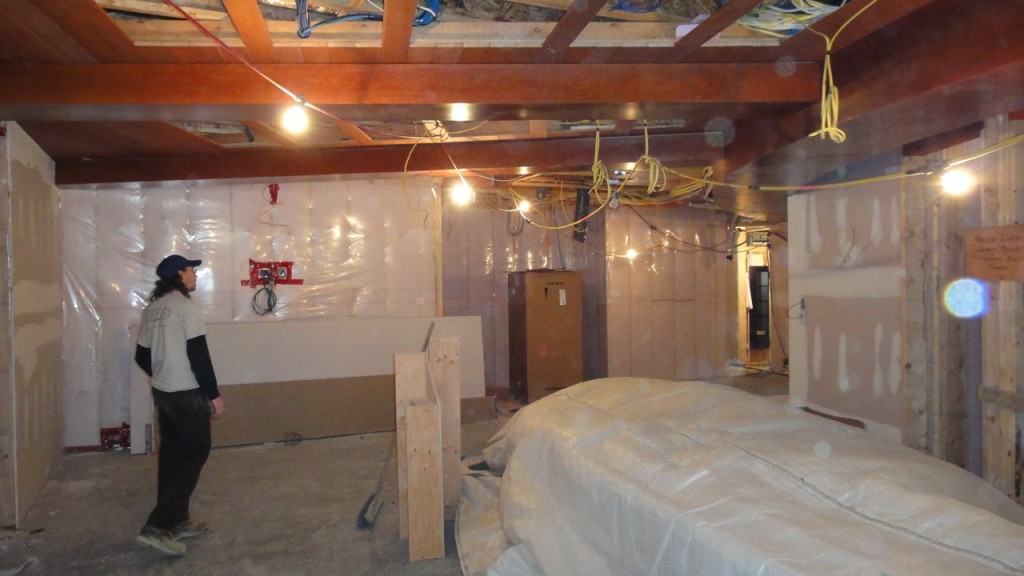
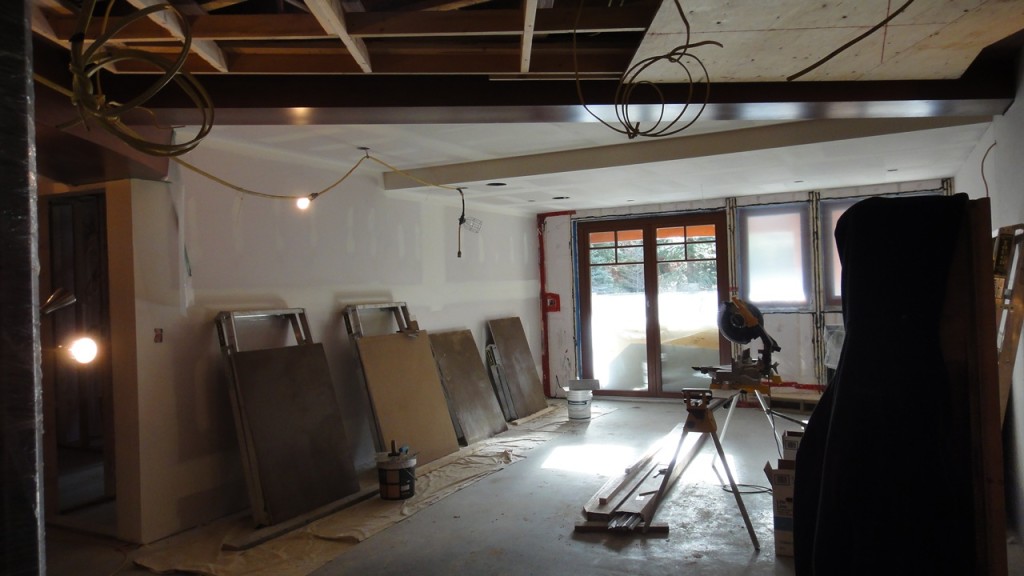
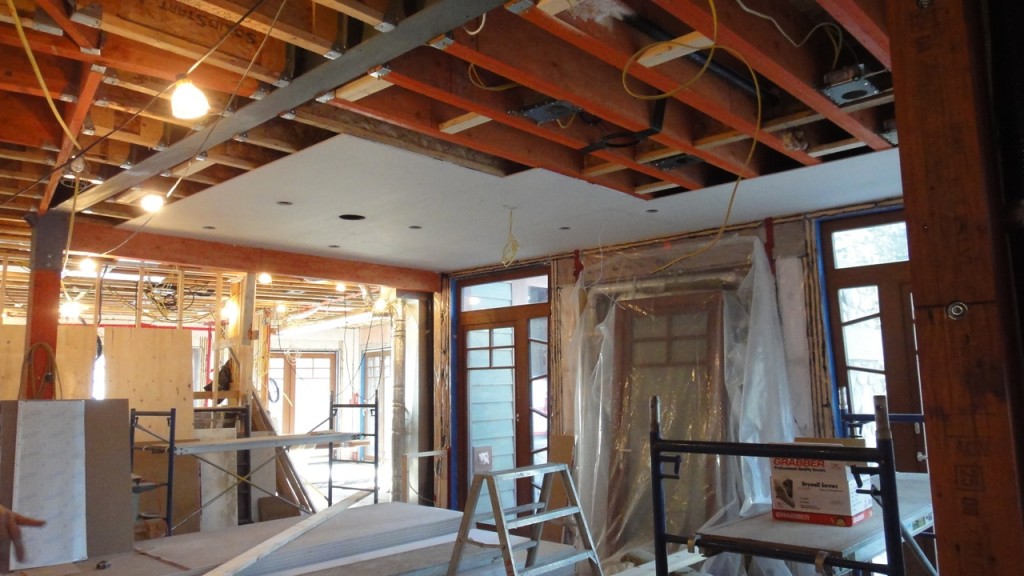
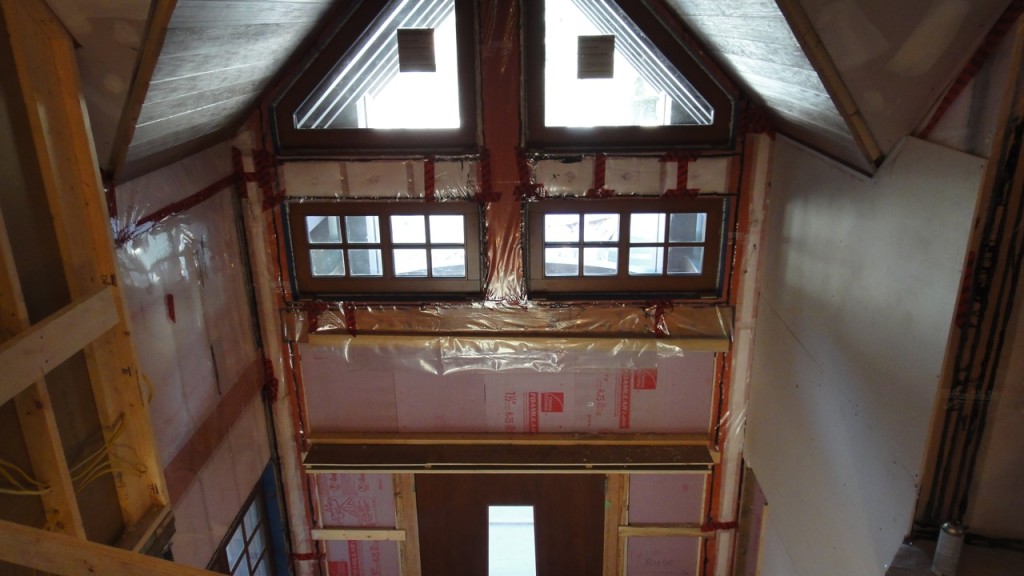
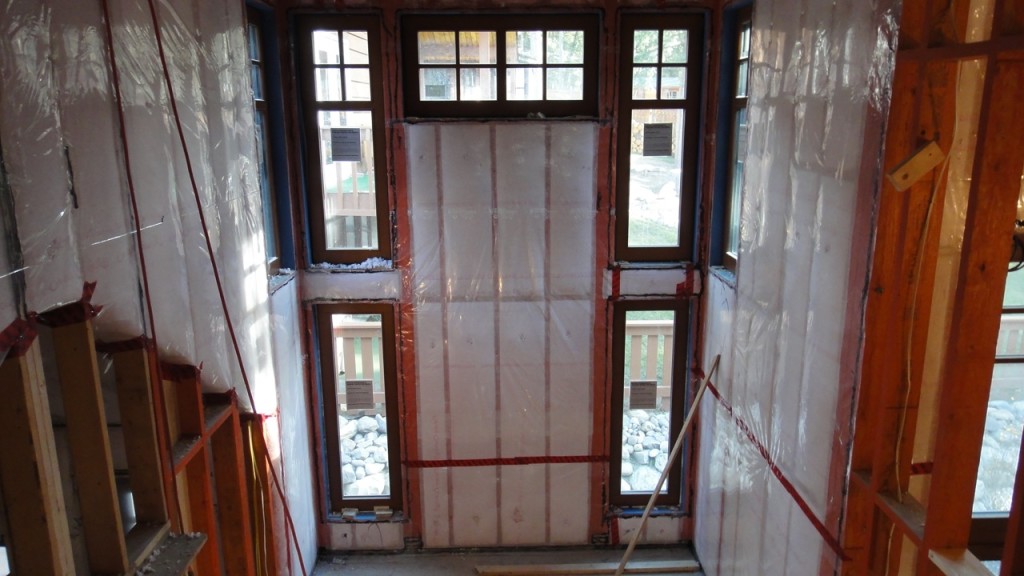
Here are some pictures from the start of the project

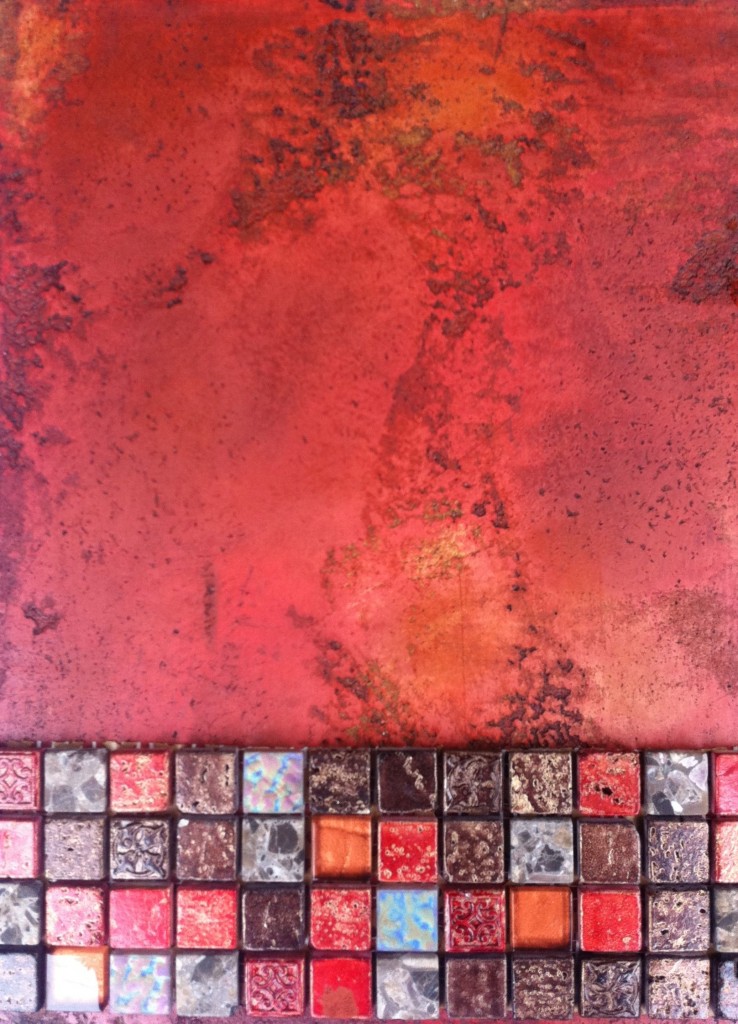
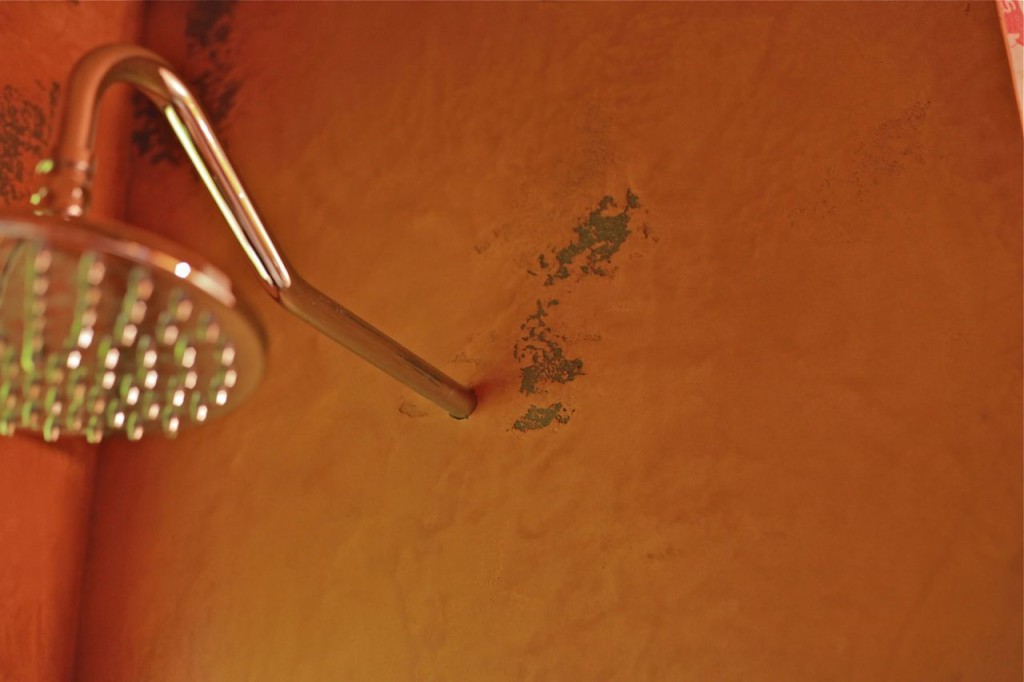
Powder Room Plaster finish

The house is still under major construction and I will share more as I find more time, bare with me the end of the summer is a real busy one.

Thanks for stopping by

Cheers
Darrell Morrison

If you know me, you know I’m a busy guy. It’s work, work, work, these days, and when it’s not about work, it’s about time with my wife, my girl, and the pups.

Needless to say, like most of us, I seldom get to do the projects around the home that I dream of doing.

That all changed in the last month, because not only did I finally get to do a bit of home reno that my family gets to enjoy, but I also got to try something I’ve wanted to do for a really long time — a heavy-duty Italian venetian plaster treatment to a bathroom shower stall.

This work was done in our main-floor bathroom, which had been wanting TLC for a while.

Doing any project for the first time, especially when it’s a bathroom, can make it hard to estimate all the work involved, so getting a chance to explore the process on my own time was great.

It was a major project by the time I finished, as you can tell by the end results, but what did it take to get there?

Here’s how the Home Shower Venetian Plaster Project evolved, start to finish.

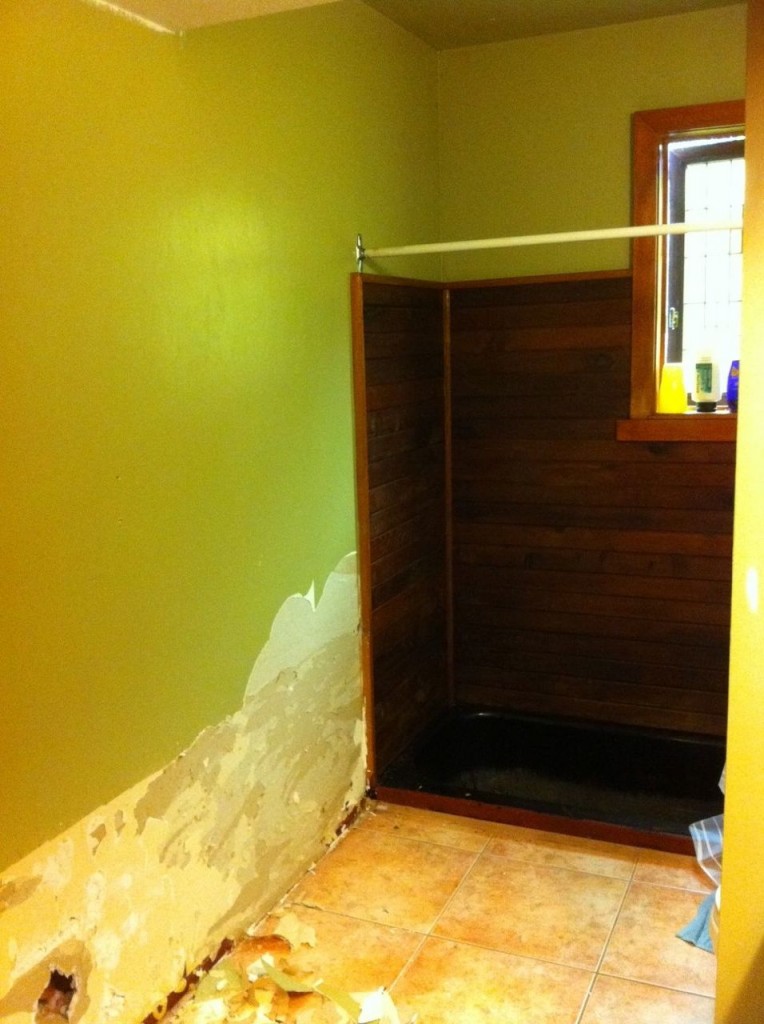
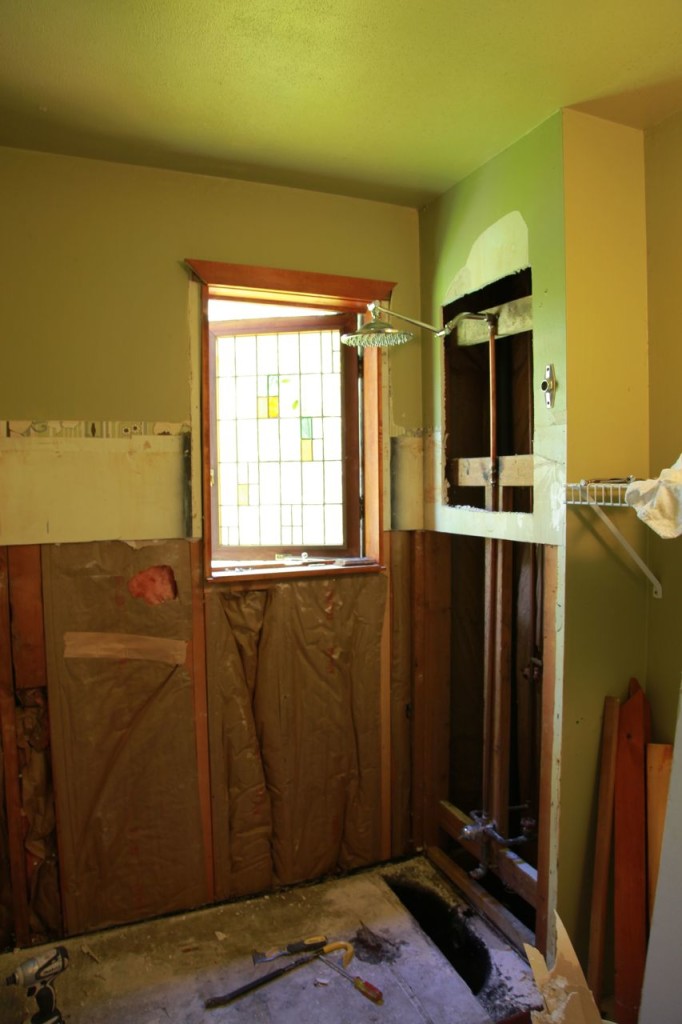
This ’70s bathroom came with tons of cedar, which all had to come down. Luckily, it was installed by someone who didn’t make much effort to do it right, so only a couple nails in each board ensured they popped right off. Removing the shoddy work made investing time in improving the room that much more satisfying.

The first thing I wanted to do was move the shower-head up by about two feet. No one wants to crouch for a shower.

Before now, I never had the need, or an opportunity, to work with copper. I decided I’d take a kick at the copper can instead of calling a plumber, and working with the pipes was easier than I expected. I might do the odd fix-it job here and there now, but I’d certainly never do my whole place.

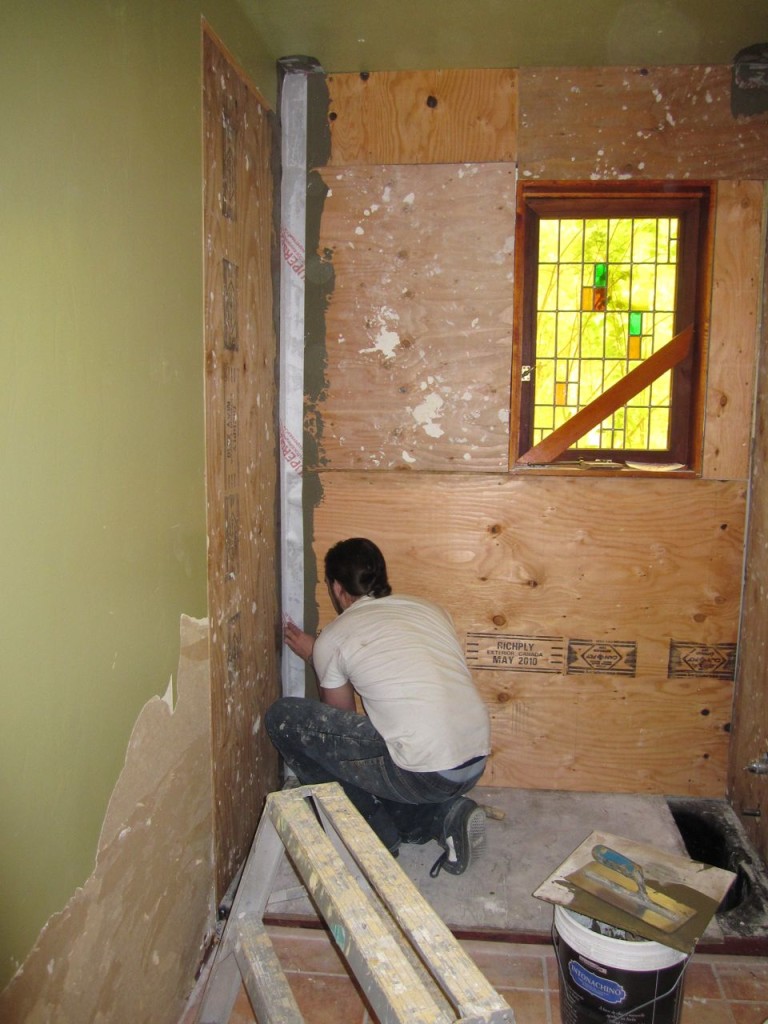
Next, I installed plywood. I’m sure some of you building guys out there are wondering “why not concrete board instead of plywood?”

It’s a preference, really. I find plywood’s just easier to work with, and it comes in big old 4×8-foot sheets, making for less cutting in some situations, but, most importantly, I find plywood’s a big help when it comes to installing lath. (Shown later.)

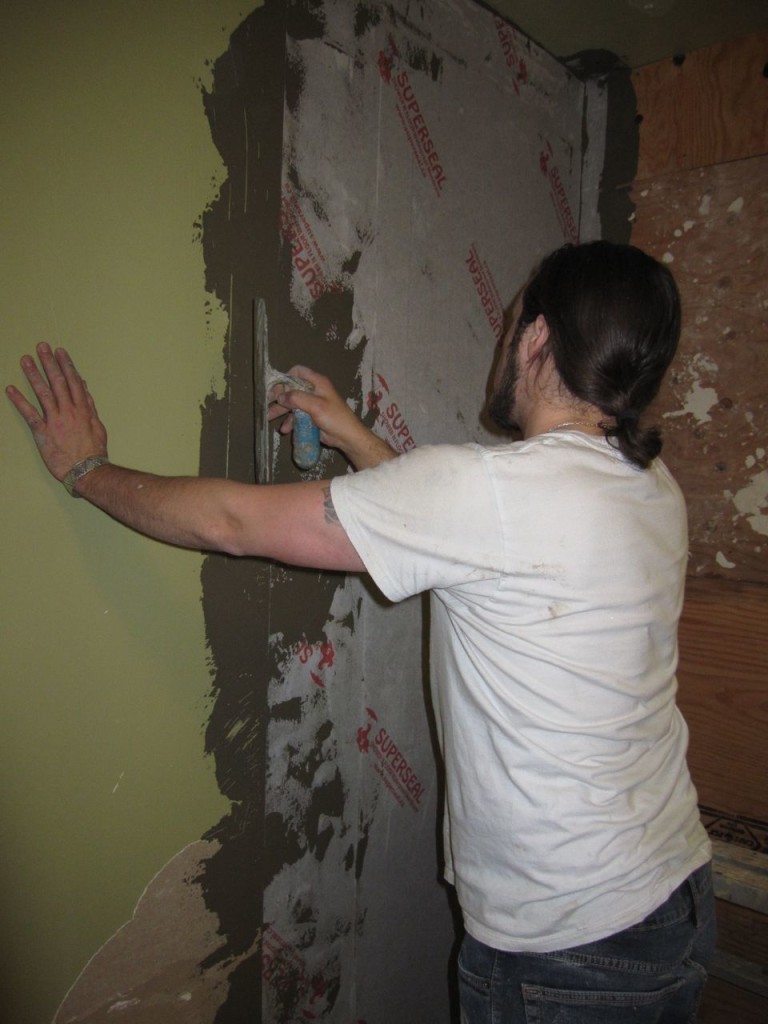
Next up was installing the water-proof membrane. Obviously a quality project is needed for a shower, and I used a local company’s product, called, “SuperSeal” you can learn more about it here.

Continue Reading..

The trip home from Banff, Alberta, was an amazing seasonal drive. As I dropped from the Rocky Mountain highs to the Okanagan, then sea level, I saw things go from end-of-winter to lush and green, full of spring life.

I greatly enjoyed experiencing all four “seasons” this year, thanks to my cold-season work in the mountains and Alberta. It was mostly rain and a really mild winter in Vancouver, not one of our best years, but also not that unusual. It was a good time for a wintery change of scenery, but it’s nice (if a little soggy) to be home.

I’m getting back to making the rounds and taking on local projects. This past week, my team worked on two Valley projects — one in Maple Ridge and the other in Langley. The lengthy drives between home and the two projects took some adjusting, but it’s a great place to drive.

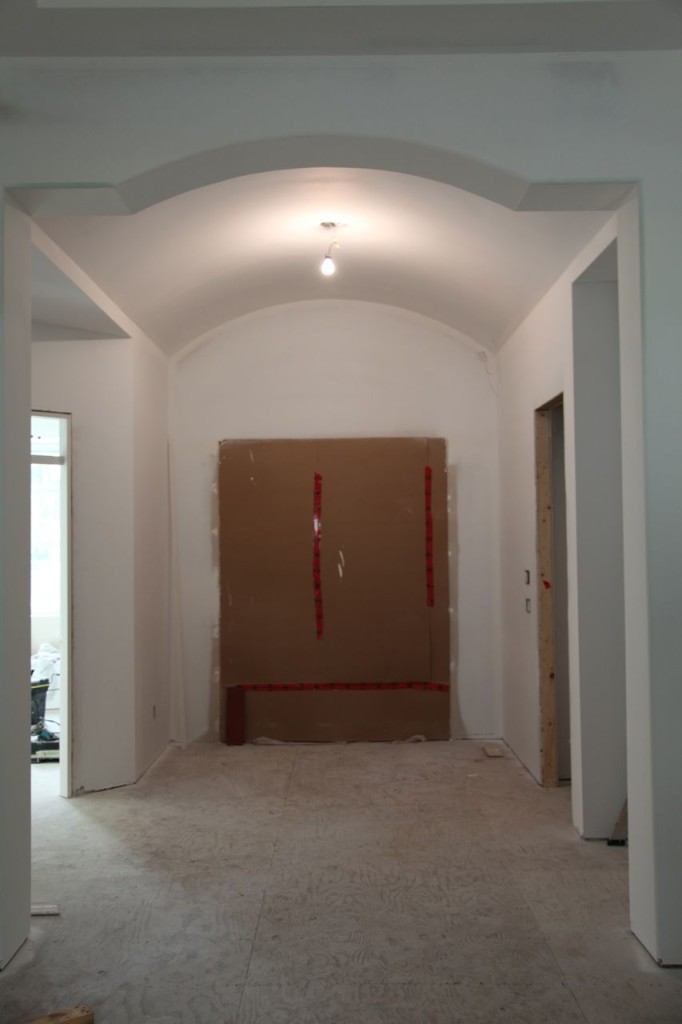
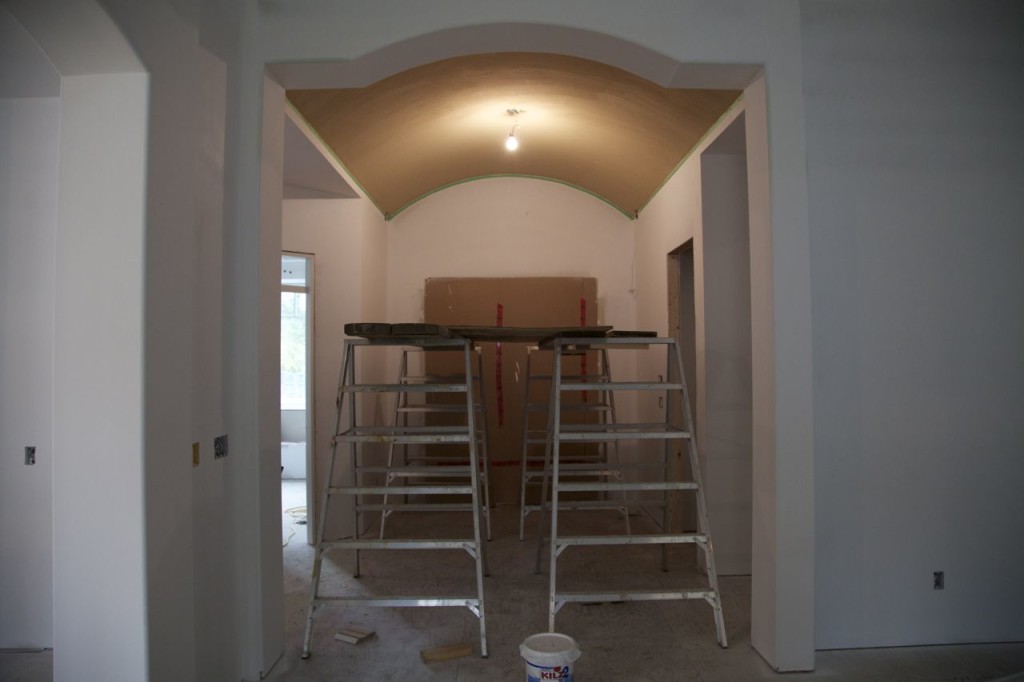
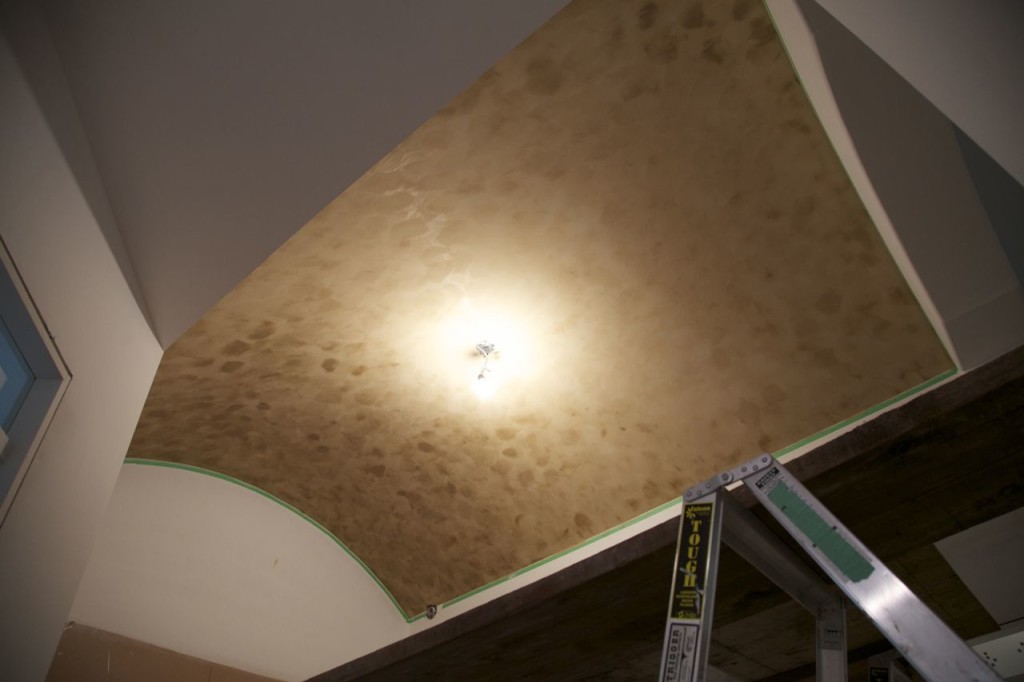
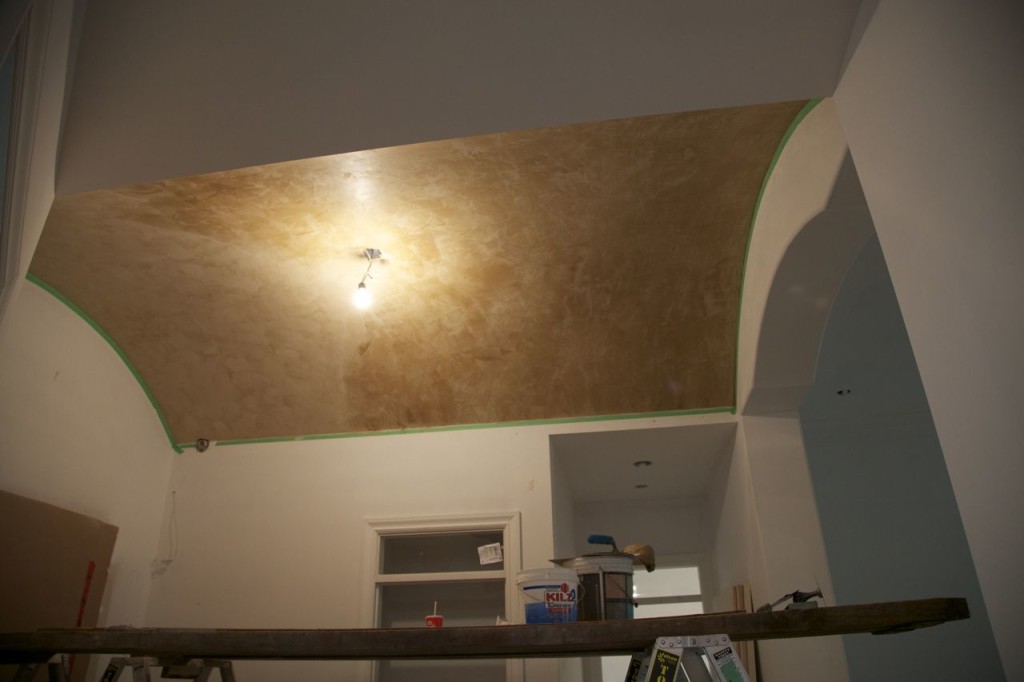
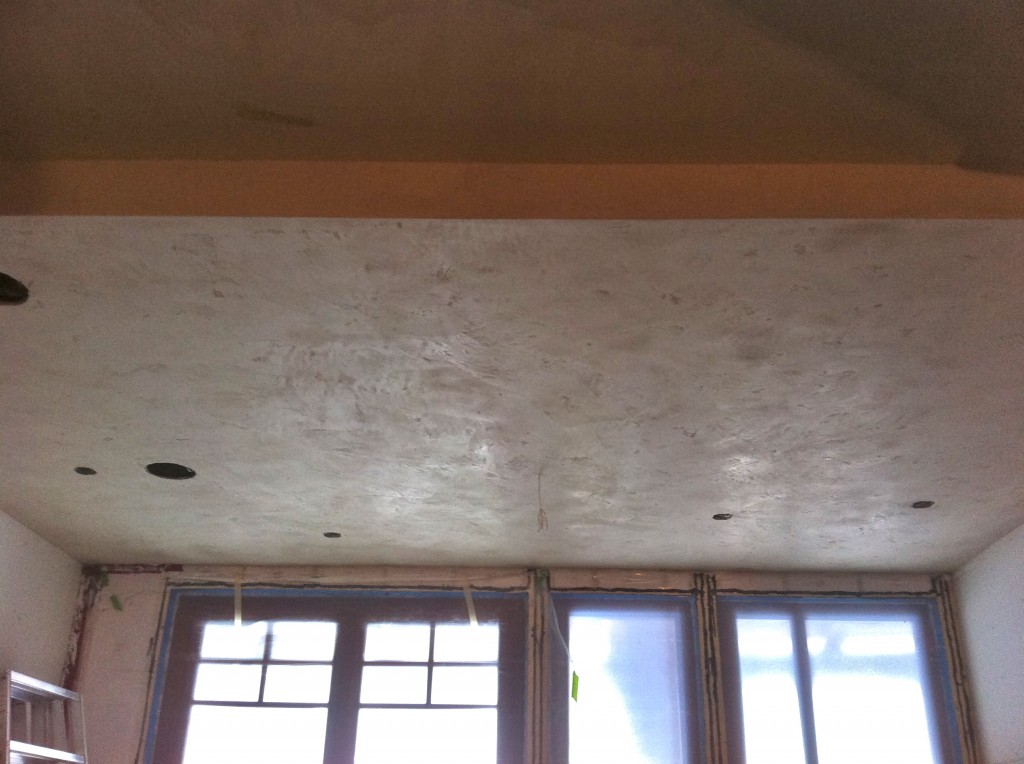
We just finished work on this smaller “feature” barrel ceiling’s plaster treatment. It’s one of those little jobs that starts and finishes quickly.

Italian Venetian plaster like this is where I began working in this trade, and those days kicked off what I hope will be a long and great career. It’s a real treat to work where I got my roots.

Smaller projects like this are always fun, too. Seeing the end result more quickly is a great pay-off compared to the visual impact but long work stint that doing a huge project comes with. I enjoy having a mix of both kinds of jobs.

Decorative Paint & Plaster is back in town and we’re booking clients for the next two years. How can we help you?

When you’re a guy working in the building trades, it’s not very often you get to travel for work, let alone work in a place like Banff, Alberta. This fantastic retreat in the mountains has been a dream-like project for me, and I’m happy to share with you this video of a walk-through of how the project’s coming.

As the build got further along, more plaster work got added to my slate. I love an owner getting excited about my technique and wanting more as the work progresses, especially in a place like this. By the end, Stucco Italiano’s Italian plaster was used throughout, stretching from the bottom up to the third floor.


Please set your viewing to high-def for all the detail!

Take a look at the waxed deep magenta plaster walls in the powder rooms, which includes that awesome entry feature and incorporates those subtle smooth textures across the walls and ceilings, on all floors.

Why would you want to use Italian plaster over both walls and ceilings? You have to consider the characteristics. No paint will match the beauty or durability over the long-term like Italian lime or Venetian plaster, and when you’re creating a mood in a room, why would you neglect the ceiling?

When the colour is fortified right off the bat, as I hand-mix plasters for application, including base coats, it gives a rich layered finish that doesn’t look man-made — it looks like it just belongs that way. It’s natural, rustic, and amazing for creating a mood in big and small spaces.

Lime plaster builds an atmosphere you just can’t get with only paint, and I’m a painter saying that.

When you’re talking about any kind of art or space, lighting means everything, and it’s definitely true with Intonachino plaster approaches I use in my Venetian/Italian lime finishes. As light moves across the room, during dusk through to dawn, and the light shifts from season to season, it changes the way the plastered surface appears, and you’ll always notice something different. It’s almost like your walls are a living part of your space.

This video will provide a perspective on the feel created with these finishes, but if the same video was shot at different times of day, you’d get more a sense of why I say that lightning — natural or electrical — is plaster’s best friend.

It’s been a while since this amazing journey began. Have a look at how far we’ve come, and how this plaster came to life. Click here to see the beginning blog posts.

Here, have a look at South Surrey’s Grandview Business Centre, which you’ll find nestled behind Winners in the Grandview Corners Mall.

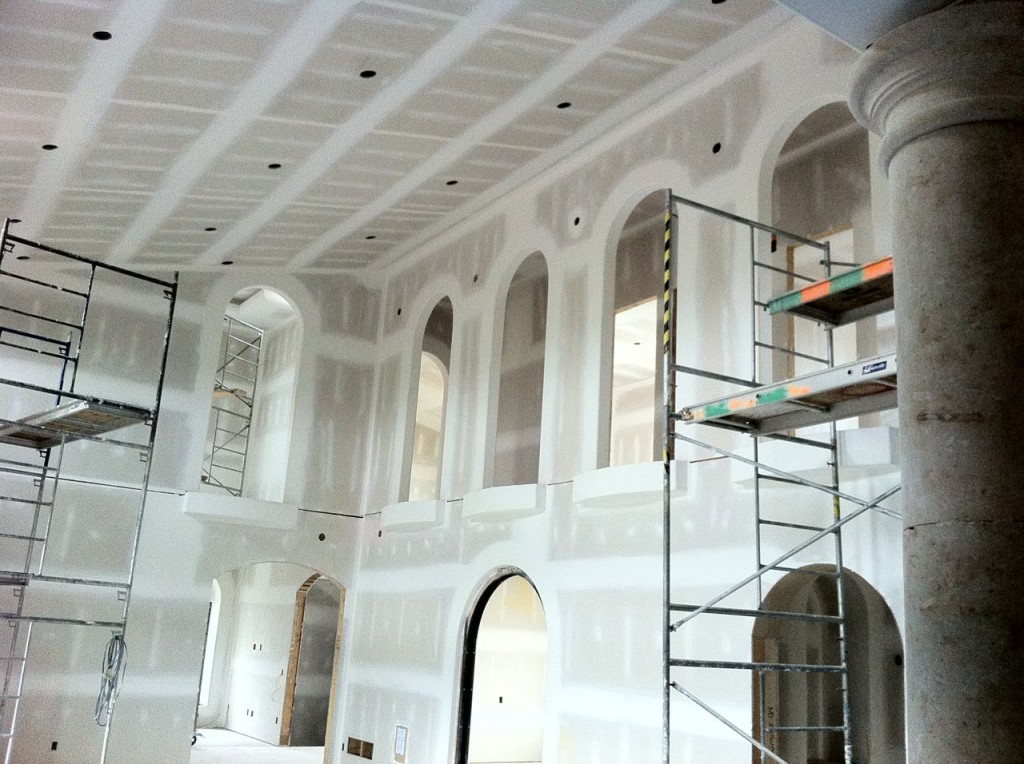
Starting any day now, we’ll be installing natural lime plaster throughout this high-end office building’s common areas, including the bathrooms.

Landing this project was a super-proud moment for me, because it’s my largest commercial project yet, and it’s yet another client who cares about craft quality, so it’s exciting to be a part of this.

Besides that, though, it’s really close to home, and I know I’ll be able to take my daughter there and show her that this is what Daddy does, because it’s a public space.

I’ll be blogging about the experience here, so please follow along as we transform this space from floor-to-floor, trowels in hand, as we take ordinary drywall and finish it into a seamless polished lime stone plaster.

Here’s proof Vancouver-and-area isn’t just a rainforest, we get snow too. This is the project under a fresh short-lived blanket of it a few weeks ago.
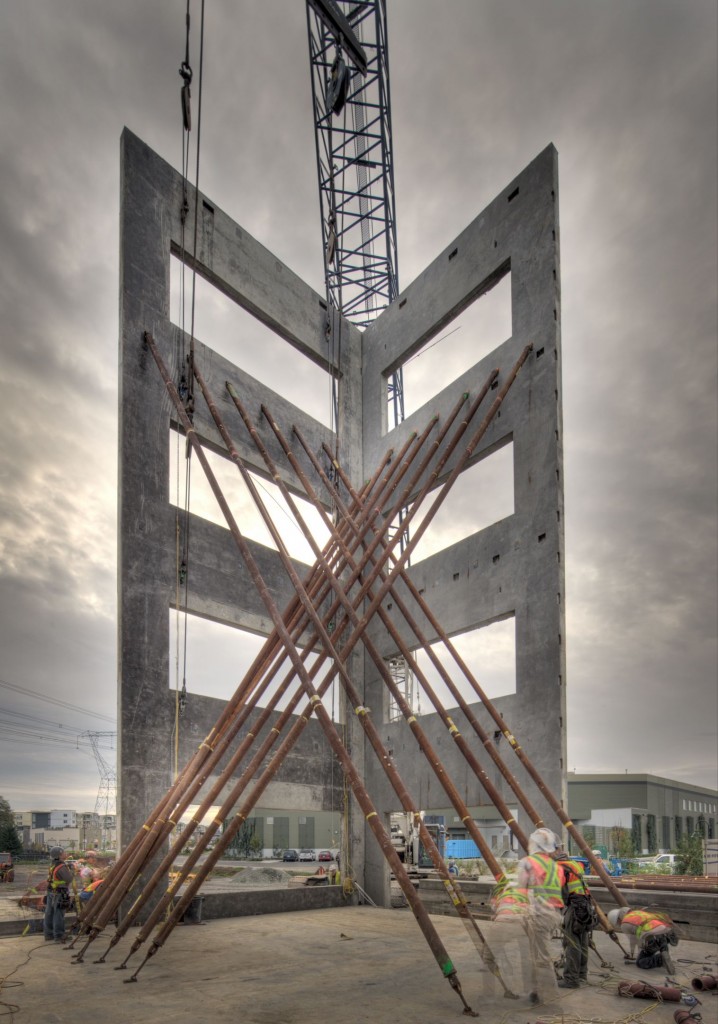
 

I love watching projects come together, and living so close to this build site let me catch glimpses throughout the early stages.

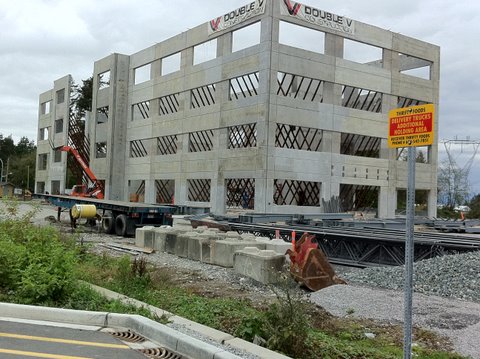
Here’s a shot of the braces holding up recently-erected concrete panels. Obviously this isn’t your average construction site.

The job required lifting massive tilt-up pre-made panels into place, including one panel 31-feet wide, 58.7-feet high, and a whopping one-foot thick, weighing a jaw-dropping 186,000 lbs.

When I get something wrong on a job, I might have a shade off in colour tinting, or a pit where there shouldn’t be (and, naturally, it gets fixed pretty easily). Could you imagine when guys like the panel-tilters get their jobs wrong? Man, I’m glad I’m a painter.

In an article published October 19th, 2010, by the Peace Arch News, Hannah Sutherland reported there were 26 panels to “tilt up” in this unusual construction project, averaging at 140,000 pounds per panel.

In speaking about the construction method, its “Tilt-Up” assembly, Project Manager and owner of Double-V Construction Shane Van Vliet told Sutherland, “This type of construction is typical, but the fact this is four storeys is very unusual. Four storeys gets to be a little trickier… and more engineering is required.”

A video of the assemby process can be viewed here on the BC Daily Buzz.

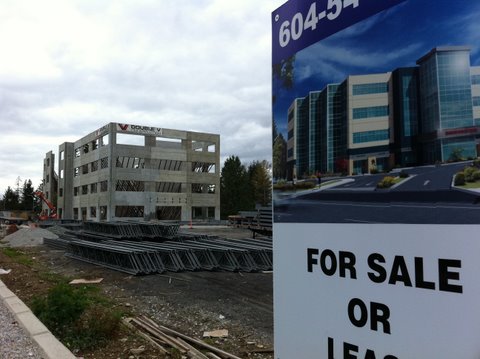
Now here’s what the building looked like just recently.

If you’re interested in purchasing space in this soon-to-be-awesome building, learn more about the Grandiew Business Centre on their sales site: http://www.grandviewoffice.com.

Guess what I’ve always dreamed of scratching off my bucket-list? Plastering a high-end commercial building.
Soon, I’ll be scratching it off! (Or I can change the bucket list to “super-big high-end commercial building,” maybe. Then, after that, add “downtown”.)

Starting April, 2011, I’ll be starting an amazing adventure with my team as we begin a massive lime plastering project in the Grandview Business Centre in South Surrey, BC.

It’s a great building, an important part of the new “Morgan Crossing” district, which is an area that has just exploded over the last two years.

The mall, The Shops At Morgan Crossing, has great businesses like the Steve Nash Sports Club and a favourite of mine, because we all love a good wine: the “Everything Wine Store”.

Located so close to the mall, the Business Centre’s a great location for professionals looking to be accessible and convenient for clients.

All right, let’s talk project details.

The Builder Double V Construction will be creating the blank canvas for this amazing project.

We’ll be putting lime plaster in all the common spaces (including lobbies, corridors, and washrooms) on the Morgan Crossing Business Centre’s 1st, 3rd, and 4th floors.

We’ve chosen the palette already.

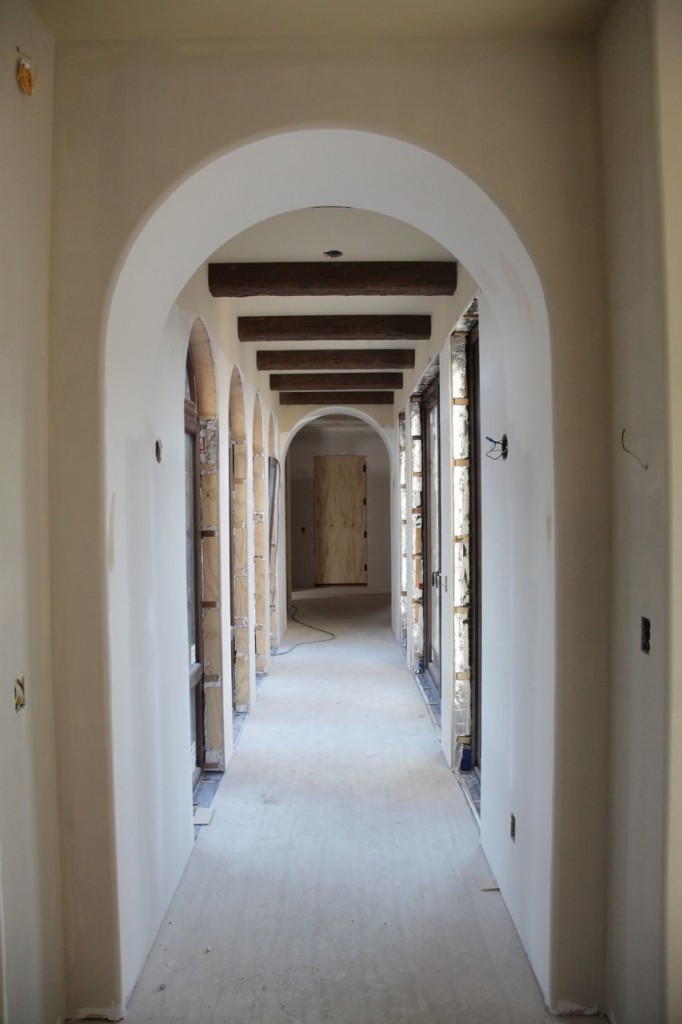
The corridors will be a slightly polished sandy/cream-coloured lime plaster with subtle pitting and black flecks.

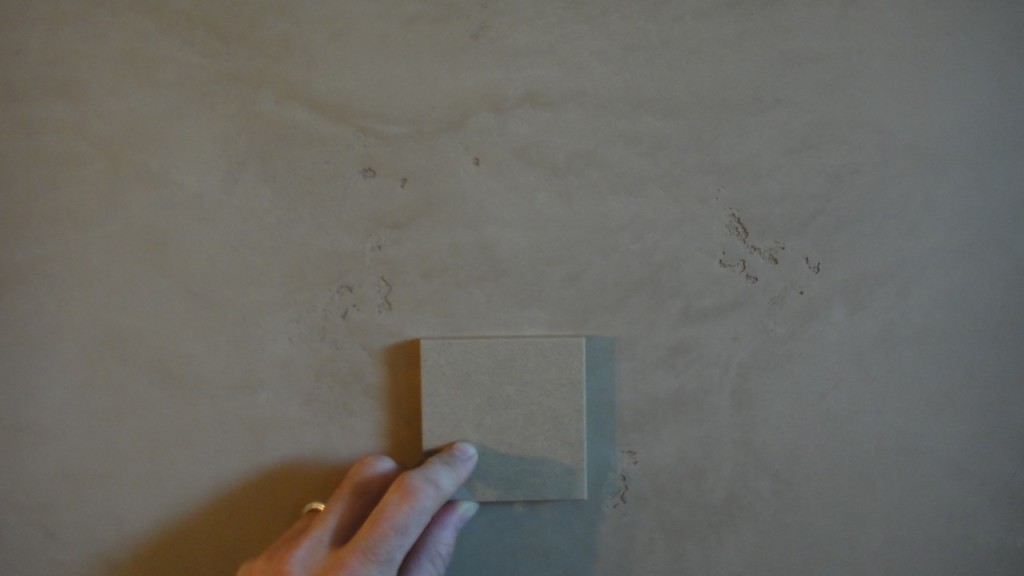
Washrooms will be treated with a cement-based plaster that incorporates subtle pitting, almost like a honed travertine, but seamless and free of any joints.

The lobby ceiling will have a shiny finish that resembles the look of polished marble.

I can’t wait to see so much of my work in one place. A lot of what I work on is in private homes, but this will be a project that I can “visit” for years to come — and close to home, too.

Stay tuned while I prepare for this awesome undertaking, because I plan to share the journey with you by blogging the process in words and video while things come to life.

Cheers,

Darrell Morrison

I remember my parents telling me their stories about how hard life was “back in the day,” when they’d have to slog through heavy snow, up snowy hills, all while braving the freezing weather. Now that I’m working in Banff, I can finally tell my daughter the same kinds of stories.

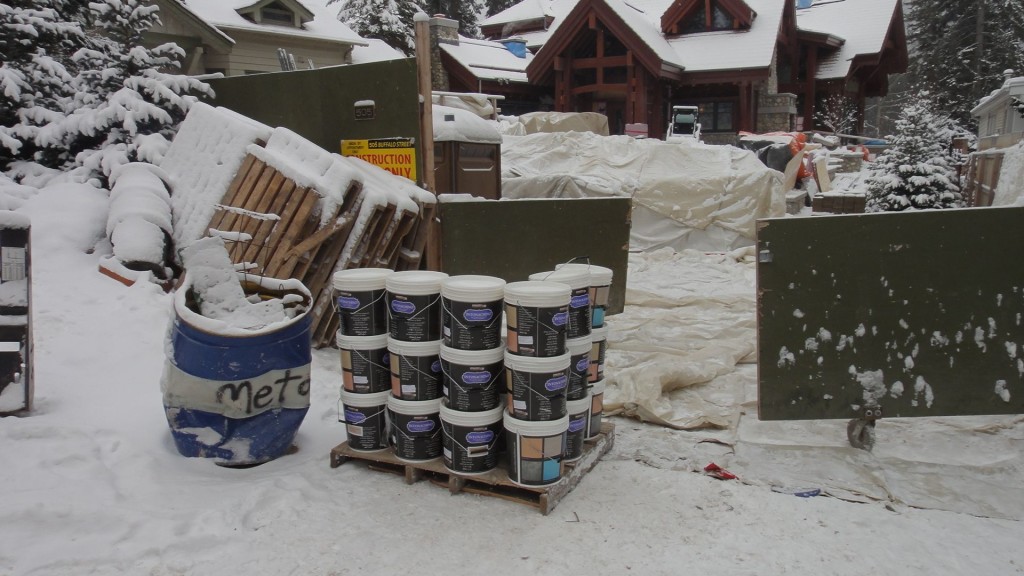
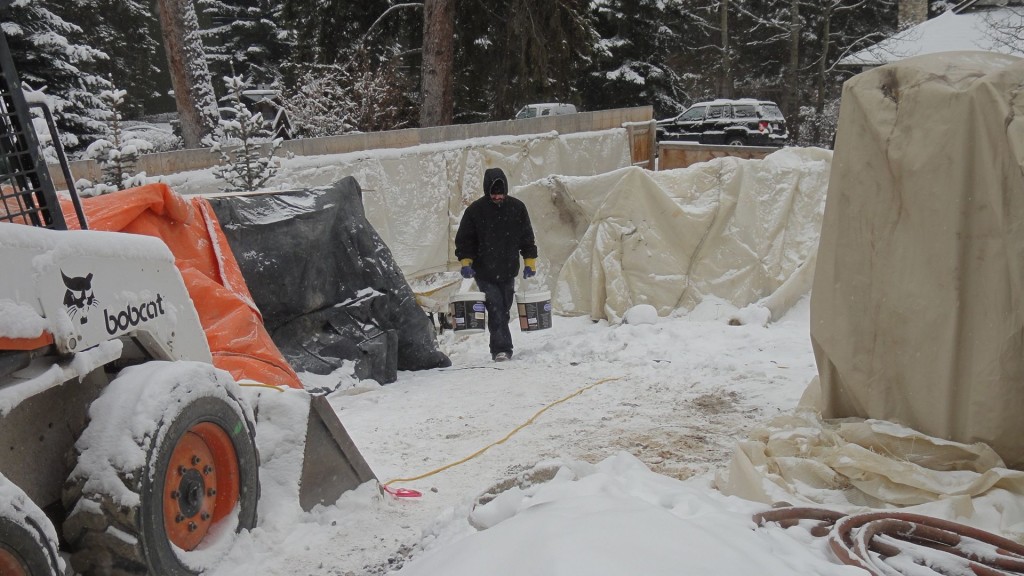
Except that my stories will involve my struggles this week — hauling some 2,650 pounds of Italian lime plaster up a snowy, icy hill, down some stairs to the lower level’s entrance, and all in chilly -14 degrees Celsius weather.

Yep, just another wintery day’s work in Banff, Alberta.

Laying down the base coat

There’s a reason they call short people “vertically challenged,” and my work in Venetian plaster and the constant need to do ceiling treatments means I’m proof of the “challenged” part.

Ladder, please!

I often need a little extra height, and that perfect height still means a world of work but a lot less pain!


Living and working in one of the mildest climates in Canada means I’ve never experienced the difficulties of building in high-altitude severe winter climate like that found here in Banff.

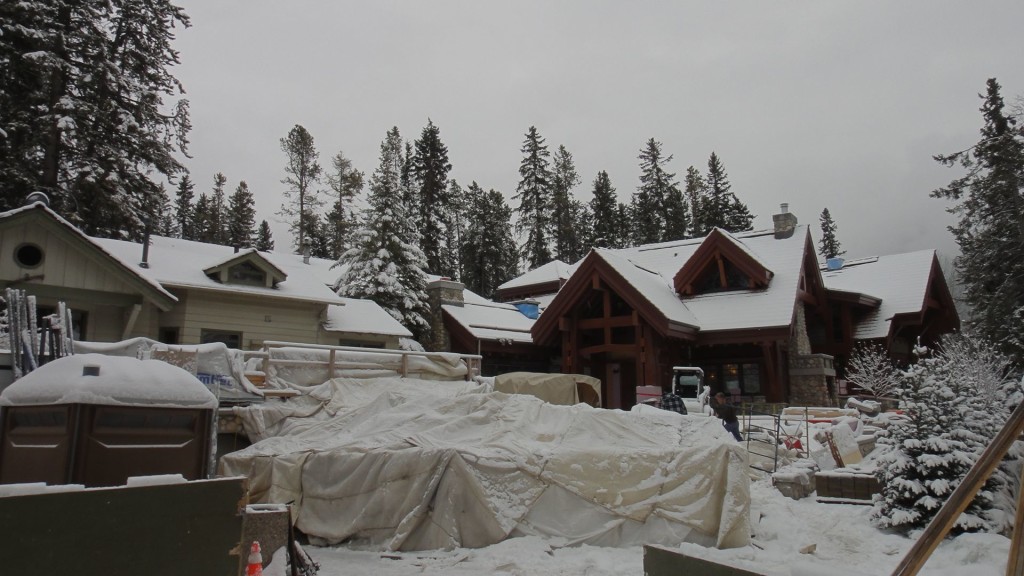
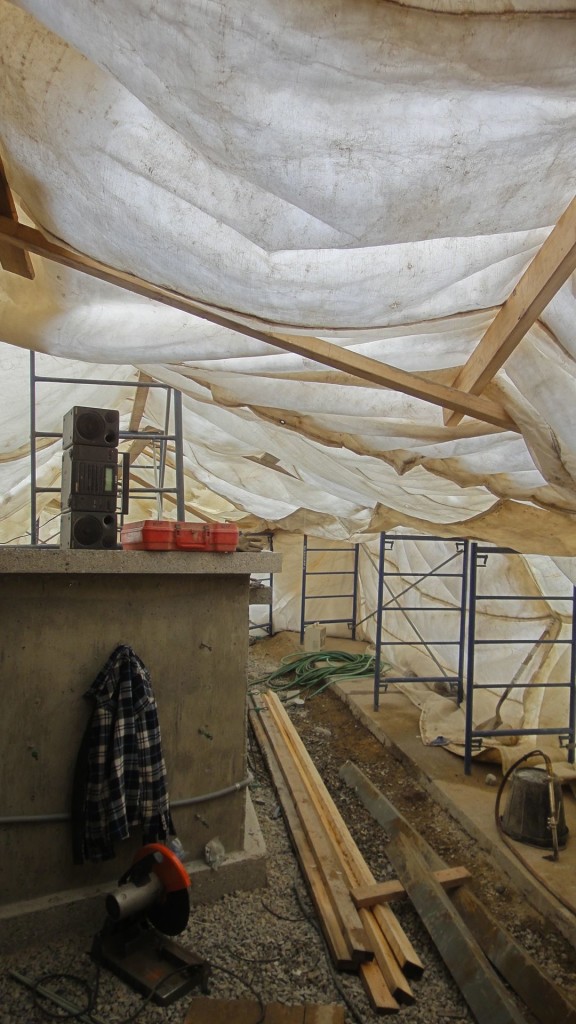
I’m enjoying seeing how different practices are needed for success here, and I’m super-impressed with how the builder deals with nature’s wrath, tenting exterior areas so the work on the home’s landscaping can continue throughout the season.


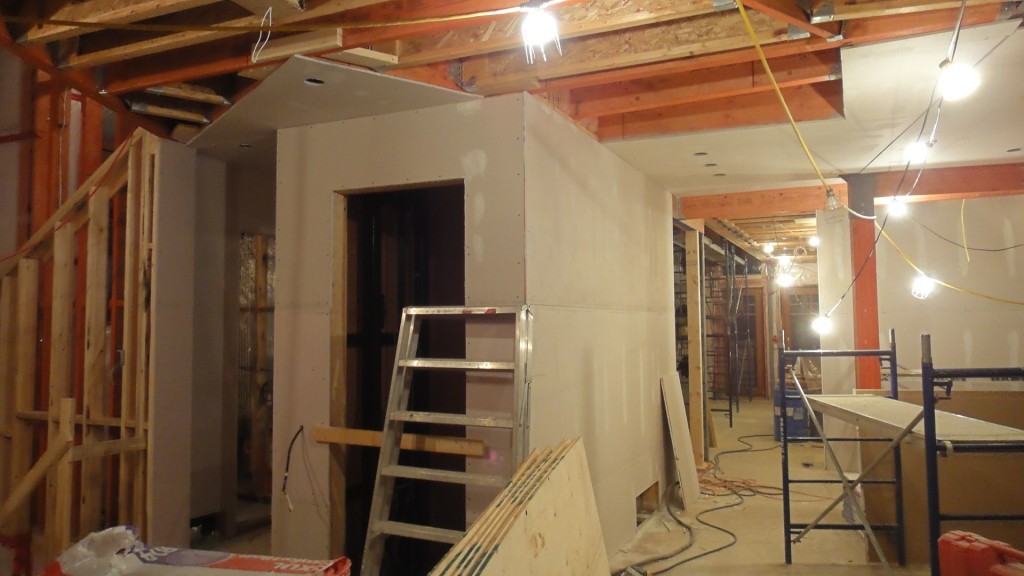
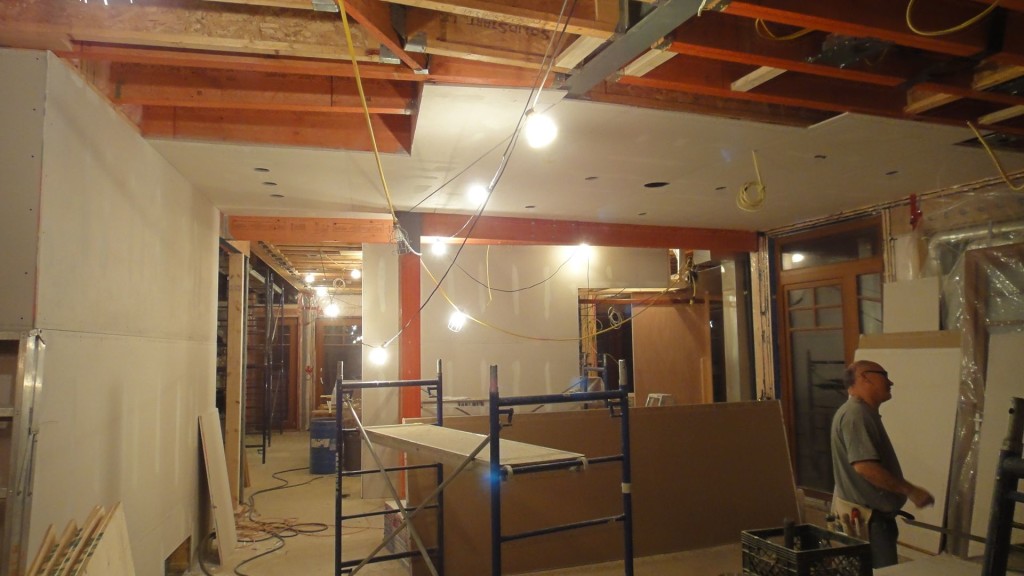
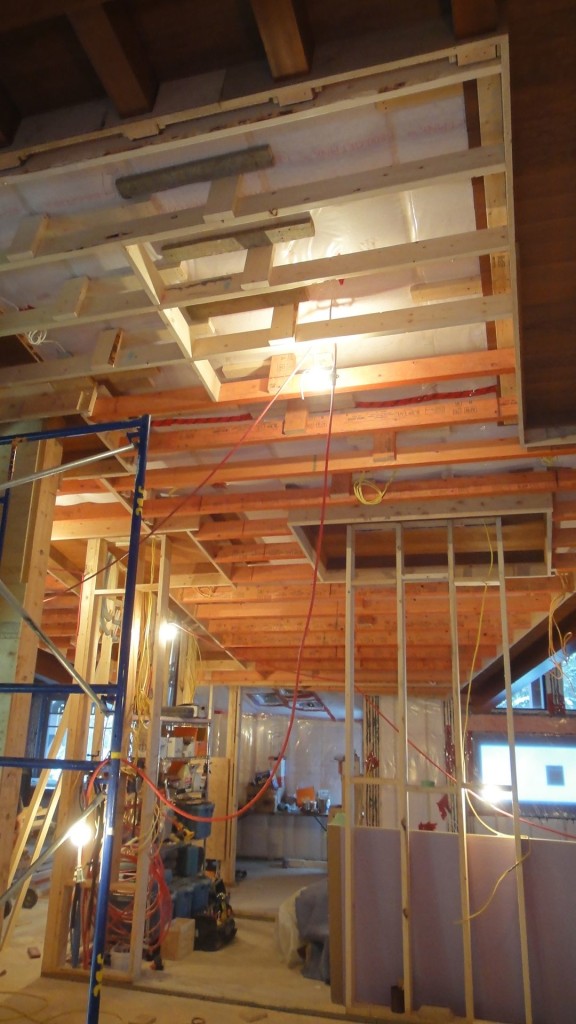
This is the exciting part, for me! Just last week, the main floor had barely any drywall hung. That was then and this is now! The build team has really pulled together, everyone’s always on the move, and they’re working as a team to get ‘er done. There’s a lot of good nature on the build site, with everyone being very friendly and communicating clearly, all things that are very important to me in a work environment.

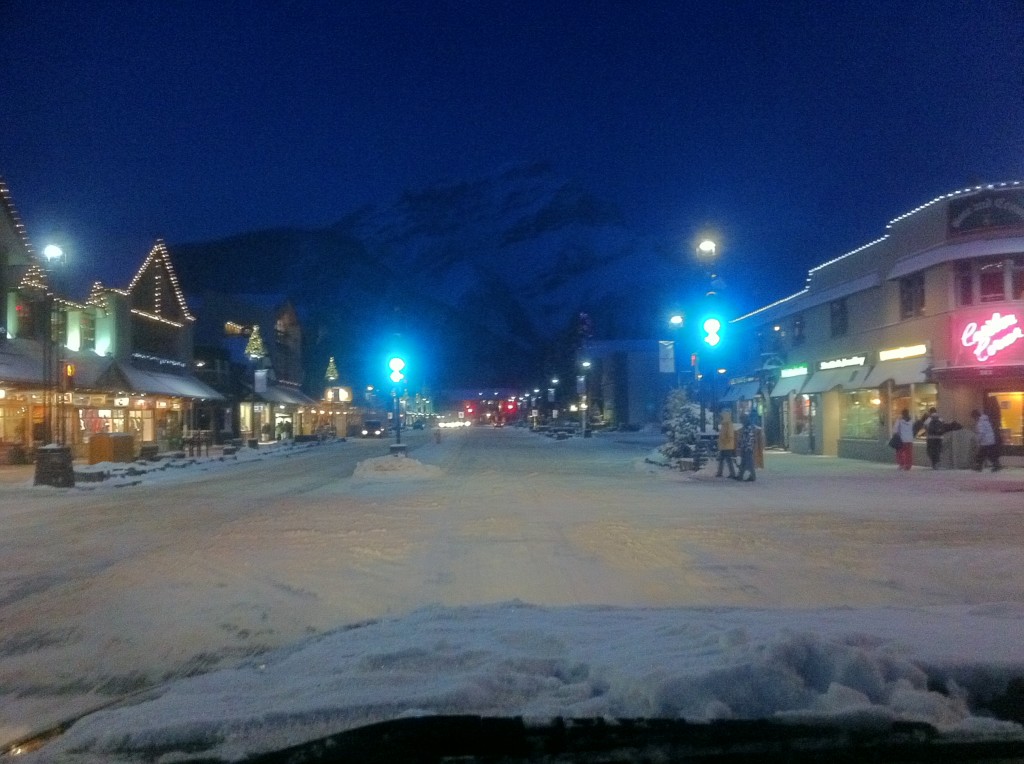
It feels wrong to post without sharing another photo of the area. Here’s the town as we head to our lodgings after a day at the job site.

Banff is such a lovely place. I have so much more of it to experience while I’m here, and that’s really exciting. It’s not just a mountain town, it’s a winter wonderland, and it’s feeling like an epic journey’s just getting started. Thanks for following the experience!

Cheers,

Darrell Morrison

This Week’s Banff Trivia:


Geologists report that the Rocky Mountains that make up Banff National Park are 45 to 120 million years old. In just the national park alone, one can find more than 1,000 glaciers — but only if they wear really, really rugged hiking boots!

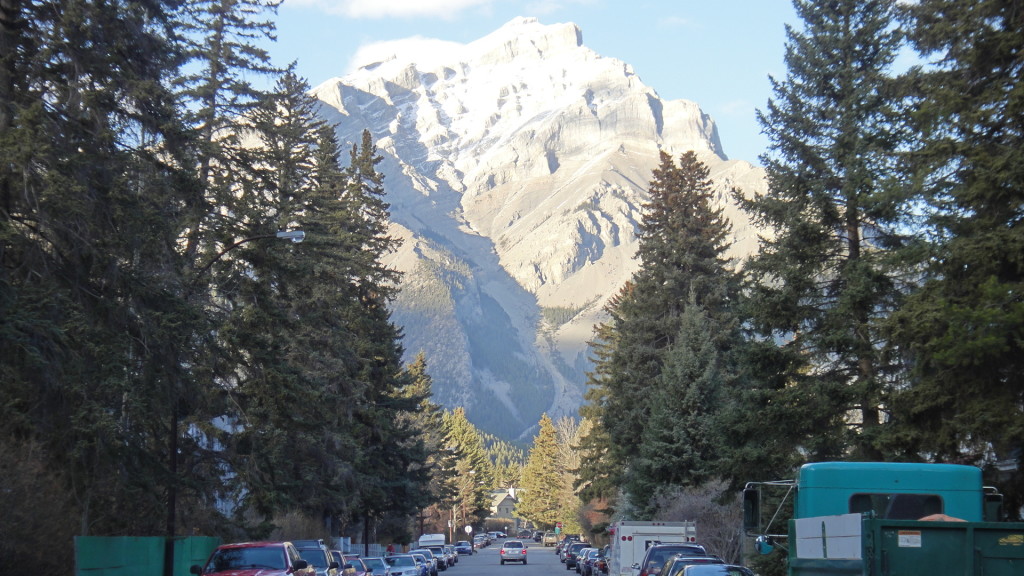
Early last Monday afternoon, I drove past a sign reading “Welcome to Banff, Alberta.”

Over the next three months, I’ll be working on an amazing, extremely customized home that backs onto Banff’s beautiful Bow River.

Along with everything else that blows me away about this house is the fact that I think it has the most stunning millwork I’ve ever encountered anywhere. Entering this amazing home felt like I’d just walked into some mind-blowing 5-star hotel in, well… Banff.

To add to the dramatic millwork and scenic setting, I’ll be using rich, deep earth-tone colours that complement the amazing nature all around us here in these legendary mountains. The plaster will be a 4-coat slightly-pitted Intonachino lime plaster finish.

The Canadian Rockies, where Banff is found, is known for its stone, exposed rockface, forests, and generally rugged terrain. I think this Italian lime plaster will really rock the Rockies, and it’ll be a commanding, dramatic feature in this impressive home as it stretches throughout the place, on all three levels.

I know this mountain town will be an amazing and inspiring place to work during the winter months. Come spring, if the owner converts the place into a “mountain stronghold,” it’ll be a beautiful place to hole up and easily forget about the rest of the world.


Banff is the highest town in Canada, sitting at an elevation of more than 4,500 feet (about 1,380 metres), nestled in the heart of the Canadian Rockies. It was declared Canada’s first national park in 1885, and today is a UNESCO World Heritage Site, with a protected area of more than 7,700 square miles.

The Bow River, which this home backs onto, originates from the Bow Glacier and Bow Lake. It flows for 587 kilometres, joins with the Oldman River to become the larger South Saskatchewan River, and eventually spills into Canada’s famous Hudson’s Bay, halfway across the country.

This clip shows you some of the fine details featured in my Venetian plaster style. In this architectural space, it was all about “Tuscan”.
To get that classic feel, we used Stucco Italiano, Intonachino, and Tadelakt. We’re industry specialists in these authentic lime plaster finishes, and I feel this video shows you exactly why. Enjoy!

It’s a good thing you hire me to do finish and not videos, because this one took me a year to make! What can I tell you? I’ve had spaces to make beautiful, but I finally found some time to share this one with you.

I’m pretty proud of this Tadelakt fireplace I completed last summer, so I’m glad I’ve finally got the video to post for you, including closeups, so you really get a good look at my work.

So, you ask why Tadelakt lime plaster was my first choice for this project?

This is a good lesson in why the material’s such an important consideration. You need to know the end look you want and what combination of products to use to get there. It’s tricky, and it’s why you need artisans who know their stuff but also know the kind of use it’s going to get, so both look-appropriate and wear-appropriate products are used.

All I can tell you is, out of all the styles of Venetian plaster I keep in my arsenal, it’s Tadelakt lime that brings the smooth, silky, and finely-honed “stone” appearance that makes it MY number-one choice for restoring a fireplace.

Personally, I also think it takes the mother-of-pearl finish the best, since it’s all about the smoothness of the finish.

It’s also really tough, so, Tadelakt really rocks in high-traffic, high-use areas like the fireplace.

I hope the film gives you that feeling, too, and gives you a good look at the detail I’m so proud of.

Cheers

Darrell  Morrison


Contact

Office:: 604.628.7855 | Direct:: 604.779.4233 | 9am to 5pm Monday – Saturday

Name
Email
Message

Thank you! Message sent.
Error! Please re-check that all fields are complete.
©Copyright 2019 Decorative Paint & Plaster Concepts Inc.