
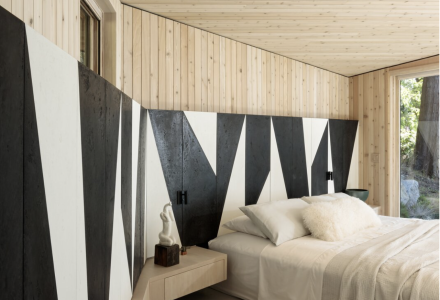
Photography by Ema Peters https://www.dwell.com/article/halfmoon-bay-cabin-frits-de-vries-architect-e9a74c69 We had the opportunity to work with Frits-de-vries-architects on a private cabin,…
Photography by Ema Peters https://www.dwell.com/article/halfmoon-bay-cabin-frits-de-vries-architect-e9a74c69 We had the opportunity to work with Frits-de-vries-architects on a private cabin,…
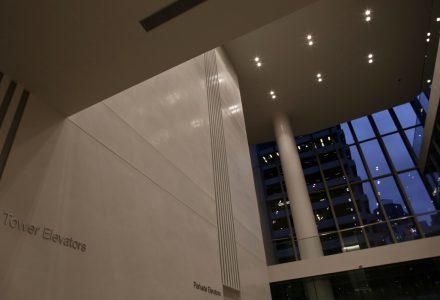
When I was contacted about The Exchange in 2013, I was immediately drawn to the difficulty…
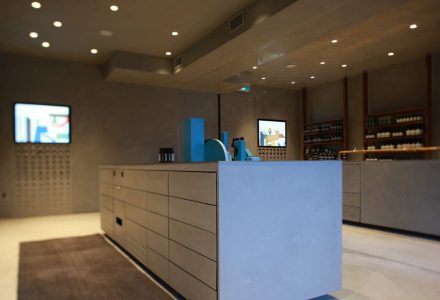
Over the summer we had the opportunity to work in the Kitsilano Aēsop cosmetic store on…

In just over a few weeks we will be starting a legacy project in Vancouver, British…
When a client wants to make a fireplace disappear from the field of view, we can…
We recently had the opportunity to collaborated with the Architecture firm Frits de Vries working together…

A beautiful barrel ceiling in Classic Venetian Plaster .This project required us to level the substrate…
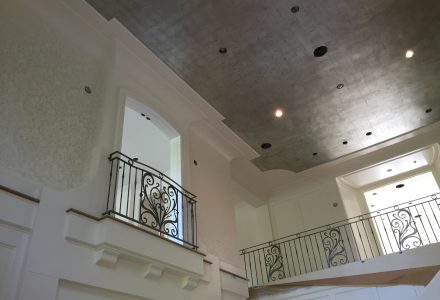
In May we had the opportunity to work on a very large entrance way ceiling in…

I had the opportunity to travel across Italy for the month of March in 2016, I…