Category: Wood Graining Vancouver

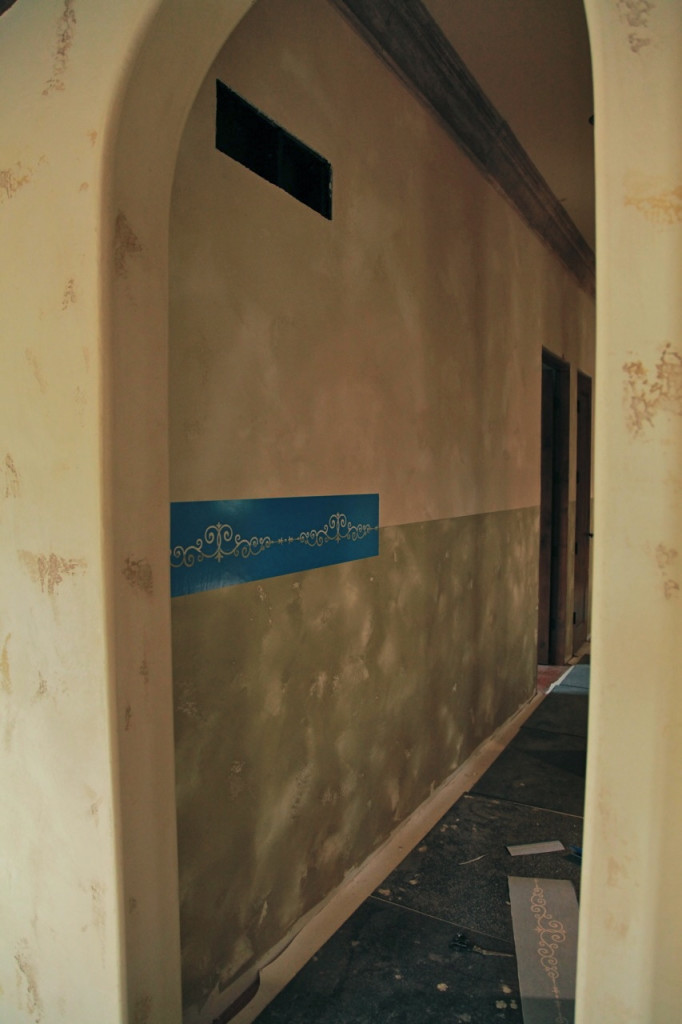
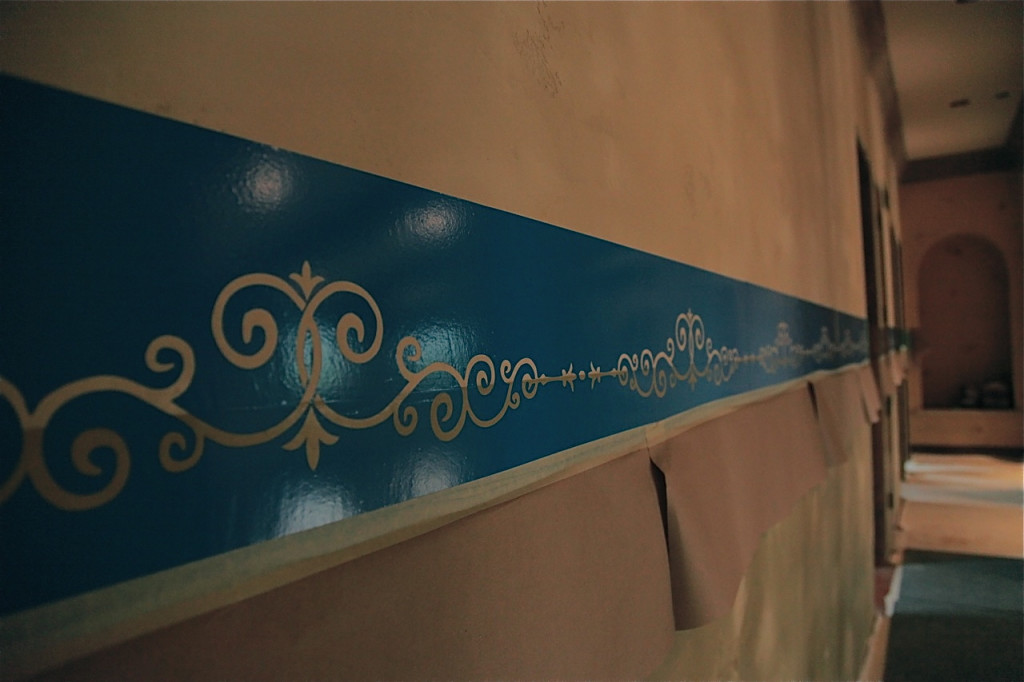
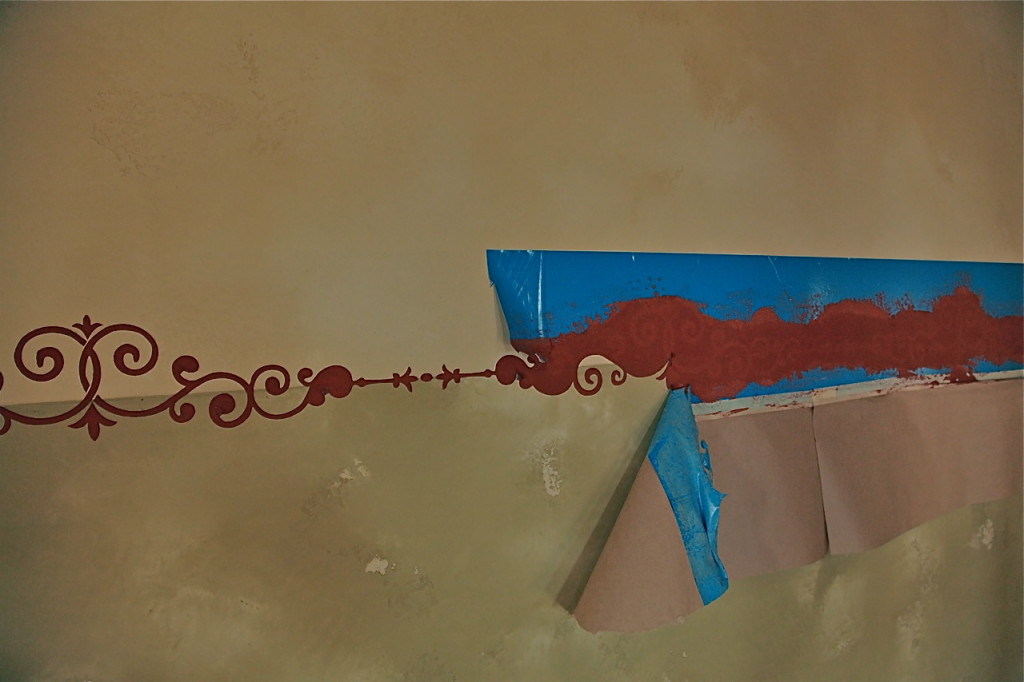
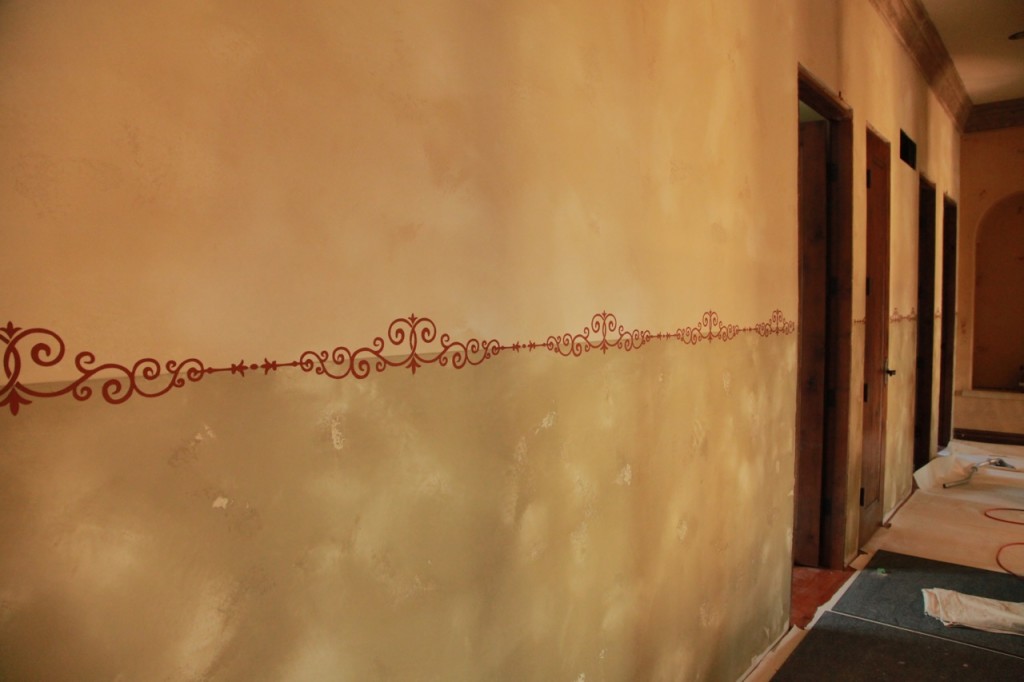
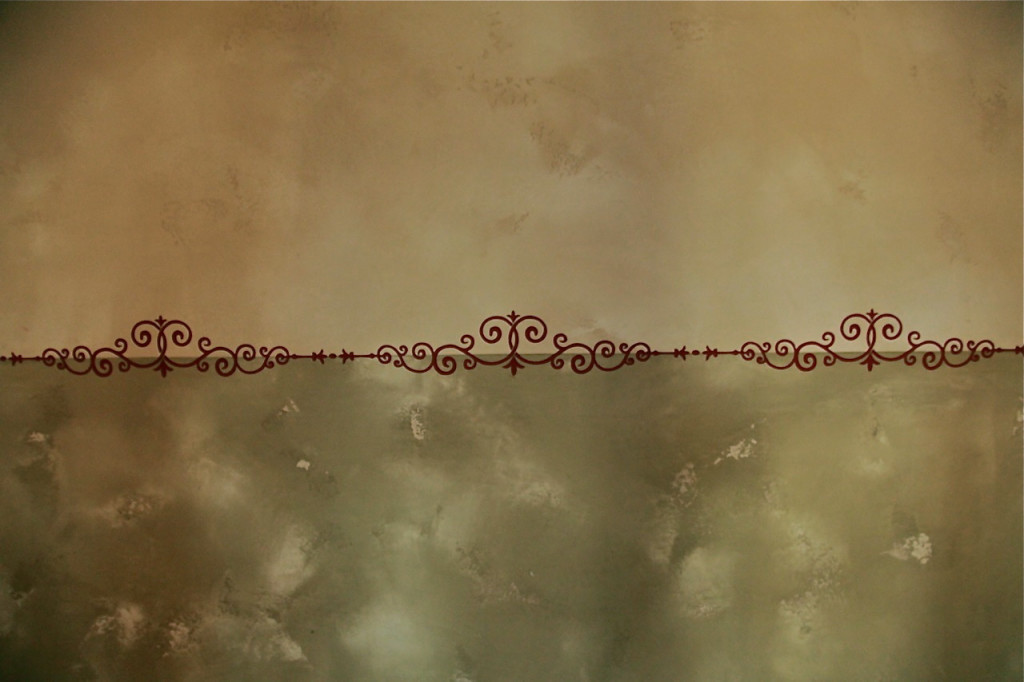
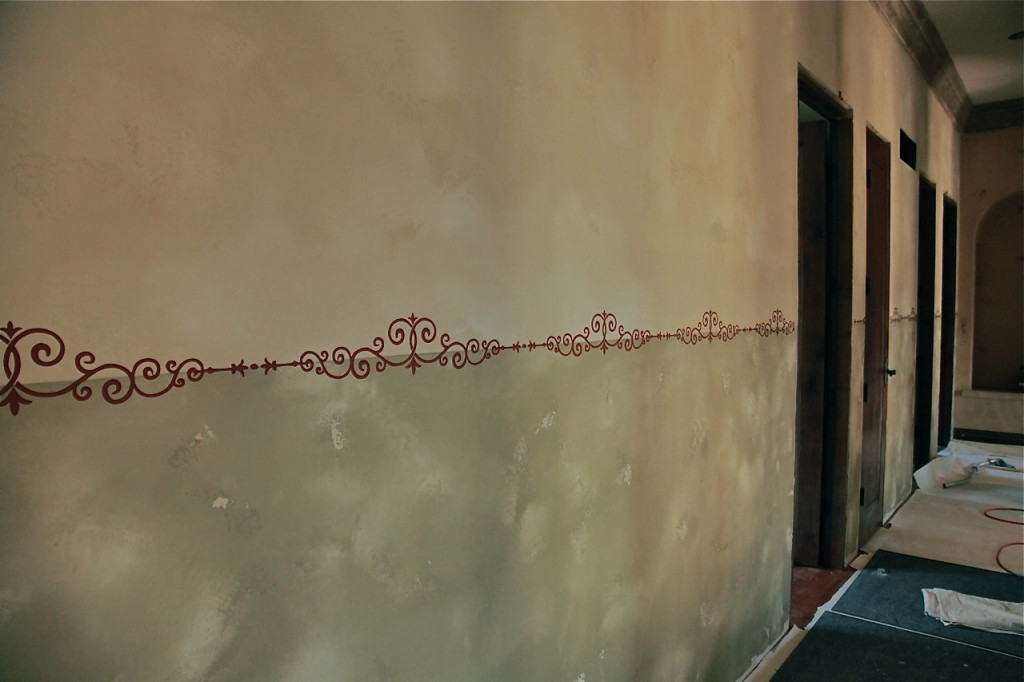
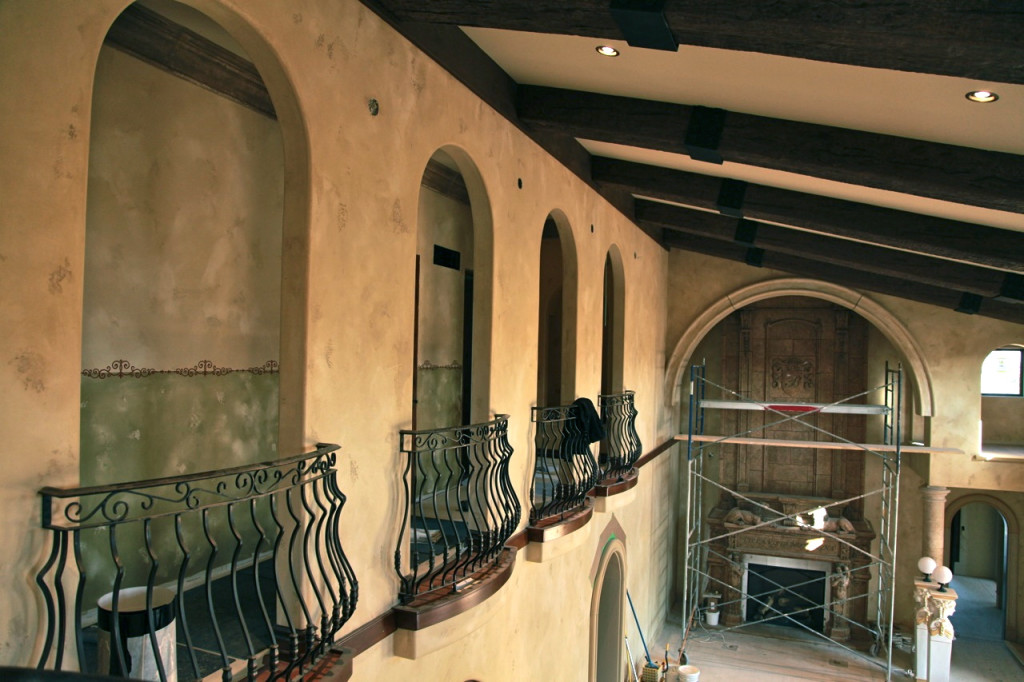
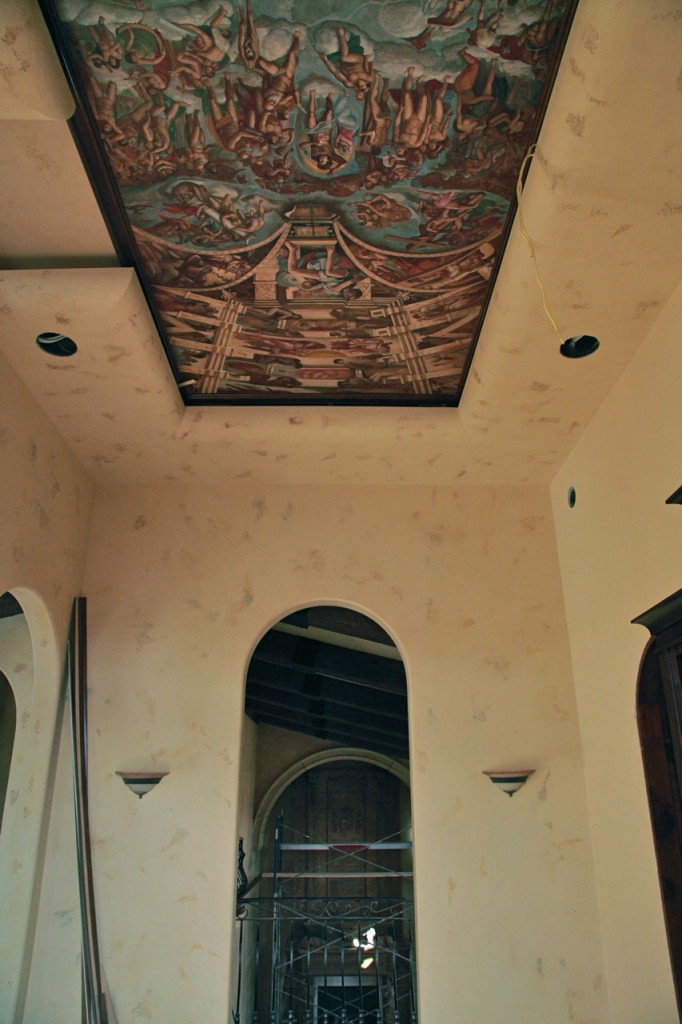
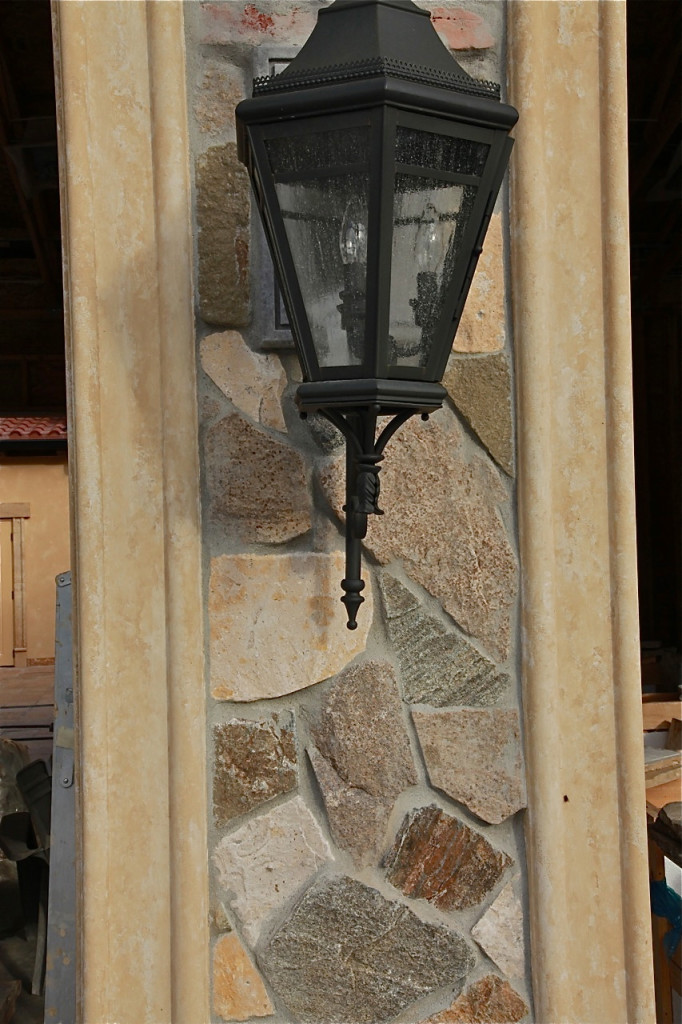
Tadelakt pillars inside and out, Fibercrown mouldings installed by and painted to resemble limestone. Italian lime plaster inside and out, antique mouldings, stencils, lath and plaster domes finished in silver leaf even the fountain base was finished by our hands. This house will be one to beat in our book of projects, a true masterpiece and an amazing group of people pulled this all together.

Italian Villa Lime Plaster Full Interior & Exterior Vancouver BC from darrell morrison on Vimeo.

Tadelakt pillars inside and out, Fibercrown mouldings installed by and painted to resemble limestone. Italian lime plaster inside and out, antique mouldings, stencils, lath and plaster domes finished in silver leaf even the fountain base was finished by our hands. This house will be one to beat in my book of projects, a true master piece and an amazing group of people pulled this all together.
-The Villa Work Performed-

-Exterior-
Two tone venetian lime plaster exterior

Install all fibercrown foam mouldings on exterior of house including arches windows and base.

Lime paint all mouldings to resemble lime stone

Tri-color Tadelakt lime plaster pillars

-Interior-
Smooth Venetian plaster walls including all ceilings and walls throughout house

Main interior fireplace install fibercrown, float substrate plaster to resemble walls and carved limestone

Plaster pillars and arches in Tadelakt with glaze and wax for an aged look

All domes finished in lath and plaster then decorated with silver leaf.

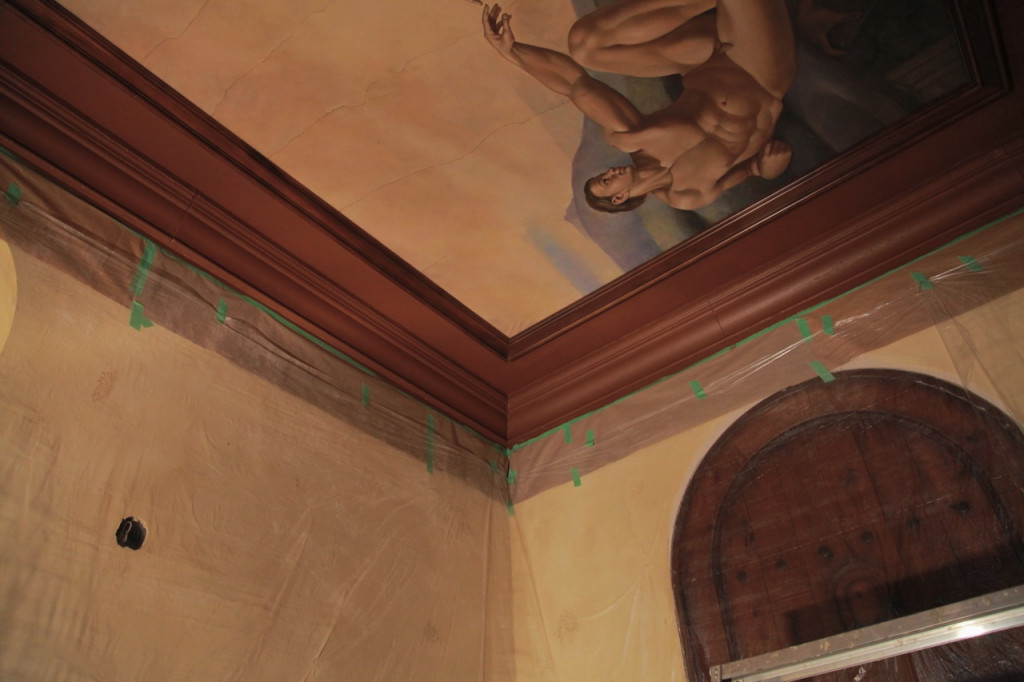
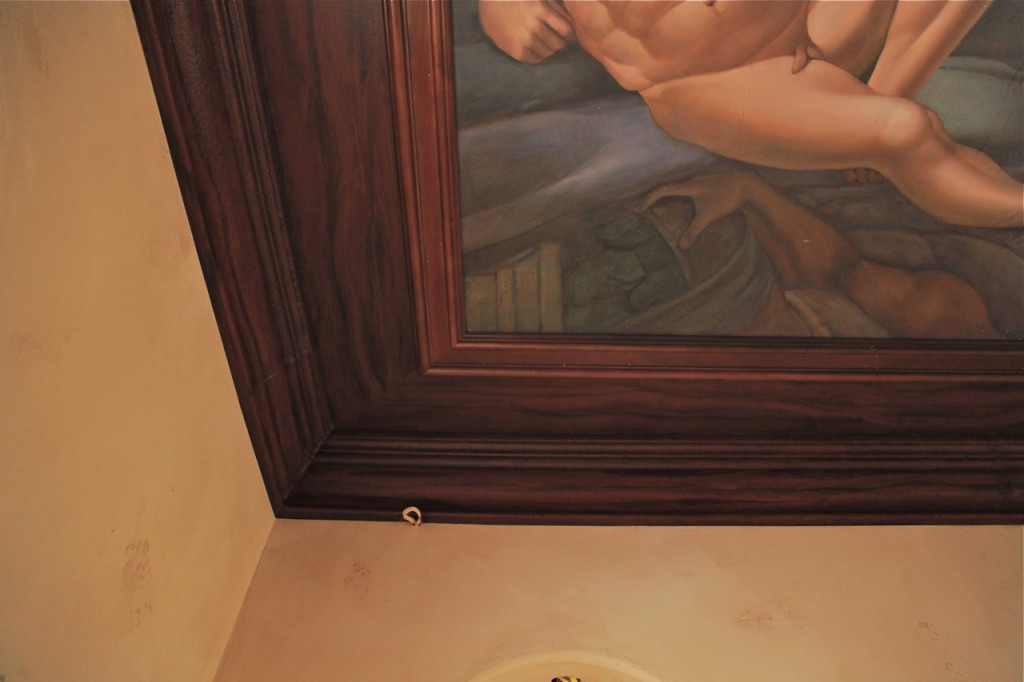
All wood beams on interior wood grained

When I started this project I had no idea it would evolve into such an amazing opportunity to showcase my abilities as a business owner and a creative person. Working with the builder, designer and home owner every step of the way has had it challenges, but in the same right it has made the process fun, enjoyable and a great learning experience which I welcome. Learning new things everyday whether it be people related or plaster/job site related. I live to learn and grown.

Originally this projects exterior was going to get finished in a traditional exterior stucco and then faux painted to give it a similar effect as our Lime plaster. Having learned this I showed the builder my samples and mentioned plaster would be a far superior alliterative with less maintenance and a more authentic look then paint. So we got contracted to Italian lime plaster stucco the exterior of the entire house, Tadelakt Lime plaster all the exterior pillars and Lime paint all the exterior fibercrown mouldings. As the project progressed we eventually took over the installation of the fiber crown mouldings, which was a “massive” project on its own, with compound arches and pallets and pallets of mouldings to install it took close to 3 months just for that part of the project.

We are still currently working on this house getting close to completion on the interior which I will share a few photos of and the exterior which is nearing completion as well.

Lime plaster has been my choice of material for almost a decade now. Recently someone told me it takes 10,000 hours to become proficient at any trade whether it be carpentry, framing or even a stone mason, the time spent honing that skill will one day make you a tradesman (or tradeswoman).

Over the summer I have been fortunate to work on a project in an Old World Italian Design Tuscan Villa. Breaking into my crate of techniques from WoodGrainingGoldLeafingVenetian Plastering, Lime Painting and Stencilling.   I have been challenged in ways that excite my mind and creativity, opening a new chapter in my life and the world I love to call Italian Plastering.

Here are some photos from this recent journey, the project is still in progress.

WoodGraining base coat

WoodGraining complete

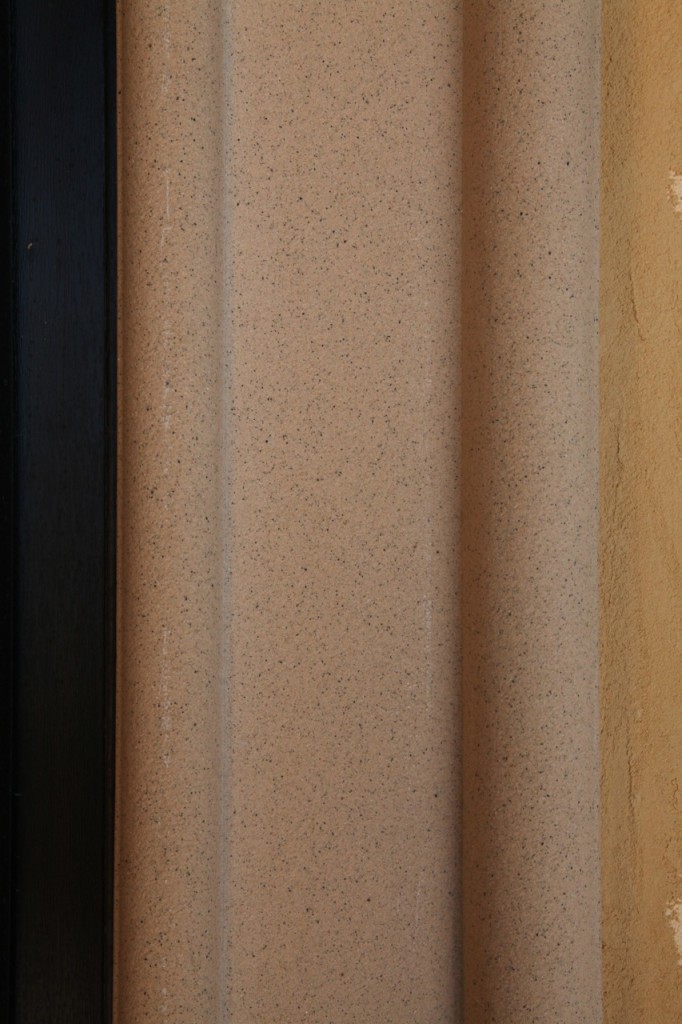
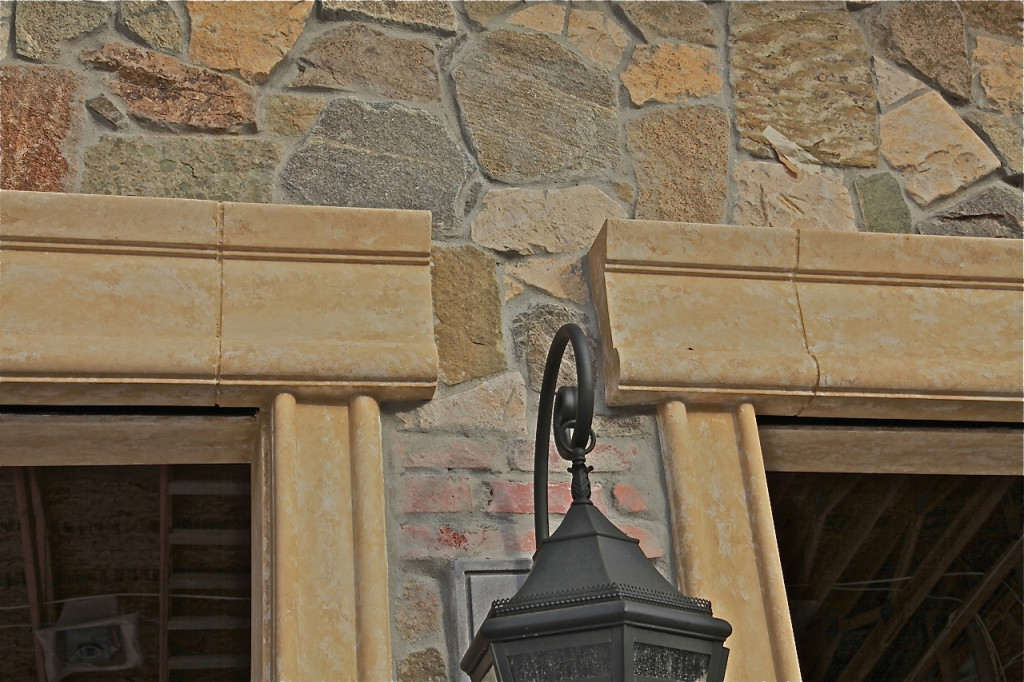
Fibre Crown is a foam moulding used to simulate stone and in most situations is painted with acrylic paints.

Here is a close up of the foam moulding

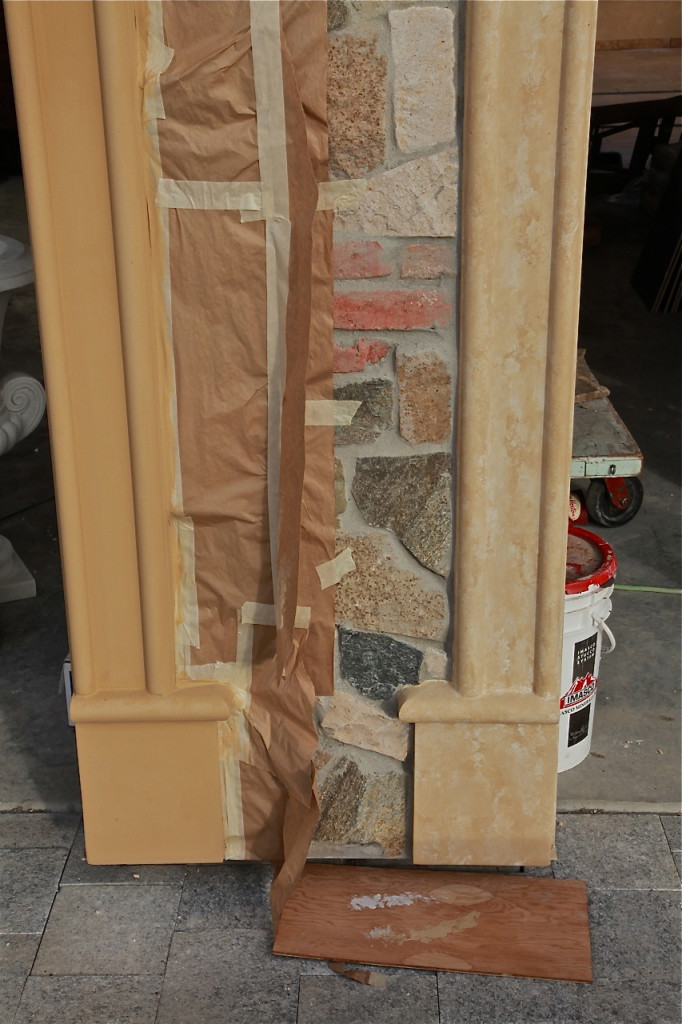
Lime Painted Fibre Crown Moulding To Simulate The Look Of LimeStone

Fibre crown molding Lime stone 2 before & After

Recently, I finally got the tool I’ve been wanting to add to my company’s arsenal — a 12-colour carousel tinting machine.

You’re likely saying “A what?”

When I Say “Any Colour”, I mean It More Than Ever

For years, I’ve been creating custom colours. Many times, I’ve been unsuccessful because of technicalities, like not having proper colours available to me or a way to distribute them evenly or quickly among all the products I needed to mix to get the job done and done well.

Stuck working with these technicalities, a lot of my colours were found in one part of the colour spectrum — browns or tans, and even beiges now and then.

With the size of new lime-plaster interior projects and the new direction I’d like to take my Venetian plaster work in, I knew the time was right to get this tool that would make the difference in meeting my standards on a large scale.

As an example, I’m currently working on a 10,000 square-foot Intonachino lime-plaster interior. With so much surface to cover, the client is having a hard time choosing the perfect colour. We’re close, so they now only want slight shifts in shade and/or hue. (How are “shade” and “hue” different? Learn more by following this link.)

Picky? Not at all. Like me, they know job satisfaction is all about the details.

I’ve now taken great care to create 20 different colours for this project. That’s a bit of an extreme for any project, maybe, but you have to live with the colour long after I’m gone, and we need to get it right. I won’t get upset or rush you for a colour at the beginning of a project, because preparation and work can begin while we take the time to do the right things to help you come to a decision you literally can live with.

This tint machine makes my life easier and helps me live up to my dedication to getting you a a truly livable colour for your environment. Now, at any point in time, I can change a colour’s direction. You want a 25% lighter shade? Okay, not a problem. We don’t need a paint-shop pro or a chemist to guess it out. Let’s get that done ourselves — between you and me, and save ourselves a lot of headache and reduce wasted materials in the process.

Breaking It Down:

◦                                  Whatever your favourite material — Tadelakt, Intonachino, Carrara or Classic — I have full control over the colour and tint of the end-product.

◦                                  Your money gets saved because I’m not wasting materials or gambling on a factory’s ability to get those pallets of lime plaster tinted just the right way.

You want it lighter? Darker? I can change that on a dime now, so you get what you want when you want it. Hue by hue, shade by shade, we’ll nail the colour of your dreams.

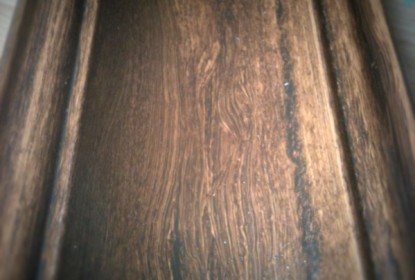
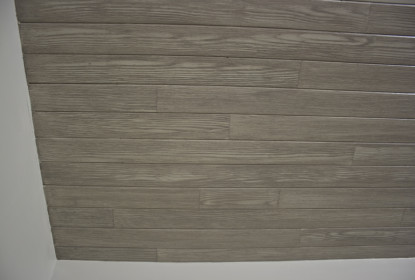
So why would you want to use wood graining on your project? Lets start with the creativity, being able to control the colours and style of wood your looking to get is much easier when its created by hand, id say that’s a big asset. Next would be its Eco-friendly no need to replace any existing wood or if your building a new home MDF (medium density fiber board) is a great option as its cheaper to buy then real wood and saves the environment from another tree cut down. The 1st picture is a sample I created for an upcoming project the client loved it so much they have decided to d0 3000 liner ft. the cost savings is amazing and leaves room for lots of creativity. I will be sure to write a blog post about it once the project starts.

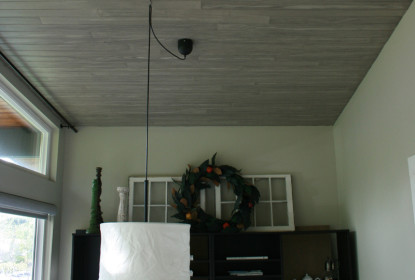
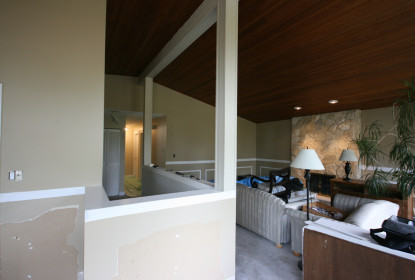
Now back to the ceiling, this home had that old school west coast style with the cedar ceiling from the exterior spanning all the way into the living room it looked great but the colour was way to orange and this client wanted to go more restoration hardware style. So I went to the drawing board and this is what I came up with. Painting the ceiling out in a solid colour was a great start then an idea hit me I want to make the ceiling look like a hardwood floor with different size pieces of board well lets say great idea TON of work, take a look closely at the pictures and you can see how the joints look natural and the wood flows as it should.

Conclusion Many considerations need to be taken in before starting a project like this, remember that wood is a natural thing it would not come in 20 ft lengths (in most situations) try to keep it simple avoid using more than 3 colours as the more you use it adds to the cost$$ think shading. I hope you have enjoyed my post and hey leave some comments I will answer questions.

Contact

Office:: 604.628.7855 | Direct:: 604.779.4233 | 9am to 5pm Monday – Saturday

Name
Email
Message

Thank you! Message sent.
Error! Please re-check that all fields are complete.
©Copyright 2019 Decorative Paint & Plaster Concepts Inc.