Category: Carrara Marmorino

When a client wants to make a fireplace disappear from the field of view, we can think of no better finish than our monolithic high polished Italian lime plaster. We have created this proprietary custom finish to fit into a more modern style of home. With its mirror polished finish without any tool marks makes for a beautiful conversation piece while also creating a timeless feature with durability and uniqueness. The end result is a solid, seamless stone surface that appears to be carved in place. Contact the studio for information our Venetian and Italian lime based plasters applications for fireplaces, seamless showers and anything in between in Vancouver, Canada.

Enjoy this short video showing the level of quality we deliver.

High polished Italian lime plaster fireplace

Polished Venetian Plaster Fireplace Canada from Darrell Morrison on Vimeo.

or you can view it on on youtube

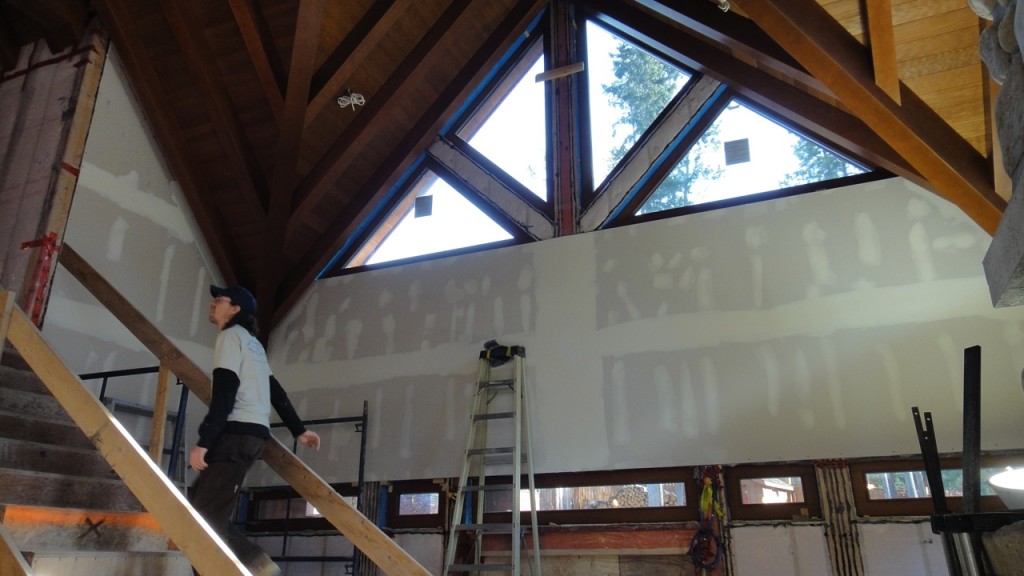
We recently had the opportunity to collaborated with the Architecture firm Frits de Vries working together with the build team MP Construction Having the opportunity to work on this ultra-modern home with exposed steel beams, 1/2 inch reveals at every door, moulding and ceiling. including an ocean view and a small foot print with a glass elevator.

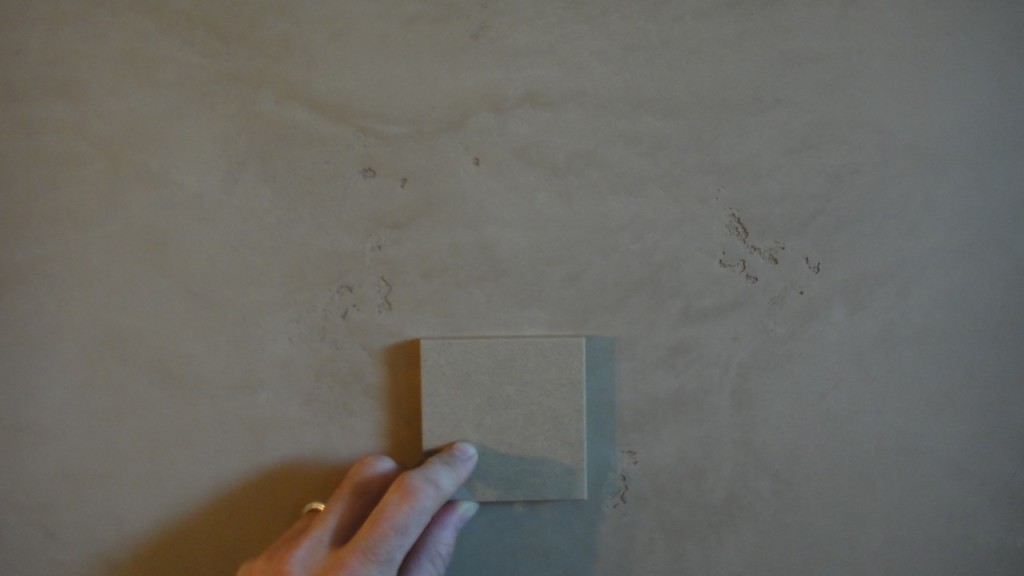
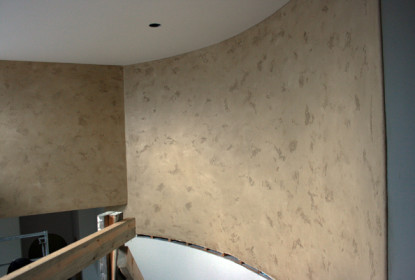
We were brought onto the project to replicate a silex element cast stone tile. By using our skills of colour matching and working closely with the design team. We created a unique Italian Lime plaster finish that emulates a linear movement. We made sure to book match the colours around every corner. This gives the effect of a solid stone slab. When you touch the surface of a polished lime plaster the feeling is soft and smooth, invoking the caress on ones touch.

We created this finish using Carrara Marmorino We tinted 3 varying colours and used them in a layered effect like an artist would a paint medium. By blending the colours together it has created an effect of clouds on the horizon.

We love the opportunity to collaborate on projects, if you have a design idea that you would like to see come to life contact the studio.

Venetian Plaster Elevator Wall from Darrell Morrison on Vimeo.

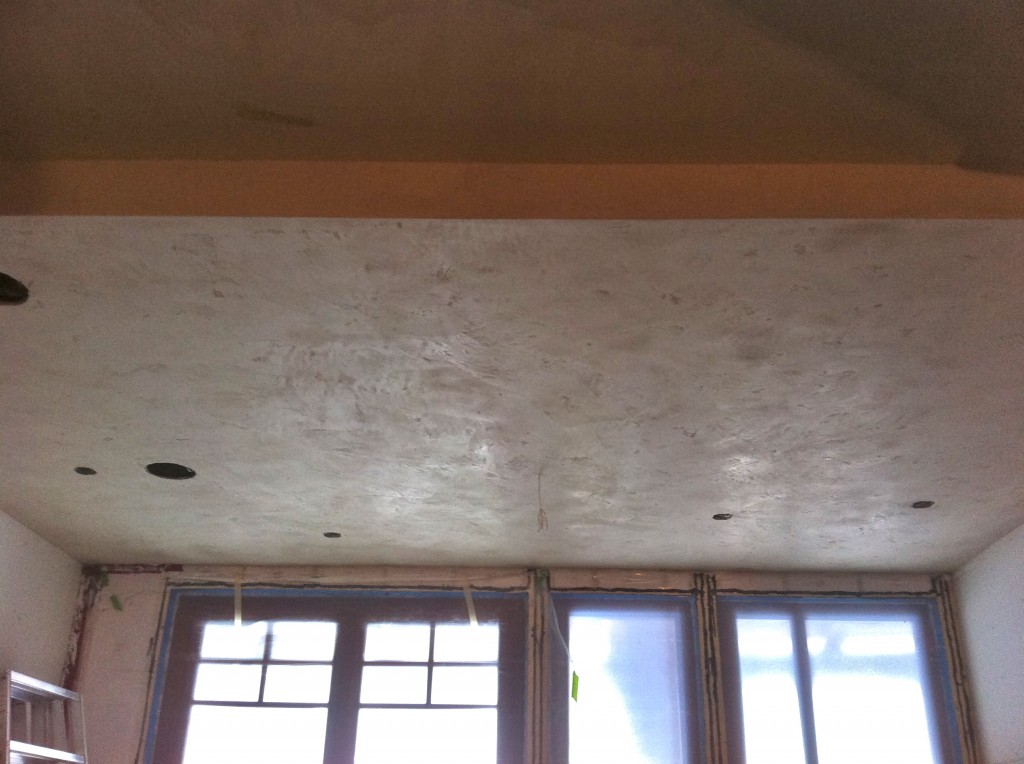
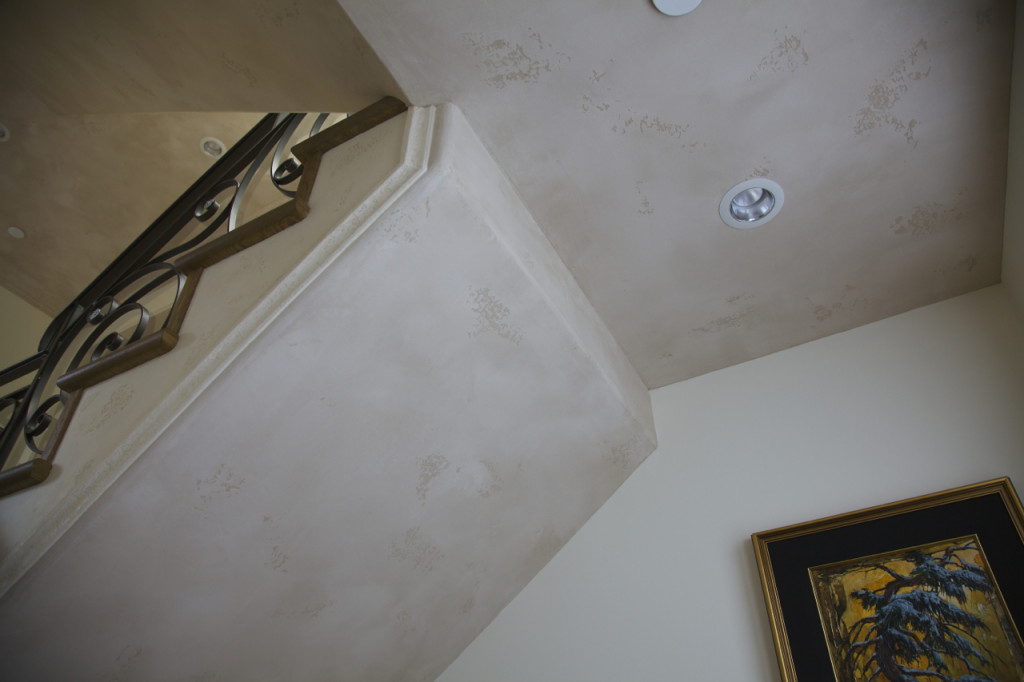
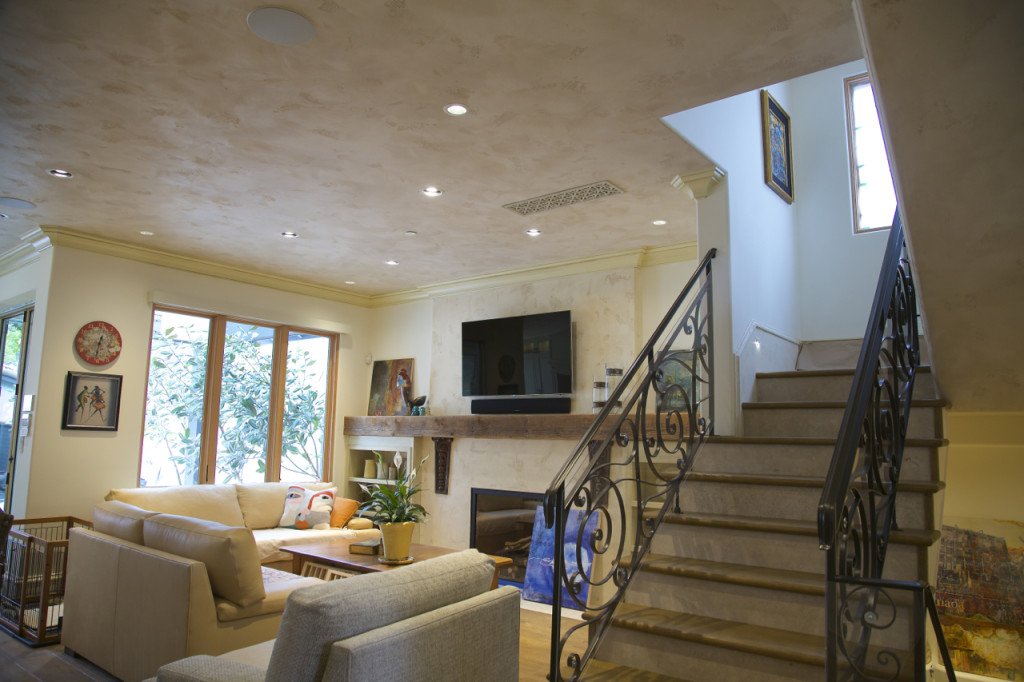
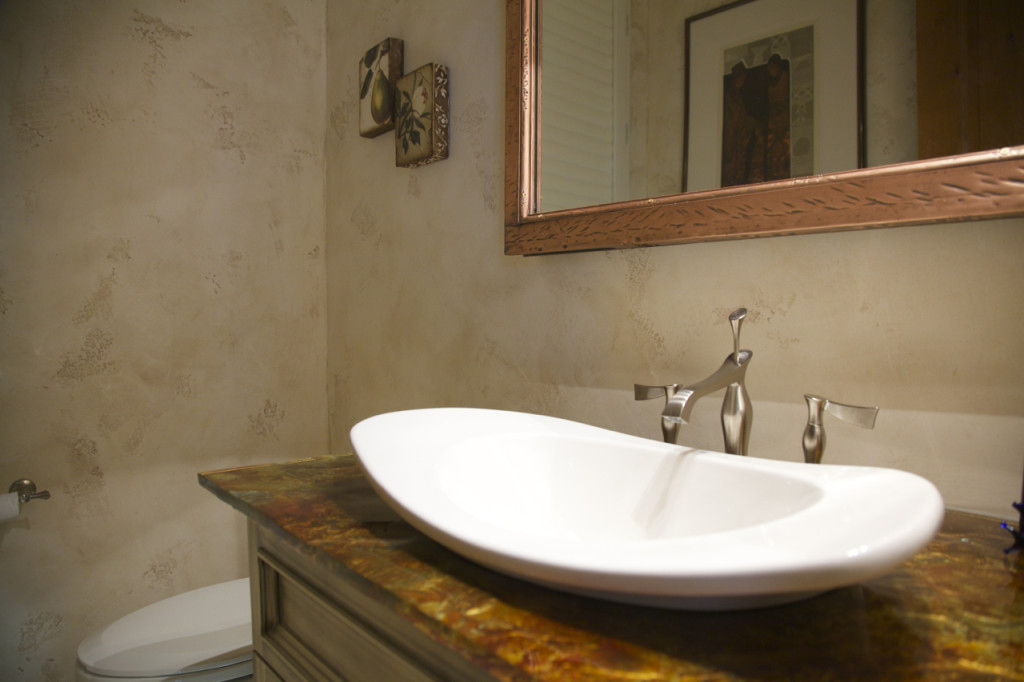
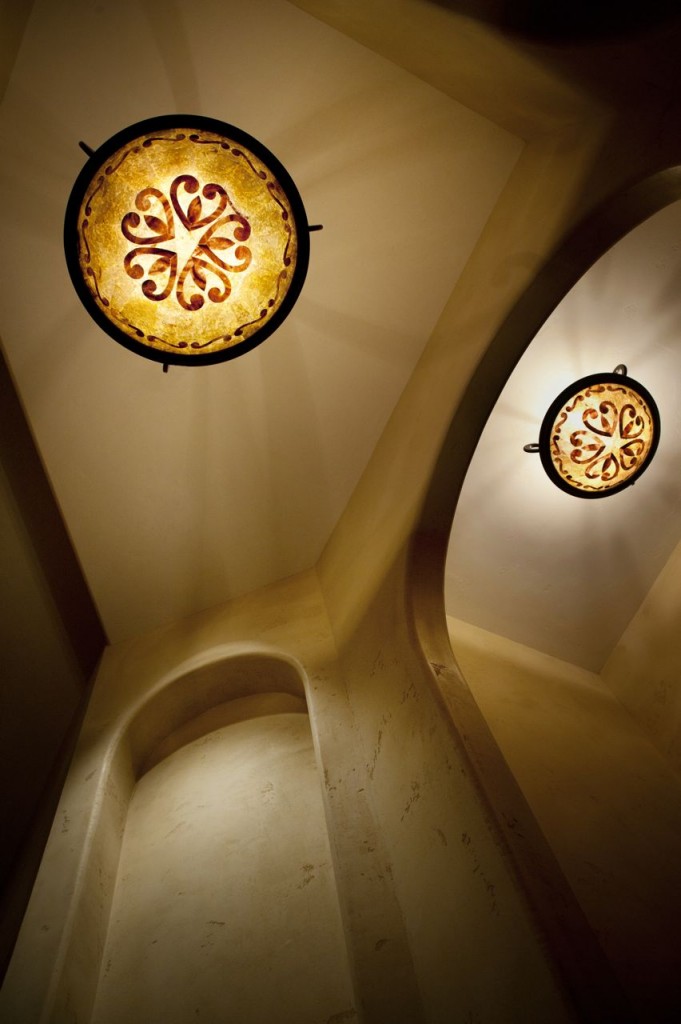
We recently finished this detailed interior using venetian plaster in this beautiful traditional home, infused with tuscan details. The owners wanted a house built using environmentally safe products, however they were not aiming for LEED points. We used low voc colorants designed for this project and soap wax’s for sealing all the surfaces. Venetian plaster is a great alternative to paint materials as its surface does not show ware easily and its depth and beauty spark conversation. All the ceilings throughout the project were finished with a 2 tone Tadelakt lime plaster. The base boards, crown mouldings and stair kicks are finished in a pitted plaster finish to give the look of solid stone. I hope you enjoy viewing this project just as much as we enjoyed helping create it.

Continue Reading..

The process, the projects, the finished product: This is an inside look into how I create my Venetian plaster projects, making them come alive.

In this video, you’ll see steps used to create my Venetian plaster projects, including completed project photos of Classic, Carrara, Intonachino and Tadelakt plaster applications.

When it comes to my projects, it’s Stucco Italiano Italian lime plaster that is my one and only choice, and I think this video shows you why. When you think interior stucco think Authentic lime based Venetian plaster.


I remember my parents telling me their stories about how hard life was “back in the day,” when they’d have to slog through heavy snow, up snowy hills, all while braving the freezing weather. Now that I’m working in Banff, I can finally tell my daughter the same kinds of stories.

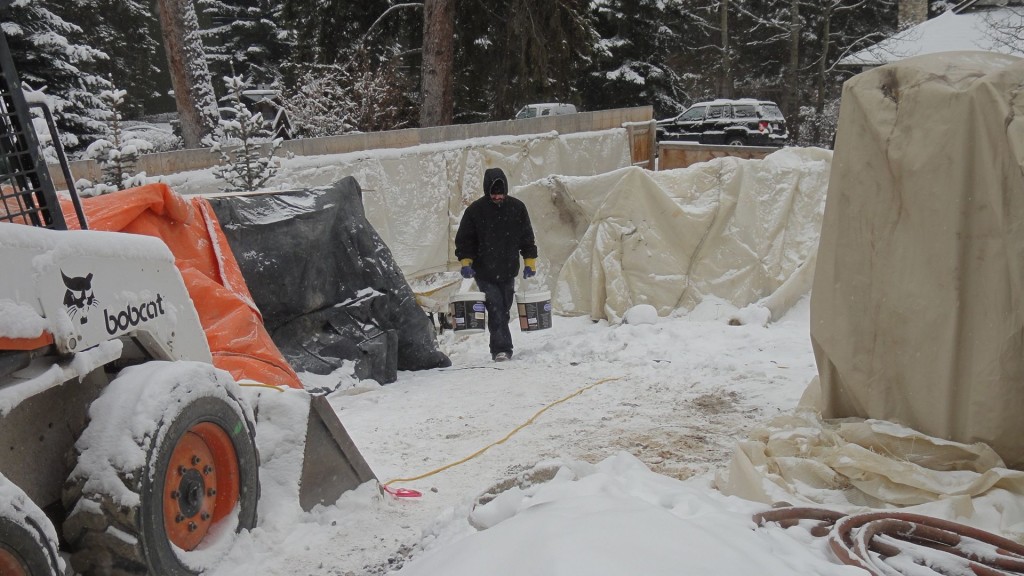
Except that my stories will involve my struggles this week — hauling some 2,650 pounds of Italian lime plaster up a snowy, icy hill, down some stairs to the lower level’s entrance, and all in chilly -14 degrees Celsius weather.

Yep, just another wintery day’s work in Banff, Alberta.
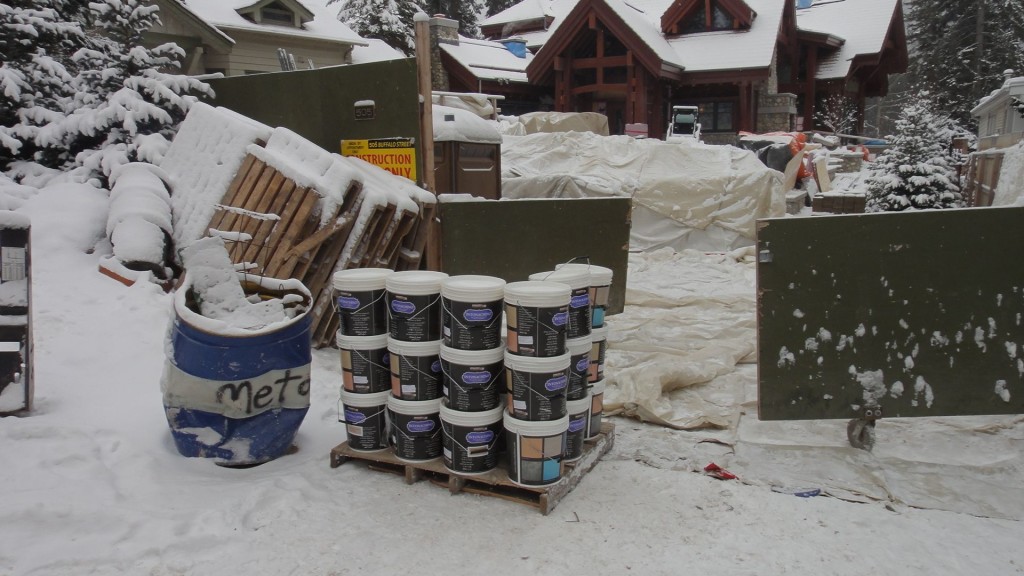
Laying down the base coat
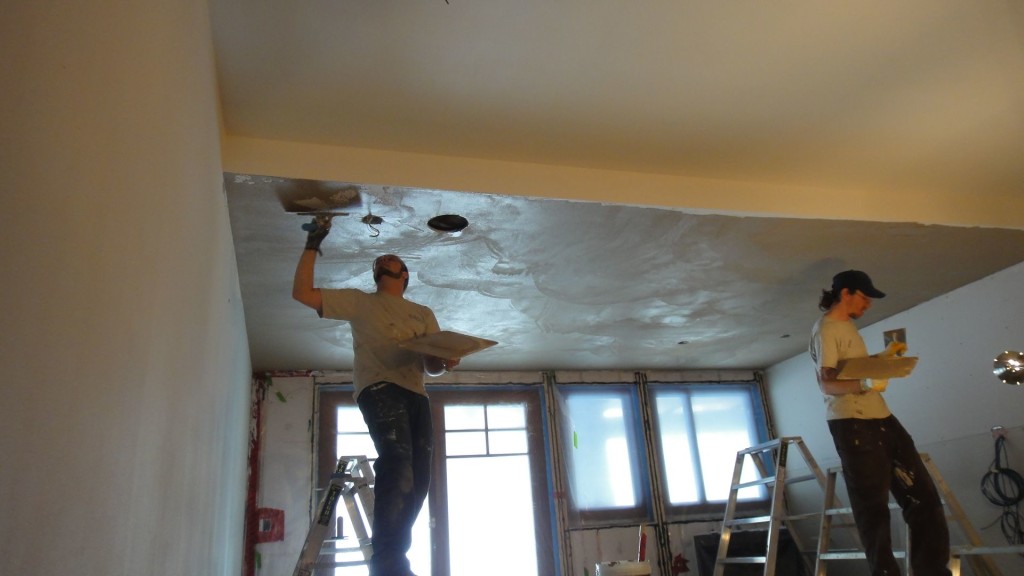
There’s a reason they call short people “vertically challenged,” and my work in Venetian plaster and the constant need to do ceiling treatments means I’m proof of the “challenged” part.

Ladder, please!

I often need a little extra height, and that perfect height still means a world of work but a lot less pain!
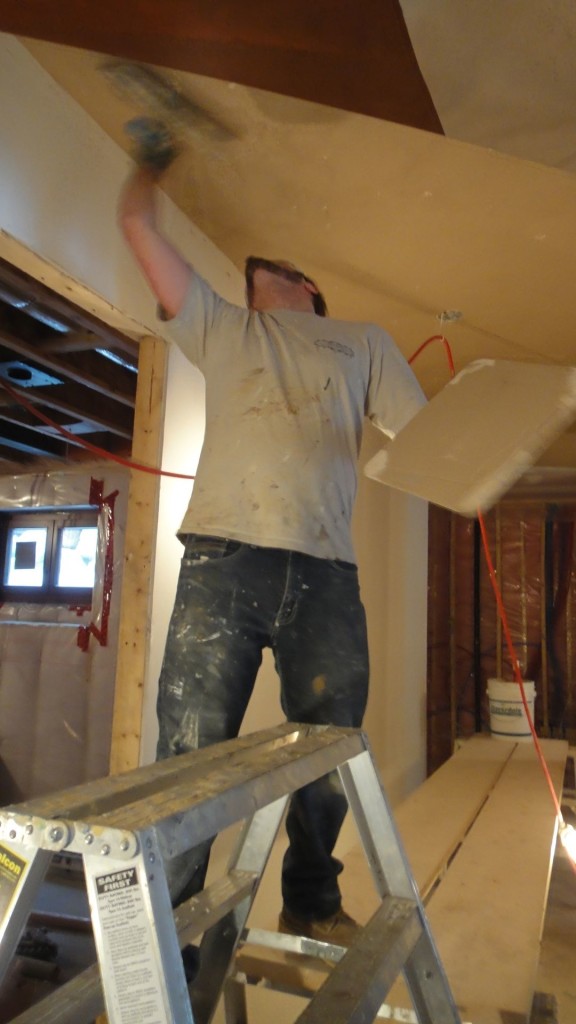
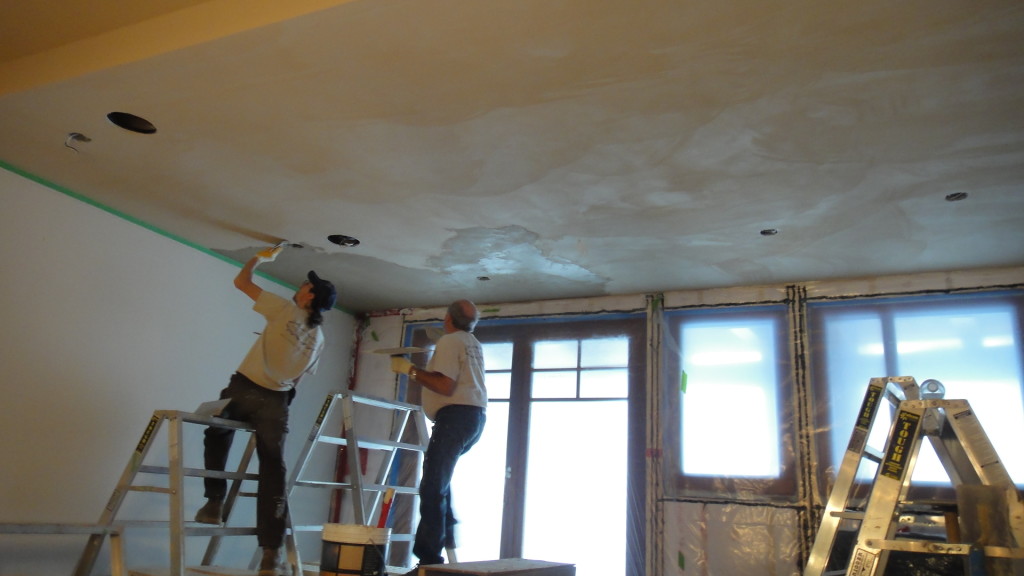
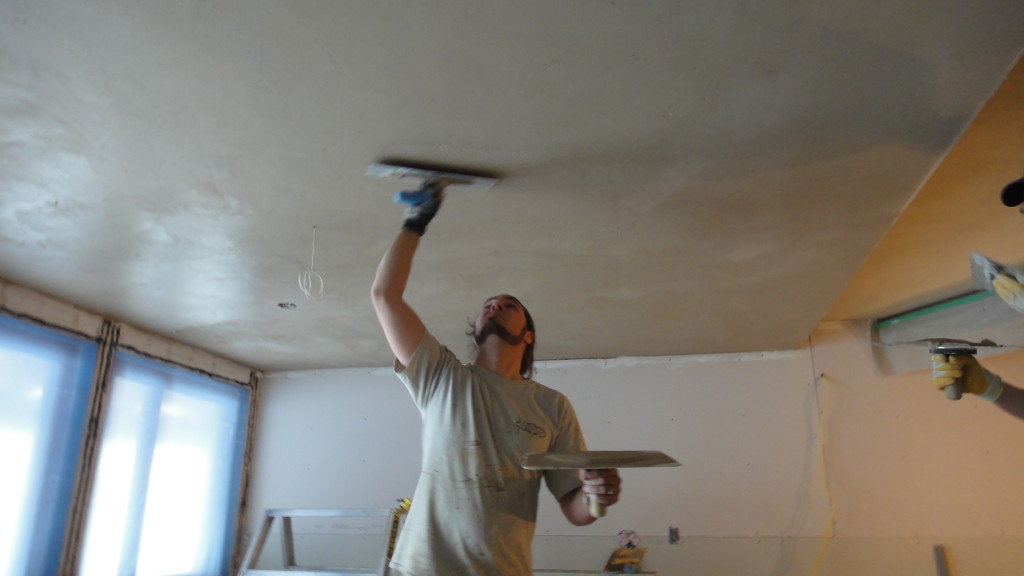
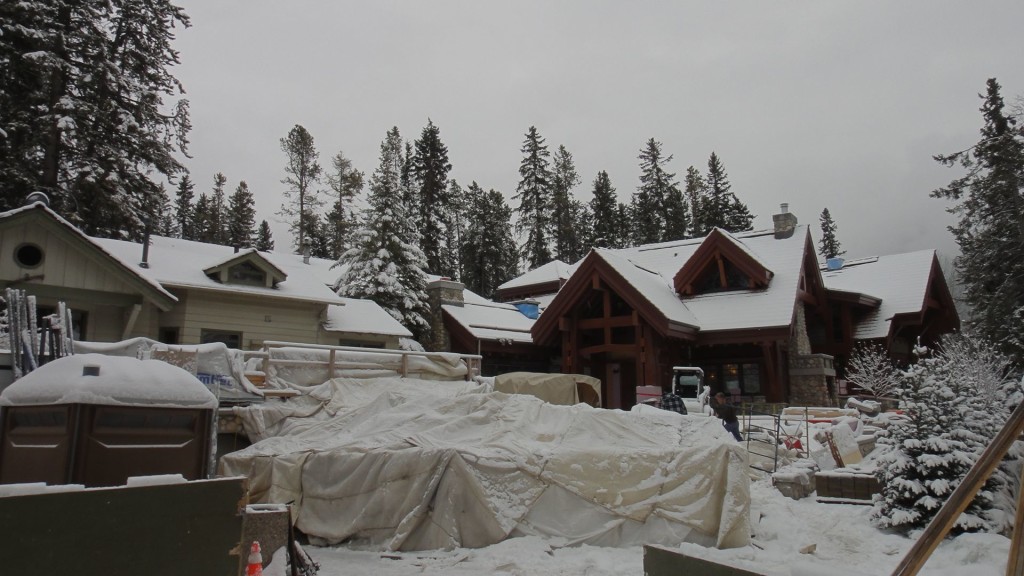
Living and working in one of the mildest climates in Canada means I’ve never experienced the difficulties of building in high-altitude severe winter climate like that found here in Banff.

I’m enjoying seeing how different practices are needed for success here, and I’m super-impressed with how the builder deals with nature’s wrath, tenting exterior areas so the work on the home’s landscaping can continue throughout the season.
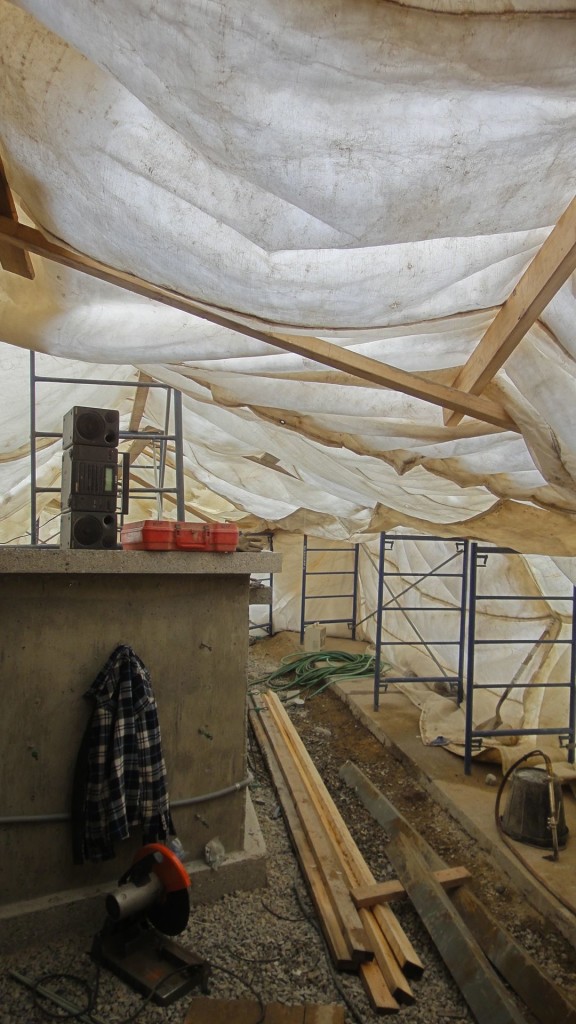
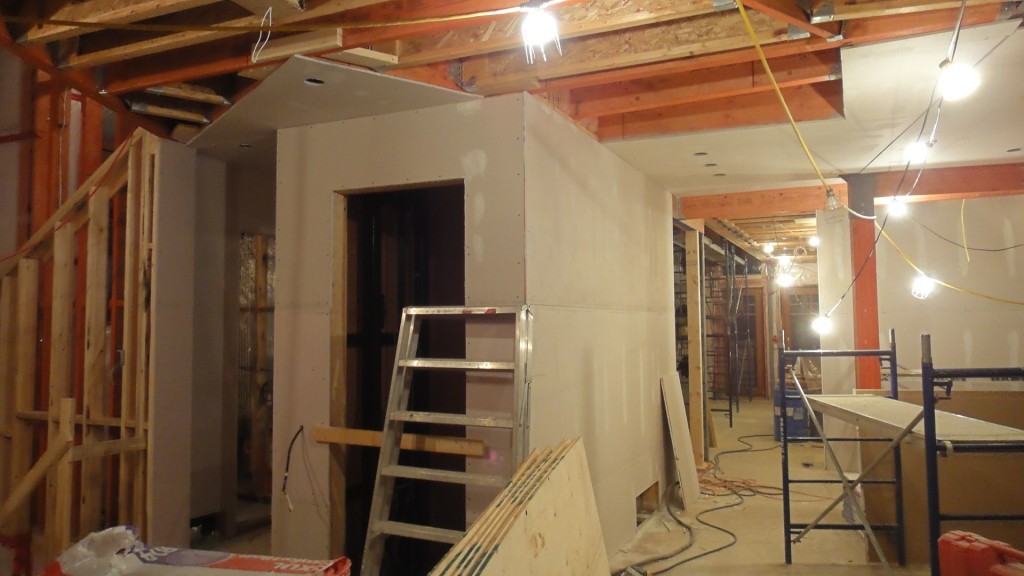
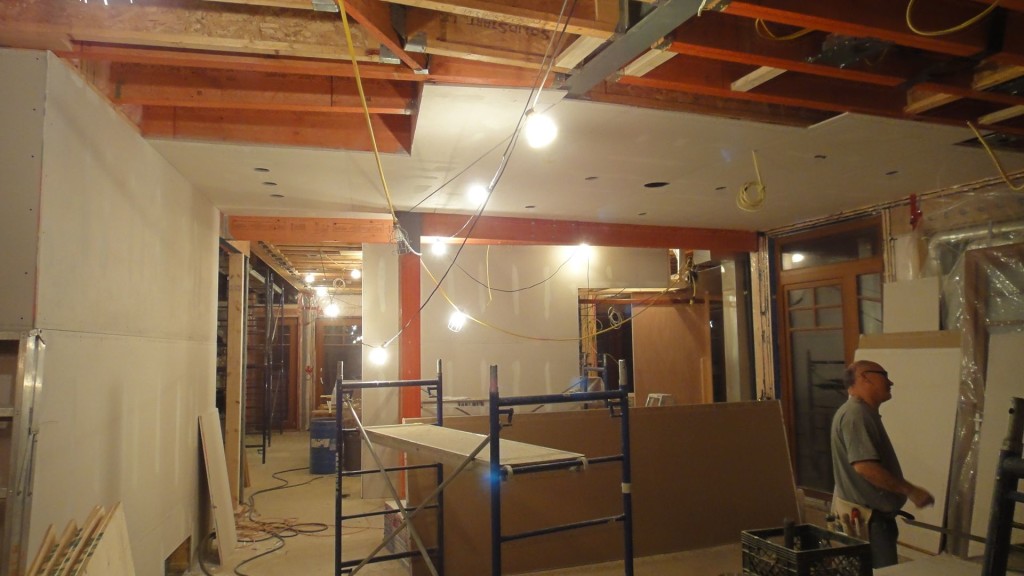
This is the exciting part, for me! Just last week, the main floor had barely any drywall hung. That was then and this is now! The build team has really pulled together, everyone’s always on the move, and they’re working as a team to get ‘er done. There’s a lot of good nature on the build site, with everyone being very friendly and communicating clearly, all things that are very important to me in a work environment.
It feels wrong to post without sharing another photo of the area. Here’s the town as we head to our lodgings after a day at the job site.

Banff is such a lovely place. I have so much more of it to experience while I’m here, and that’s really exciting. It’s not just a mountain town, it’s a winter wonderland, and it’s feeling like an epic journey’s just getting started. Thanks for following the experience!

Cheers,

Darrell Morrison

This Week’s Banff Trivia:


Geologists report that the Rocky Mountains that make up Banff National Park are 45 to 120 million years old. In just the national park alone, one can find more than 1,000 glaciers — but only if they wear really, really rugged hiking boots!

Early last Monday afternoon, I drove past a sign reading “Welcome to Banff, Alberta.”

Over the next three months, I’ll be working on an amazing, extremely customized home that backs onto Banff’s beautiful Bow River.

Along with everything else that blows me away about this house is the fact that I think it has the most stunning millwork I’ve ever encountered anywhere. Entering this amazing home felt like I’d just walked into some mind-blowing 5-star hotel in, well… Banff.

To add to the dramatic millwork and scenic setting, I’ll be using rich, deep earth-tone colours that complement the amazing nature all around us here in these legendary mountains. The plaster will be a 4-coat slightly-pitted Intonachino lime plaster finish.

The Canadian Rockies, where Banff is found, is known for its stone, exposed rockface, forests, and generally rugged terrain. I think this Italian lime plaster will really rock the Rockies, and it’ll be a commanding, dramatic feature in this impressive home as it stretches throughout the place, on all three levels.

I know this mountain town will be an amazing and inspiring place to work during the winter months. Come spring, if the owner converts the place into a “mountain stronghold,” it’ll be a beautiful place to hole up and easily forget about the rest of the world.


Banff is the highest town in Canada, sitting at an elevation of more than 4,500 feet (about 1,380 metres), nestled in the heart of the Canadian Rockies. It was declared Canada’s first national park in 1885, and today is a UNESCO World Heritage Site, with a protected area of more than 7,700 square miles.

The Bow River, which this home backs onto, originates from the Bow Glacier and Bow Lake. It flows for 587 kilometres, joins with the Oldman River to become the larger South Saskatchewan River, and eventually spills into Canada’s famous Hudson’s Bay, halfway across the country.

It’s a good thing you hire me to do finish and not videos, because this one took me a year to make! What can I tell you? I’ve had spaces to make beautiful, but I finally found some time to share this one with you.
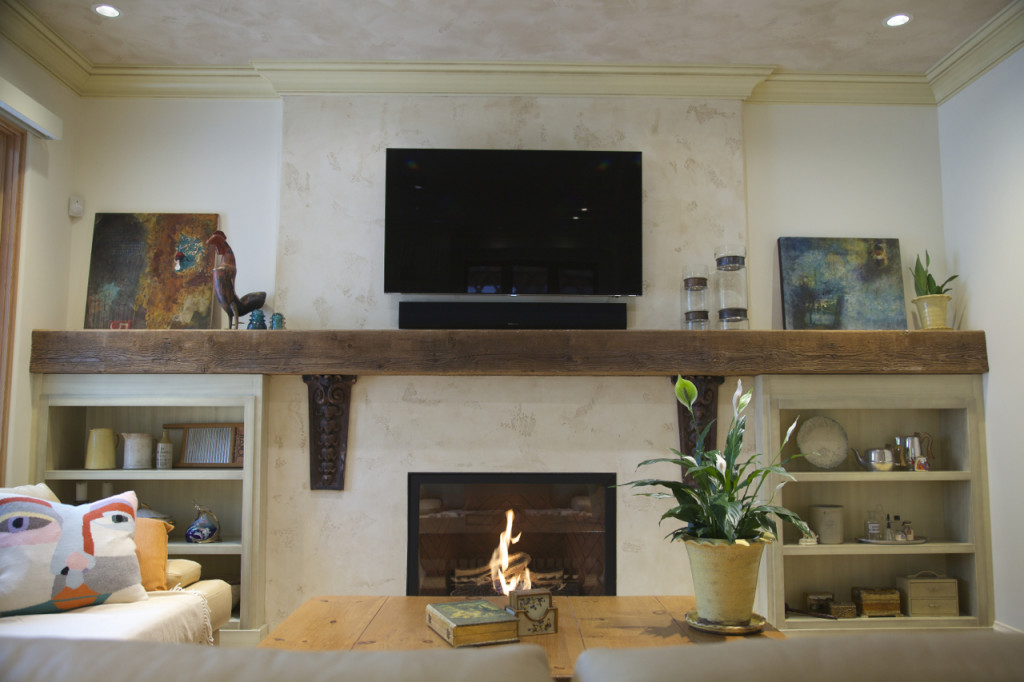
I’m pretty proud of this Tadelakt fireplace I completed last summer, so I’m glad I’ve finally got the video to post for you, including closeups, so you really get a good look at my work.

So, you ask why Tadelakt lime plaster was my first choice for this project?

This is a good lesson in why the material’s such an important consideration. You need to know the end look you want and what combination of products to use to get there. It’s tricky, and it’s why you need artisans who know their stuff but also know the kind of use it’s going to get, so both look-appropriate and wear-appropriate products are used.

All I can tell you is, out of all the styles of Venetian plaster I keep in my arsenal, it’s Tadelakt lime that brings the smooth, silky, and finely-honed “stone” appearance that makes it MY number-one choice for restoring a fireplace.

Personally, I also think it takes the mother-of-pearl finish the best, since it’s all about the smoothness of the finish.

It’s also really tough, so, Tadelakt really rocks in high-traffic, high-use areas like the fireplace.

I hope the film gives you that feeling, too, and gives you a good look at the detail I’m so proud of.

Cheers

Darrell  Morrison

Recently, I finally got the tool I’ve been wanting to add to my company’s arsenal — a 12-colour carousel tinting machine.

You’re likely saying “A what?”

When I Say “Any Colour”, I mean It More Than Ever

For years, I’ve been creating custom colours. Many times, I’ve been unsuccessful because of technicalities, like not having proper colours available to me or a way to distribute them evenly or quickly among all the products I needed to mix to get the job done and done well.

Stuck working with these technicalities, a lot of my colours were found in one part of the colour spectrum — browns or tans, and even beiges now and then.

With the size of new lime-plaster interior projects and the new direction I’d like to take my Venetian plaster work in, I knew the time was right to get this tool that would make the difference in meeting my standards on a large scale.

As an example, I’m currently working on a 10,000 square-foot Intonachino lime-plaster interior. With so much surface to cover, the client is having a hard time choosing the perfect colour. We’re close, so they now only want slight shifts in shade and/or hue. (How are “shade” and “hue” different? Learn more by following this link.)

Picky? Not at all. Like me, they know job satisfaction is all about the details.

I’ve now taken great care to create 20 different colours for this project. That’s a bit of an extreme for any project, maybe, but you have to live with the colour long after I’m gone, and we need to get it right. I won’t get upset or rush you for a colour at the beginning of a project, because preparation and work can begin while we take the time to do the right things to help you come to a decision you literally can live with.

This tint machine makes my life easier and helps me live up to my dedication to getting you a a truly livable colour for your environment. Now, at any point in time, I can change a colour’s direction. You want a 25% lighter shade? Okay, not a problem. We don’t need a paint-shop pro or a chemist to guess it out. Let’s get that done ourselves — between you and me, and save ourselves a lot of headache and reduce wasted materials in the process.

Breaking It Down:

◦                                  Whatever your favourite material — Tadelakt, Intonachino, Carrara or Classic — I have full control over the colour and tint of the end-product.

◦                                  Your money gets saved because I’m not wasting materials or gambling on a factory’s ability to get those pallets of lime plaster tinted just the right way.

You want it lighter? Darker? I can change that on a dime now, so you get what you want when you want it. Hue by hue, shade by shade, we’ll nail the colour of your dreams.

Over the past week, I had the opportunity to work on the new Bosa building in White Rock, BC, with one of my favourite designers — a big fan of my style of Venetian Plaster. She’s always pushing me to try new things and stretch my creativity, so it’s a great working experience to be around her.


When meeting a new client and designer, the most important part of the meeting is being able to absorb their ideas and use that as inspiration for creating a unique design that’ll reflect the best of everything they want.


I think I pulled that off, and it’s even reflected in the materials we used.


For this project, I used Carrara Marmorino. It’s different because of its small granules, which allows it to polish to a beautiful satin finish. For added durability and a beautiful finish, I sealed the surface with natural beeswax.

In recent weeks, I’ve been lucky enough to be working in a lovely Greco-Roman home in Burnaby, BC.


It’s an awesome home, clearly designed for entertaining guests.


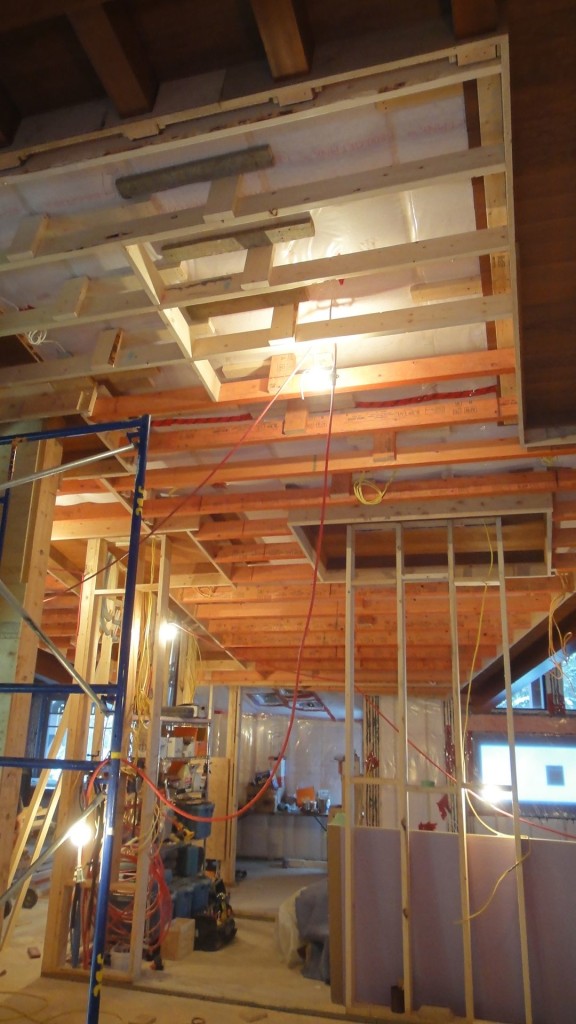
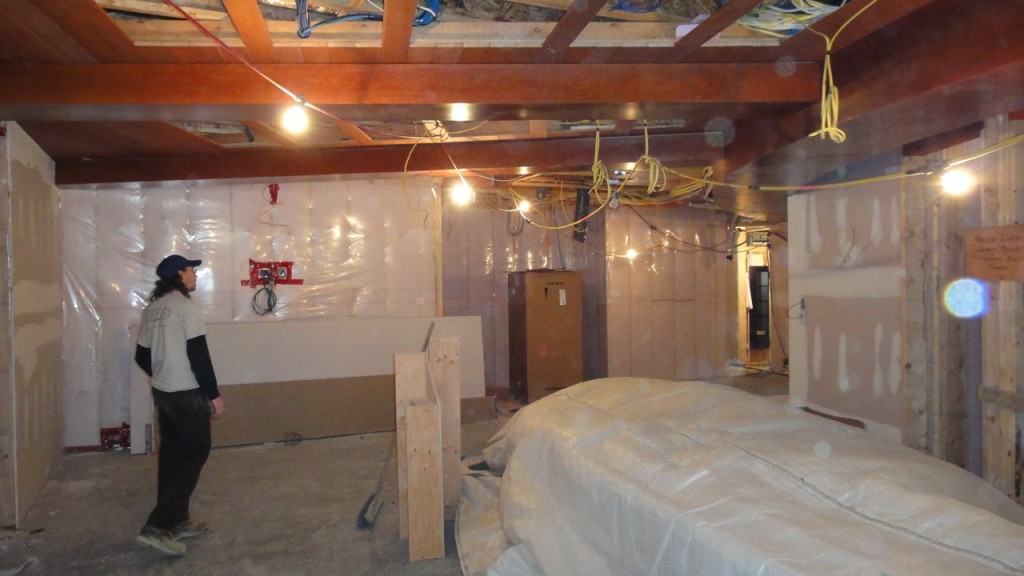
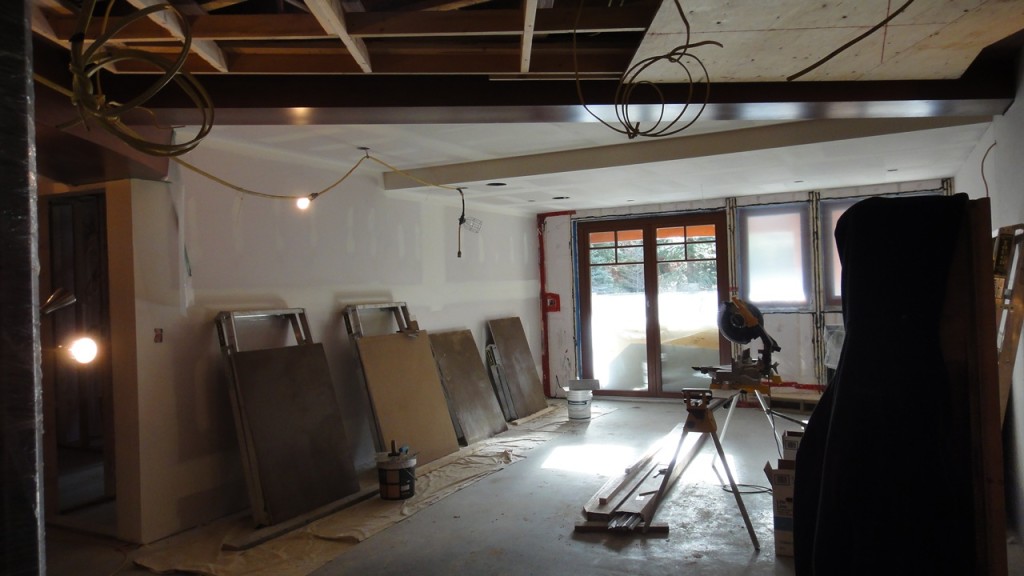
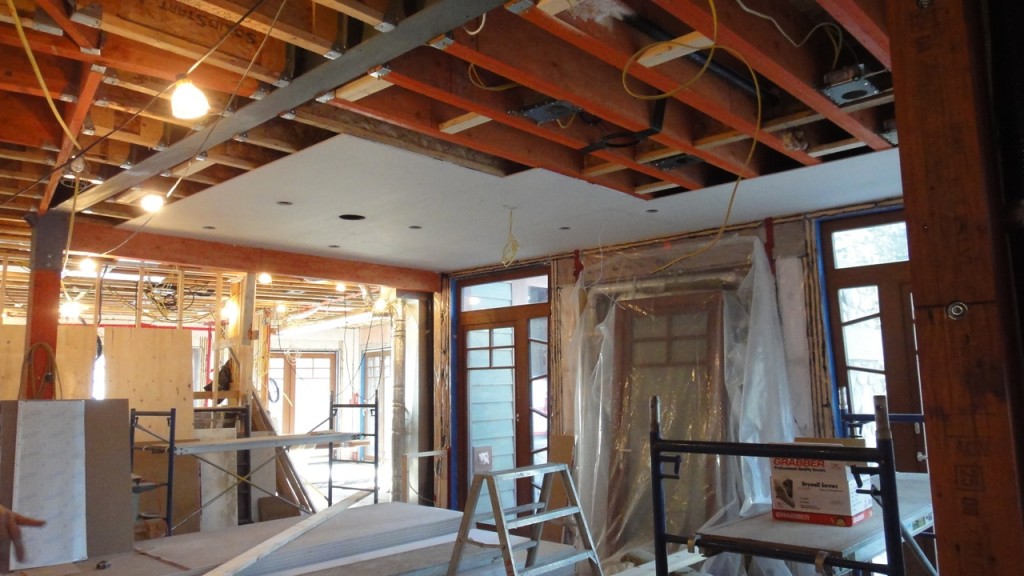
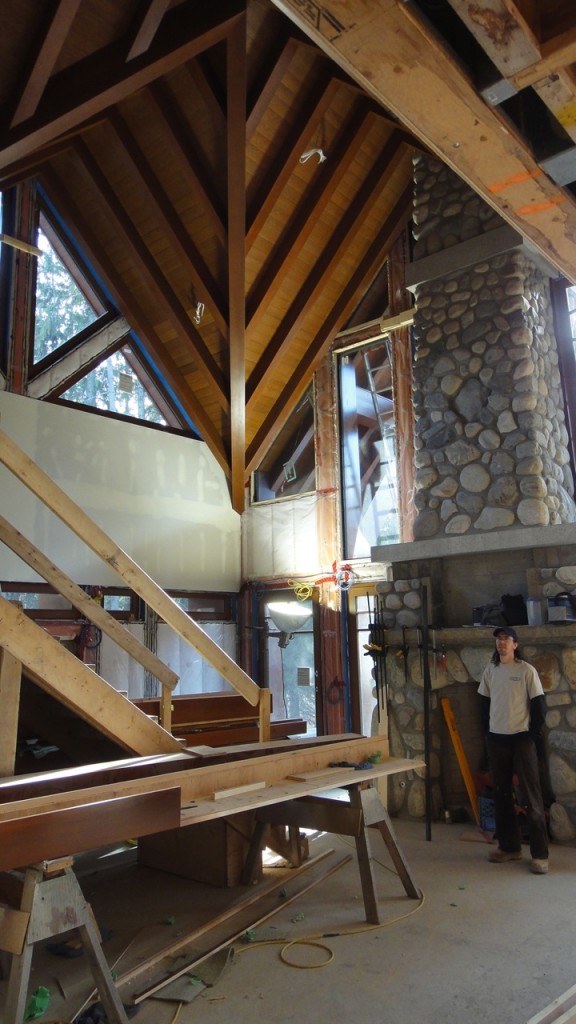
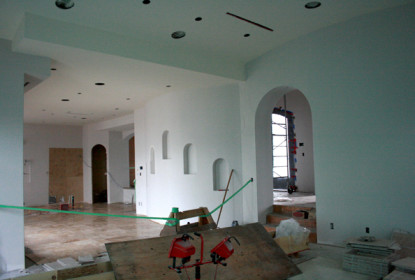
Well, when I first got out to the jobsite, the drywall wasn’t even installed. I’m a visual guy, but, for me, it’s difficult to get a sense of a home with all those studs and joists running up and down and everywhere. But, after awhile, I figured the home out, and I’m glad the project’s moving along.


We’re into the process now. Here, I was commissioned to install a distressed lime plaster finish, using something called Intonachino (in-tone-a-kino).


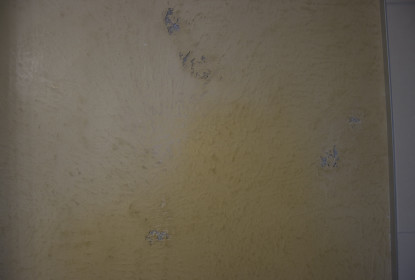
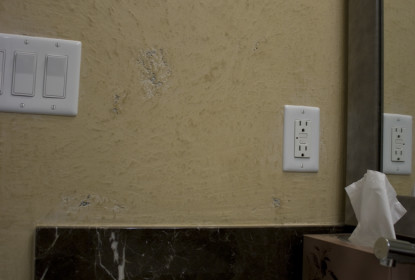
It kind of looks like it has a slight tint of yellow, but when paired up with the floor, it presents as a sand-beige. When I finish the project off, I’ll glaze the plaster with raw umber, adding a little character and an old, aged sense to the walls.

CLICK IMAGES TO ZOOM


Contact

Office:: 604.628.7855 | Direct:: 604.779.4233 | 9am to 5pm Monday – Saturday

Name
Email
Message

Thank you! Message sent.
Error! Please re-check that all fields are complete.
©Copyright 2019 Decorative Paint & Plaster Concepts Inc.